It’ll be August in just a few days! Late summer is such an exciting time in the garden. Harvests are pouring in, flowers are blooming, and fall planting has begun. Here’s a checklist to help you stay on track during this busy time of year.
Buy perennial onions, garlic, shallots, and bulbs.
Perennial onions, garlic, shallots, and many flower bulbs are all planted in the fall. Exact planting dates may vary depending on your hardiness zone, but here in Virginia, it’s best to plant them between September 15th and November 15th.
If you’re hoping to choose varieties from a wide selection, it’s best to get your order in early.
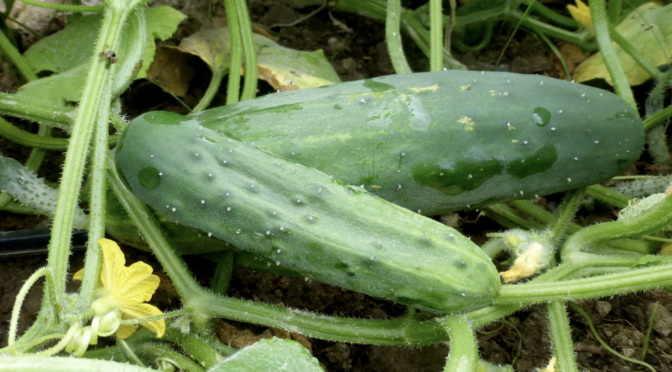
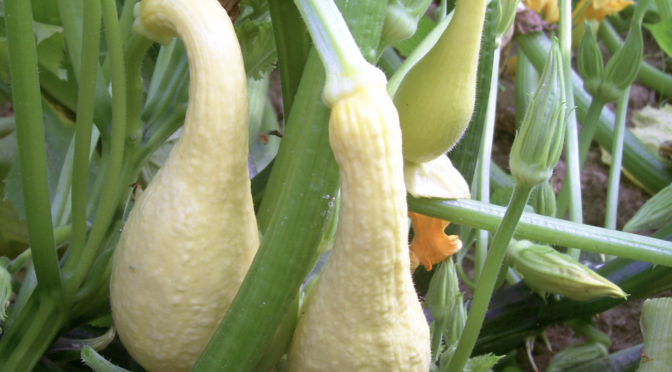
Keep up with harvesting.
It can be tough to keep up with the harvest, especially if you’re a new gardener, but it’s essential if you want fresh food for as long as possible. Many plants like beans, cucumbers, and summer squash will stop producing when you stop harvesting.
If you can, it’s best to harvest in the morning while it’s still cool. You’ll be more comfortable, and your produce will be crisper and stay fresh longer. Greens should be immediately dunked in ice water when harvesting during warm weather.
If you’re struggling to keep up, offer to share some veggies with friends or neighbors. Host a picking and preserving party to make the most of surplus produce. Find more tips for using produce:
- Summer Squash: Ways to Use & Preserve It
- Zucchini Abundance: 10 Great Ways to Use It
- 15 Clever Ways to Reduce Food Waste & Get More From Your Garden
- How to Make the Most of Fresh Garden Produce
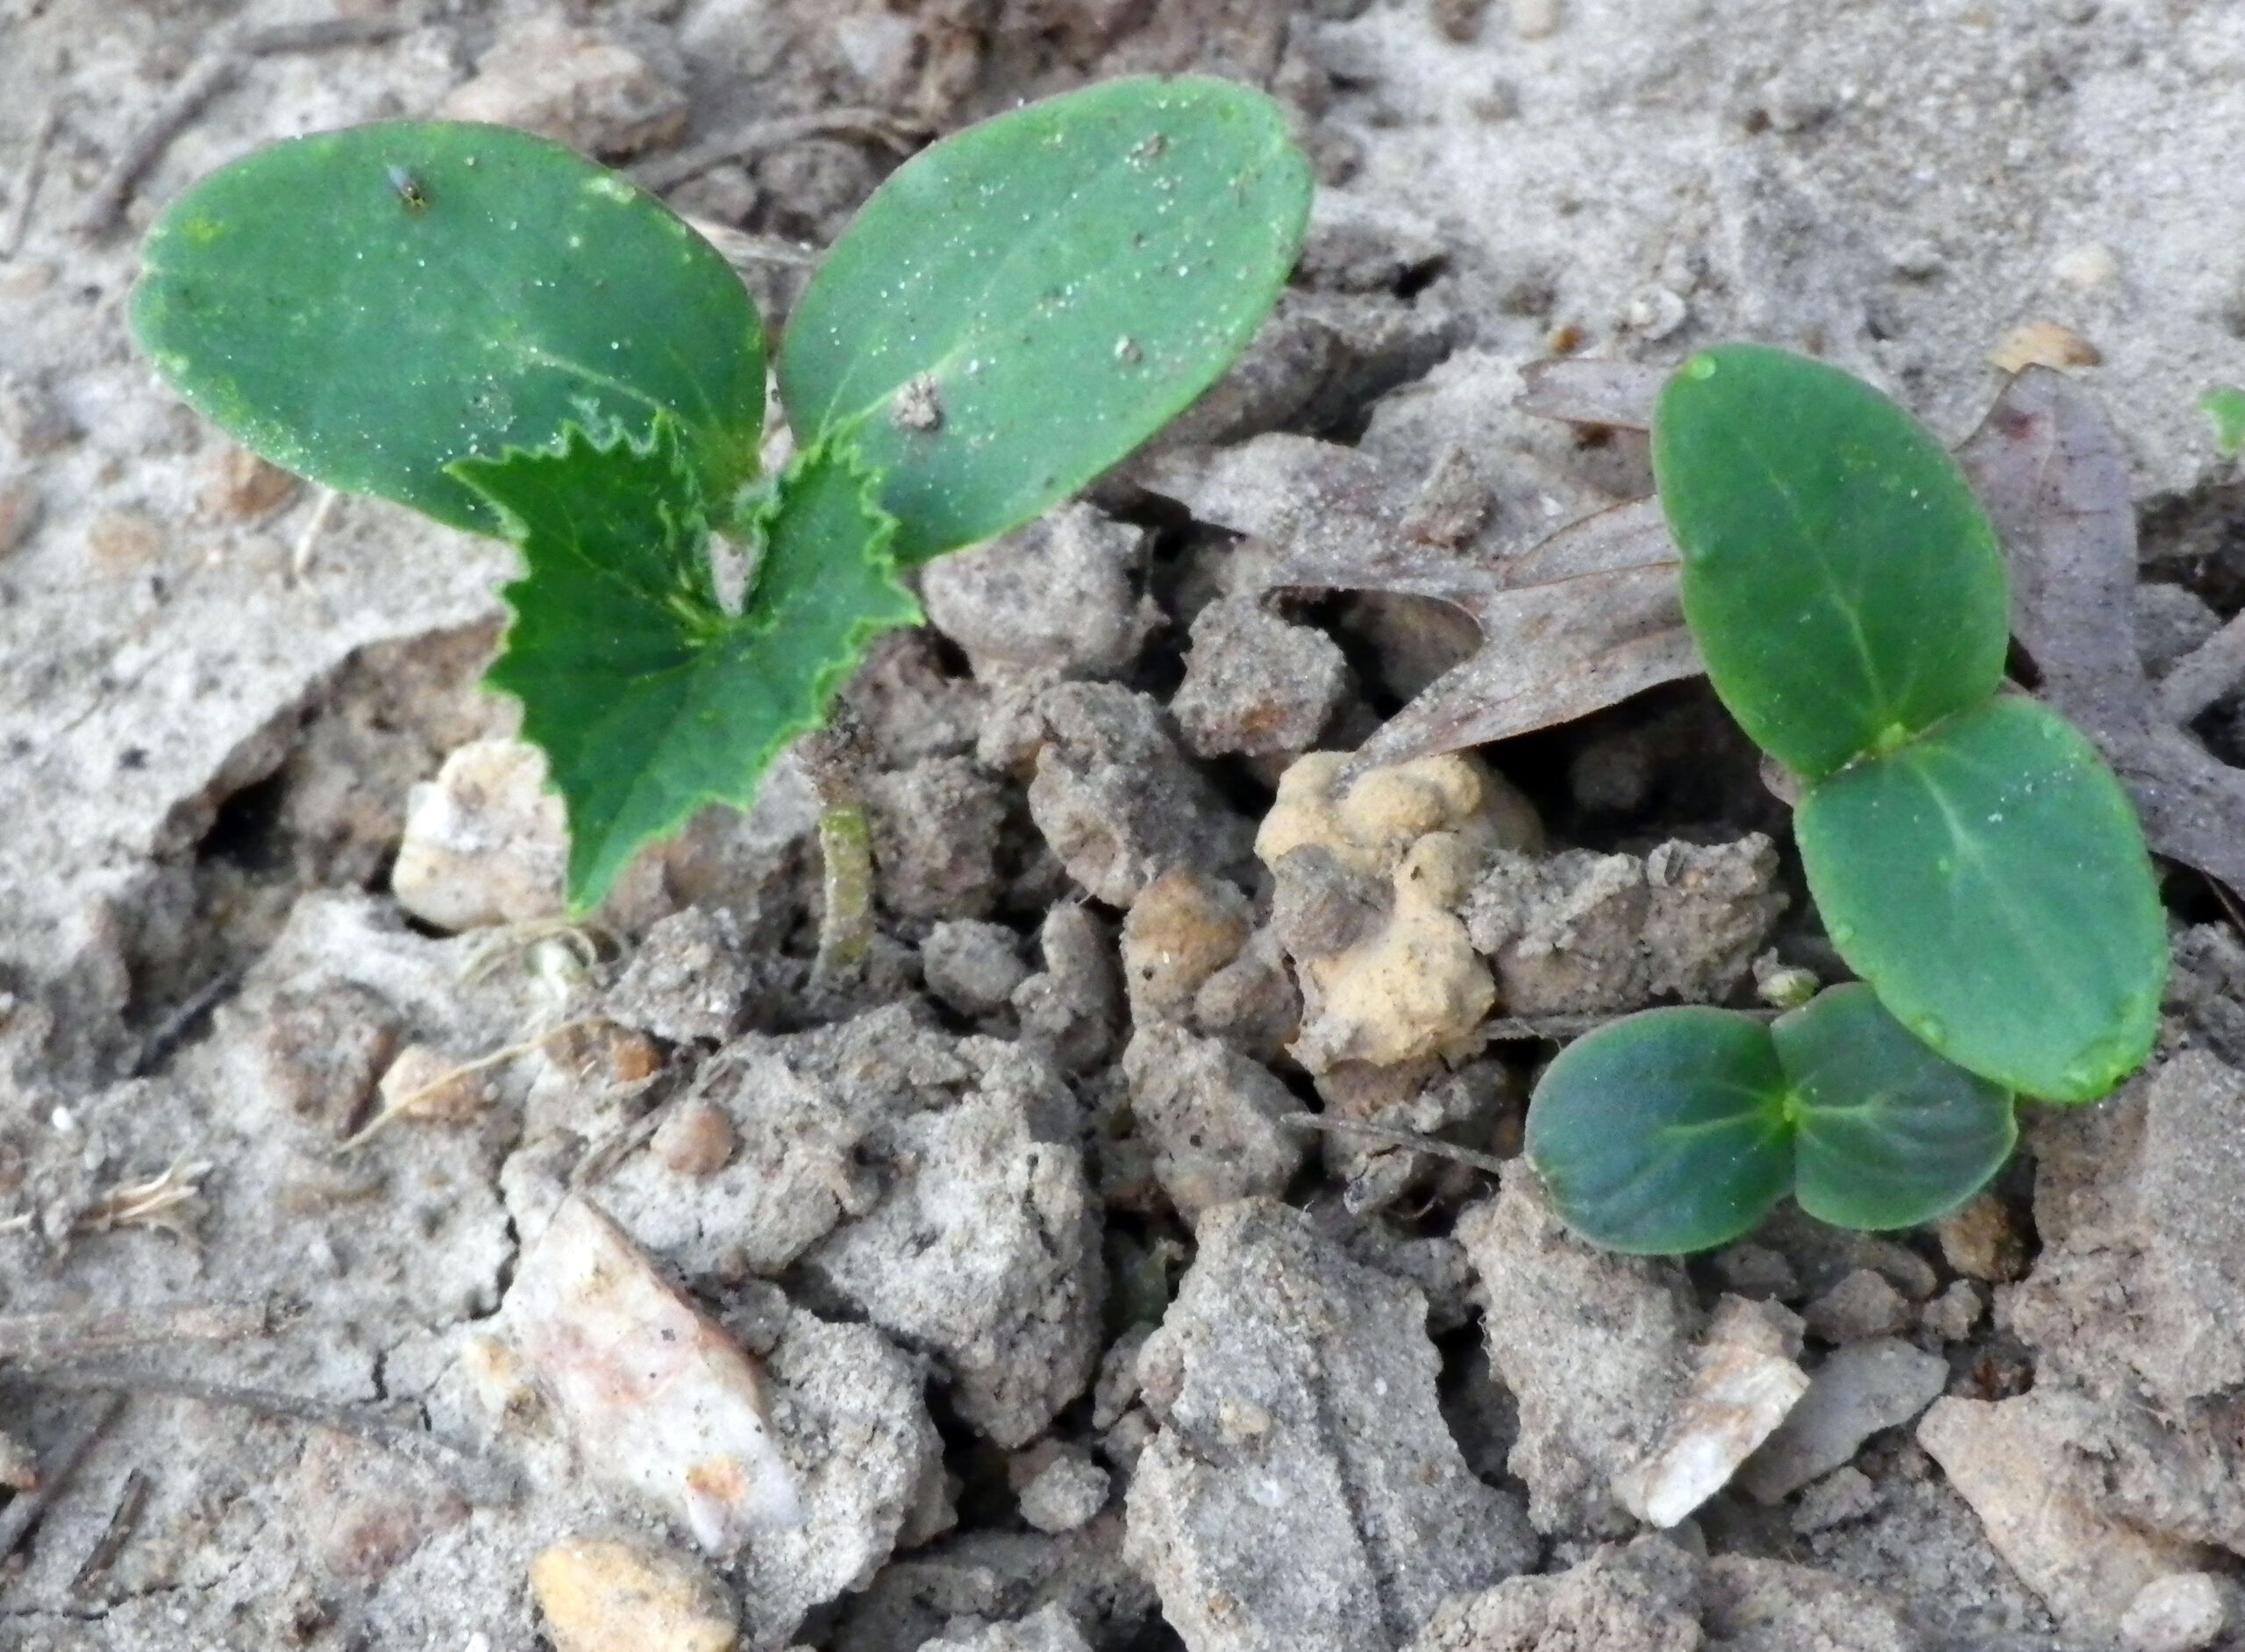
Plant fall crops.
Exactly when you plant will depend on your hardiness zone, but August is crucial for planting fall crops here in Virginia and much of the Southeast. Finish transplanting cabbage, broccoli, cauliflower, and collards seedlings for fall. Sow radishes, kohlrabi, turnips, carrots, beets, herbs, kale, collards, and Swiss chard. Pam Dawling’s guest post from last year is an excellent resource for those looking to grow fall root crops.
Water consistently.
August in the Southeast is hot! It’s no time to slack off on watering. This is especially true for young fall crops like carrots, beets, and cabbages, which you’ve just got started in the garden. Crops like sweet potatoes, watermelons, tomatoes, and winter squash will produce best when watered thoroughly.
It’s also important to remember to water perennials like fruit trees and flowering shrubs, giving them the occasional healthy soaking, especially if you just planted them this spring.
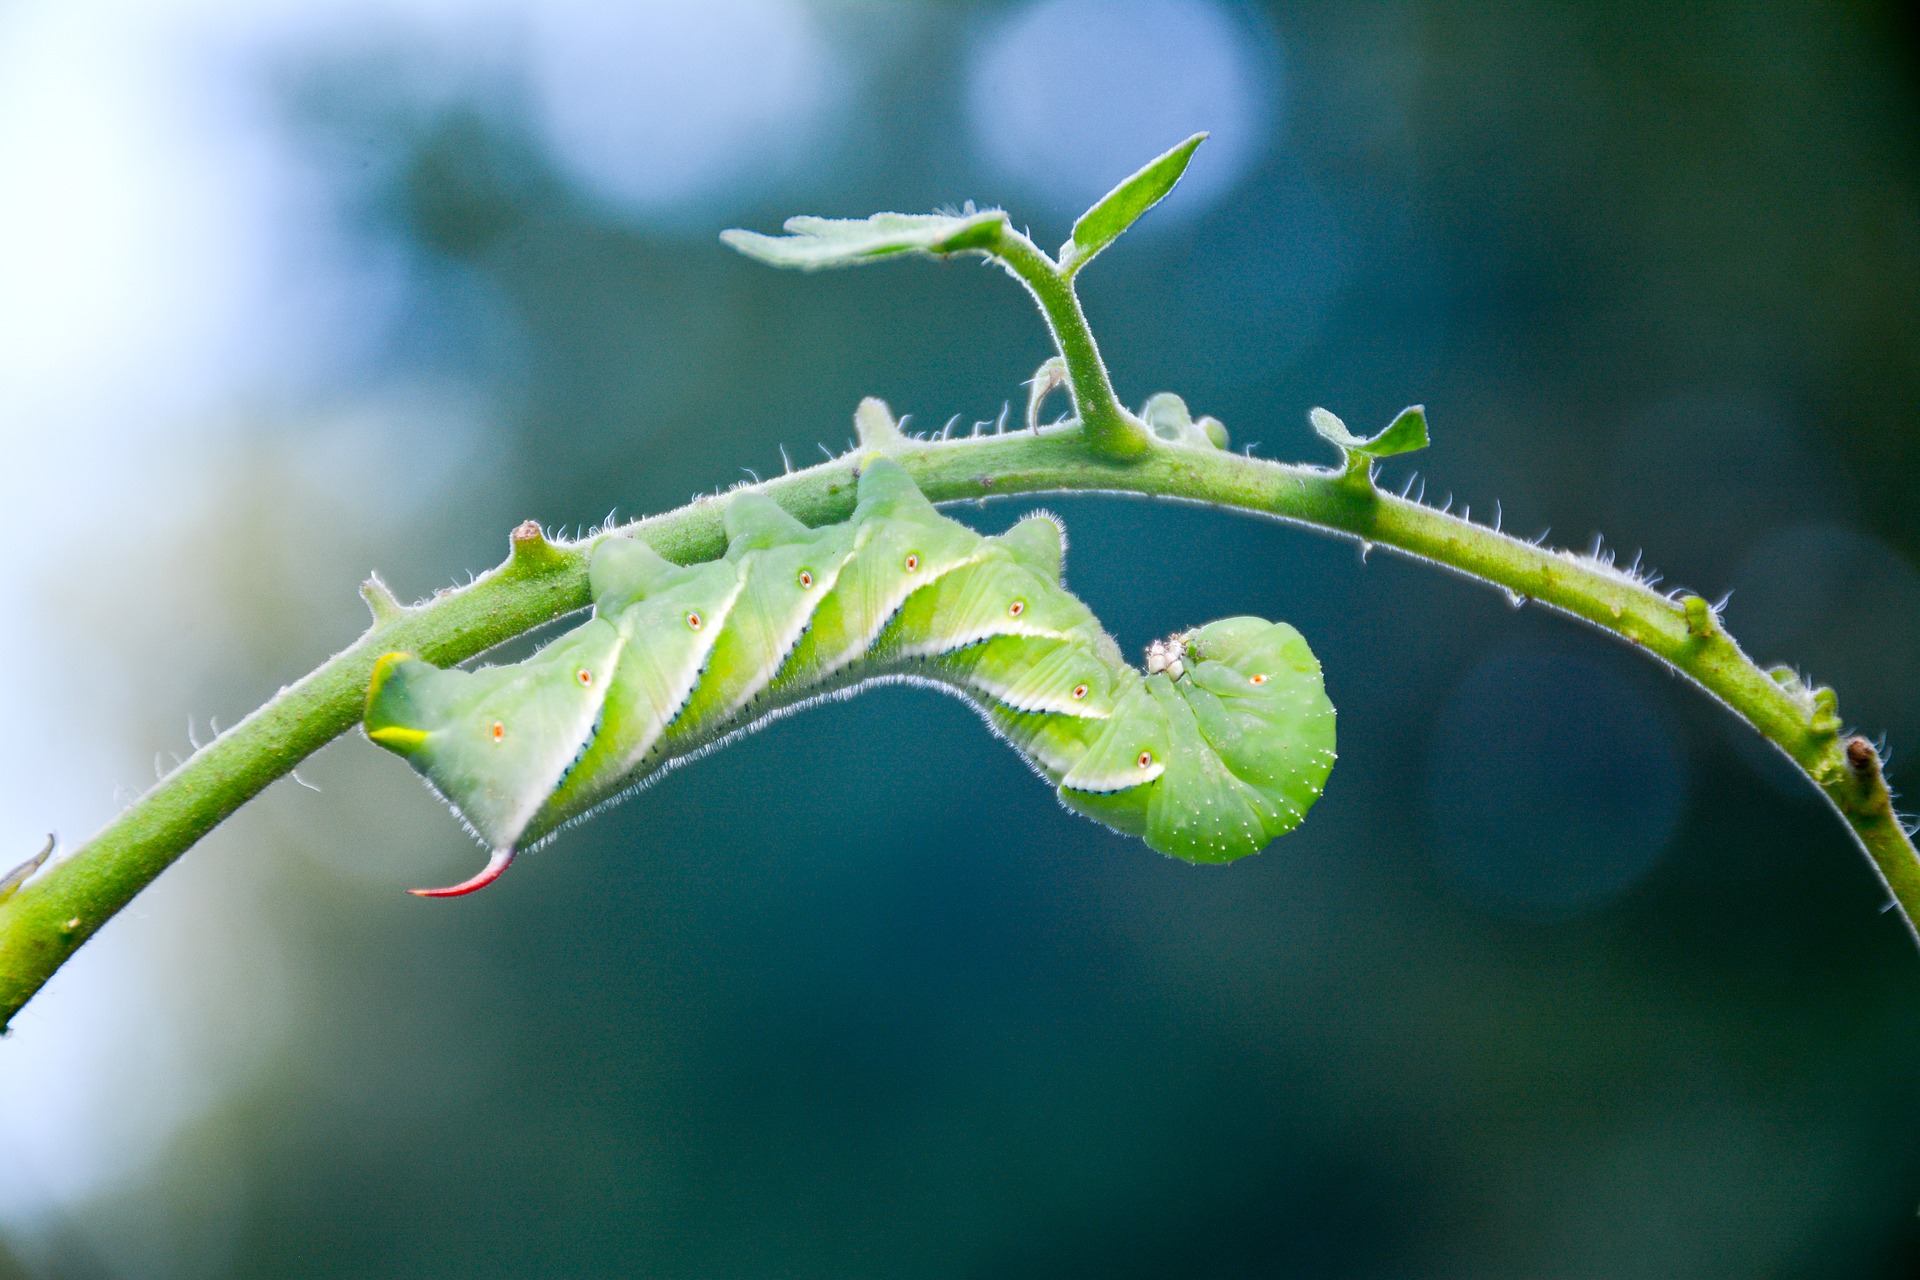
Watch for pests and diseases.
Keep an eye on tomatoes, eggplants, and squash, watching for hornworms, flea beetles, and squash bugs. Treat with handpicking and diatomaceous earth.
Fungal diseases thrive in the heat and humidity of late summer and the south. Keep an eye on plants for diseases like Downey Mildew, rust, and Fusarium wilt. Remove and burn any diseased plants.
Weed and apply more mulch.
August is an important month to keep up with weeding. You’ll see better production from plants if they’re not competing with weeds for moisture and nutrients during this period.
If the mulch around your plants is starting to break down, it’s a good idea to add another layer. It will help conserve moisture and block weeds.
Take notes.
August is an excellent time of year to take some notes in your garden journal. Jot down what varieties performed well and what didn’t. If you haven’t done so already, sketch out your garden layout so that you can plan crop rotations and cover crops.
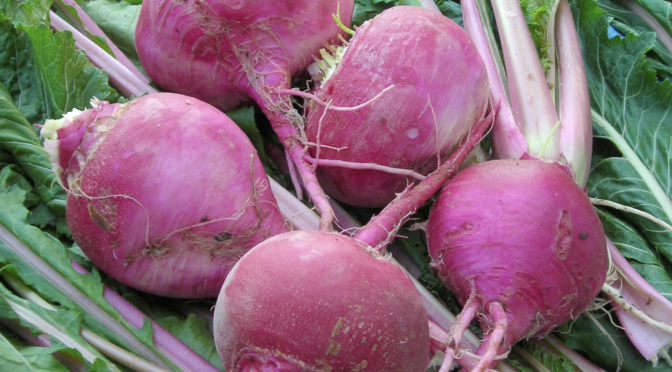
Put up storage crops.
Many folks are beginning to harvest storage crops in August. It’s important to harvest, cure, and store them properly so that they keep well. Check out:
- Putting Up produce the Old Ways: Fermenting, Drying, and Cellaring
- How to Store Crops Without a Root Cellar
- Harvesting & Curing Winter Squash & Pumpkins
- Growing, Using, & Storing Staple Crops Part 1
- Growing, Using, & Storing Staple Crops Part 2
Plant fall cover crops.
As summer crops finish up, it’s important to protect and improve your garden soil for the next season. Sowing red clover, oats, Austrian winter peas, and rye as fall cover crops can help protect your soil from erosion, create habitat for beneficial insects and fungi, and add organic matter and nutrients to the soil. Read more about why you should consider fall cover crops here.