Category Archives: Garden Advice

Stretch the Season: 7 Fall Gardening Tips

Fall can feel like a welcome respite after a busy summer season full of vegetables, flowers, and herbs. Even so, some of us can’t help but try to keep the garden bursting with life for just a little longer. Here are some simple fall gardening tasks you can do this season and in future seasons to help your garden stay gorgeous and productive a little longer each autumn.

What Can I Do Right Now?

It may be getting late in the year, but you can still do a few things to make a big difference right now. Give these fall gardening tips a shot this September.

Deadhead Your Flowers

Many flowers will continue blooming until the frost kills them, especially when they’re frequently deadheaded. Keep up with deadheading your cosmos, zinnias, marigolds, chrysanthemums, coreopsis, salvia, and other flowers to keep them blooming and looking fresh.

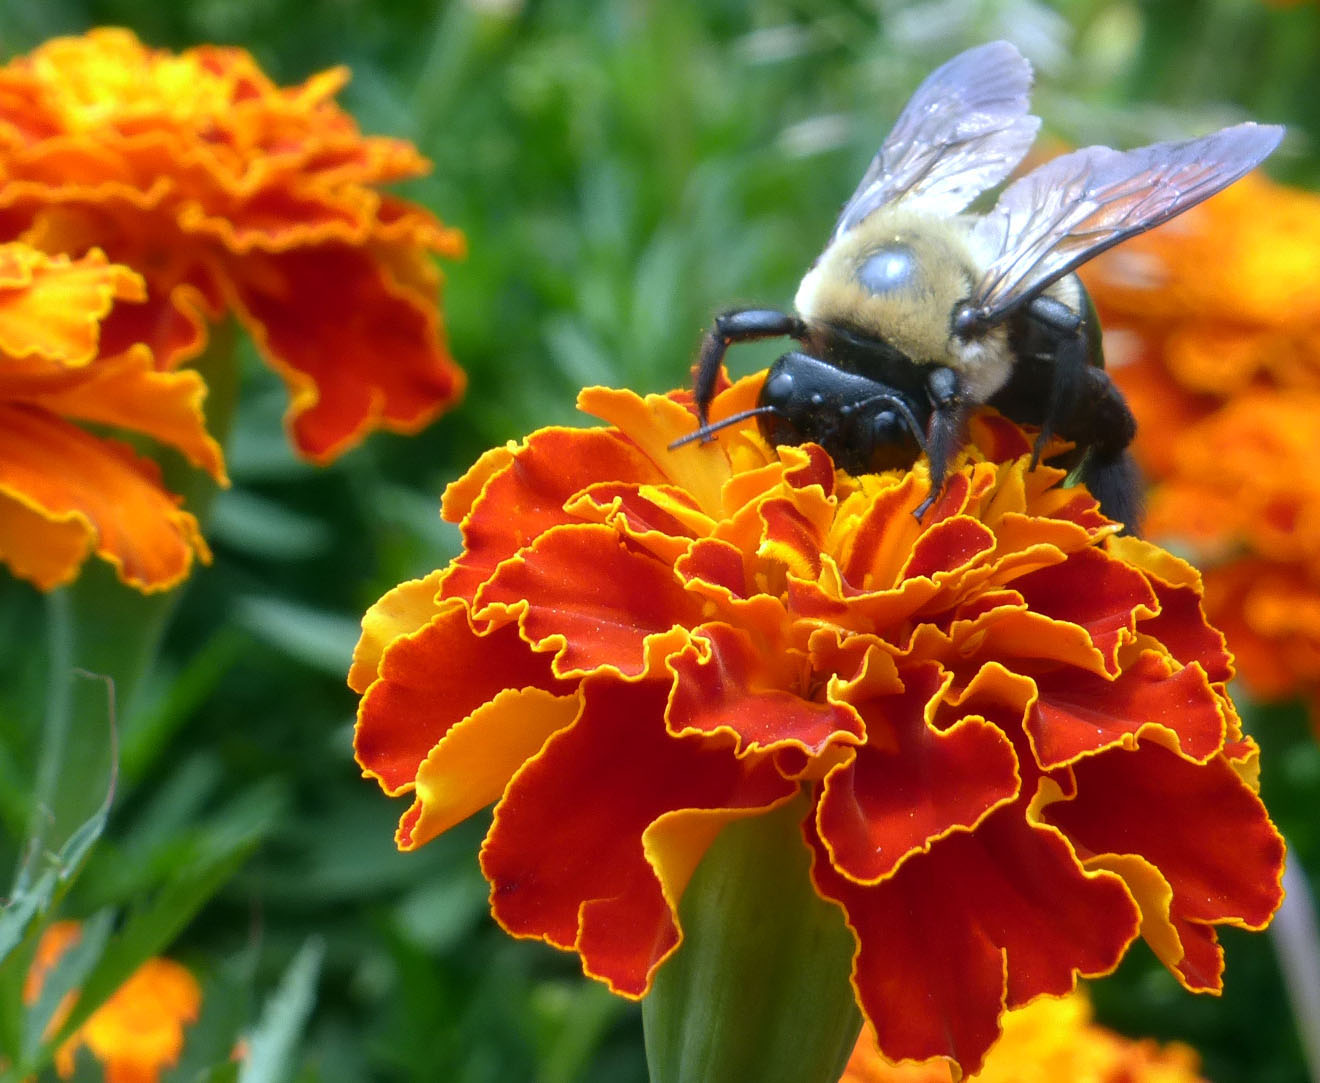
Sneak in a Few Last-Minute Vegetables

Depending on your location, you may still have a chance to sneak in some last-minute vegetables. Here in Virginia (zone 7), we’re still tucking in radishes, turnips, spinach, and mustards this week. We’ll soon be planting garlic, shallots, perennial onions, and bulb onions. Farther south, folks still have a long list of crops they can grow.

When determining appropriate fall planting times, we recommend that folks use the days to maturity and calculate back from your average first fall frost date. Then, add 14 days to the listed days to maturity for your variety to account for the “fall effect” of shortening days and cooler temperatures. 

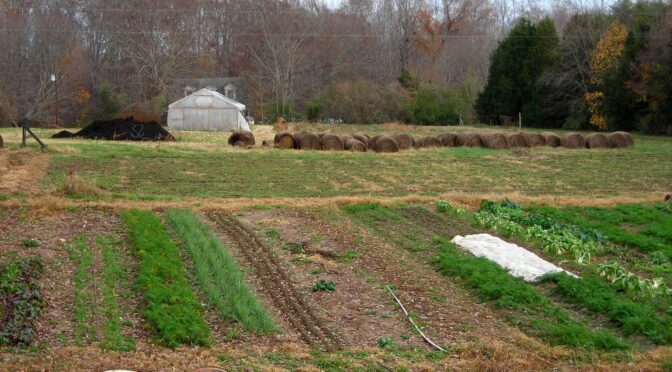
Apply Mulch to Insulate the Soil

Applying mulch in the fall will help keep your soil warmer for longer. Around perennials and overwintered greens, mulch will help insulate roots through the winter. For annual root crops like beets and carrots, it can also allow you to leave them in the ground much longer. In some southern areas, leaving them in the ground to harvest them through the entire winter may even be possible.

Row Cover and Garden Beds in front of SESE Building (fall gardening)Invest in Row Cover or Coldframes

Not everyone has the space, time, or money to put up a high tunnel or greenhouse, but don’t let this stop you from adding some season extenders to your garden. Season extenders can completely change your fall gardening game!

Ordering row cover and some wire hoops is a fast way to give your plants a few degrees of protection from cold and frost. Cold frames also provide protection from winter weather, and many people can DIY these with a few cheap supplies like old windows and hay bales. 

Even after September, these are still valuable additions to the garden. We sow very late crops like bulb onions and spinach in cold frames to overwinter and get a quick start in early spring. This gives us larger onions and extra early greens.

Reduce Wind Exposure

In the fall, plants are fighting a battle against dwindling daylight and colder temperatures. Adding winds to the mix means your plants use all their energy to survive. You won’t see them grow and flourish unless you add wind protection. 

Adding windbreak netting or some sort of windbreak can help your plants thrive. You don’t need to stop all the wind; focus on reducing wind speed.

In future seasons, you can improve wind protection by planting windbreaks of trees and shrubs or building fences. 

Zinnias (fall gardening tips)Fall Gardening Tips to Implement in the Future

If you’d like to do more, there are a few steps you can take before next season that will help your fall garden be even more beautiful and productive. Here are a few things to think about.

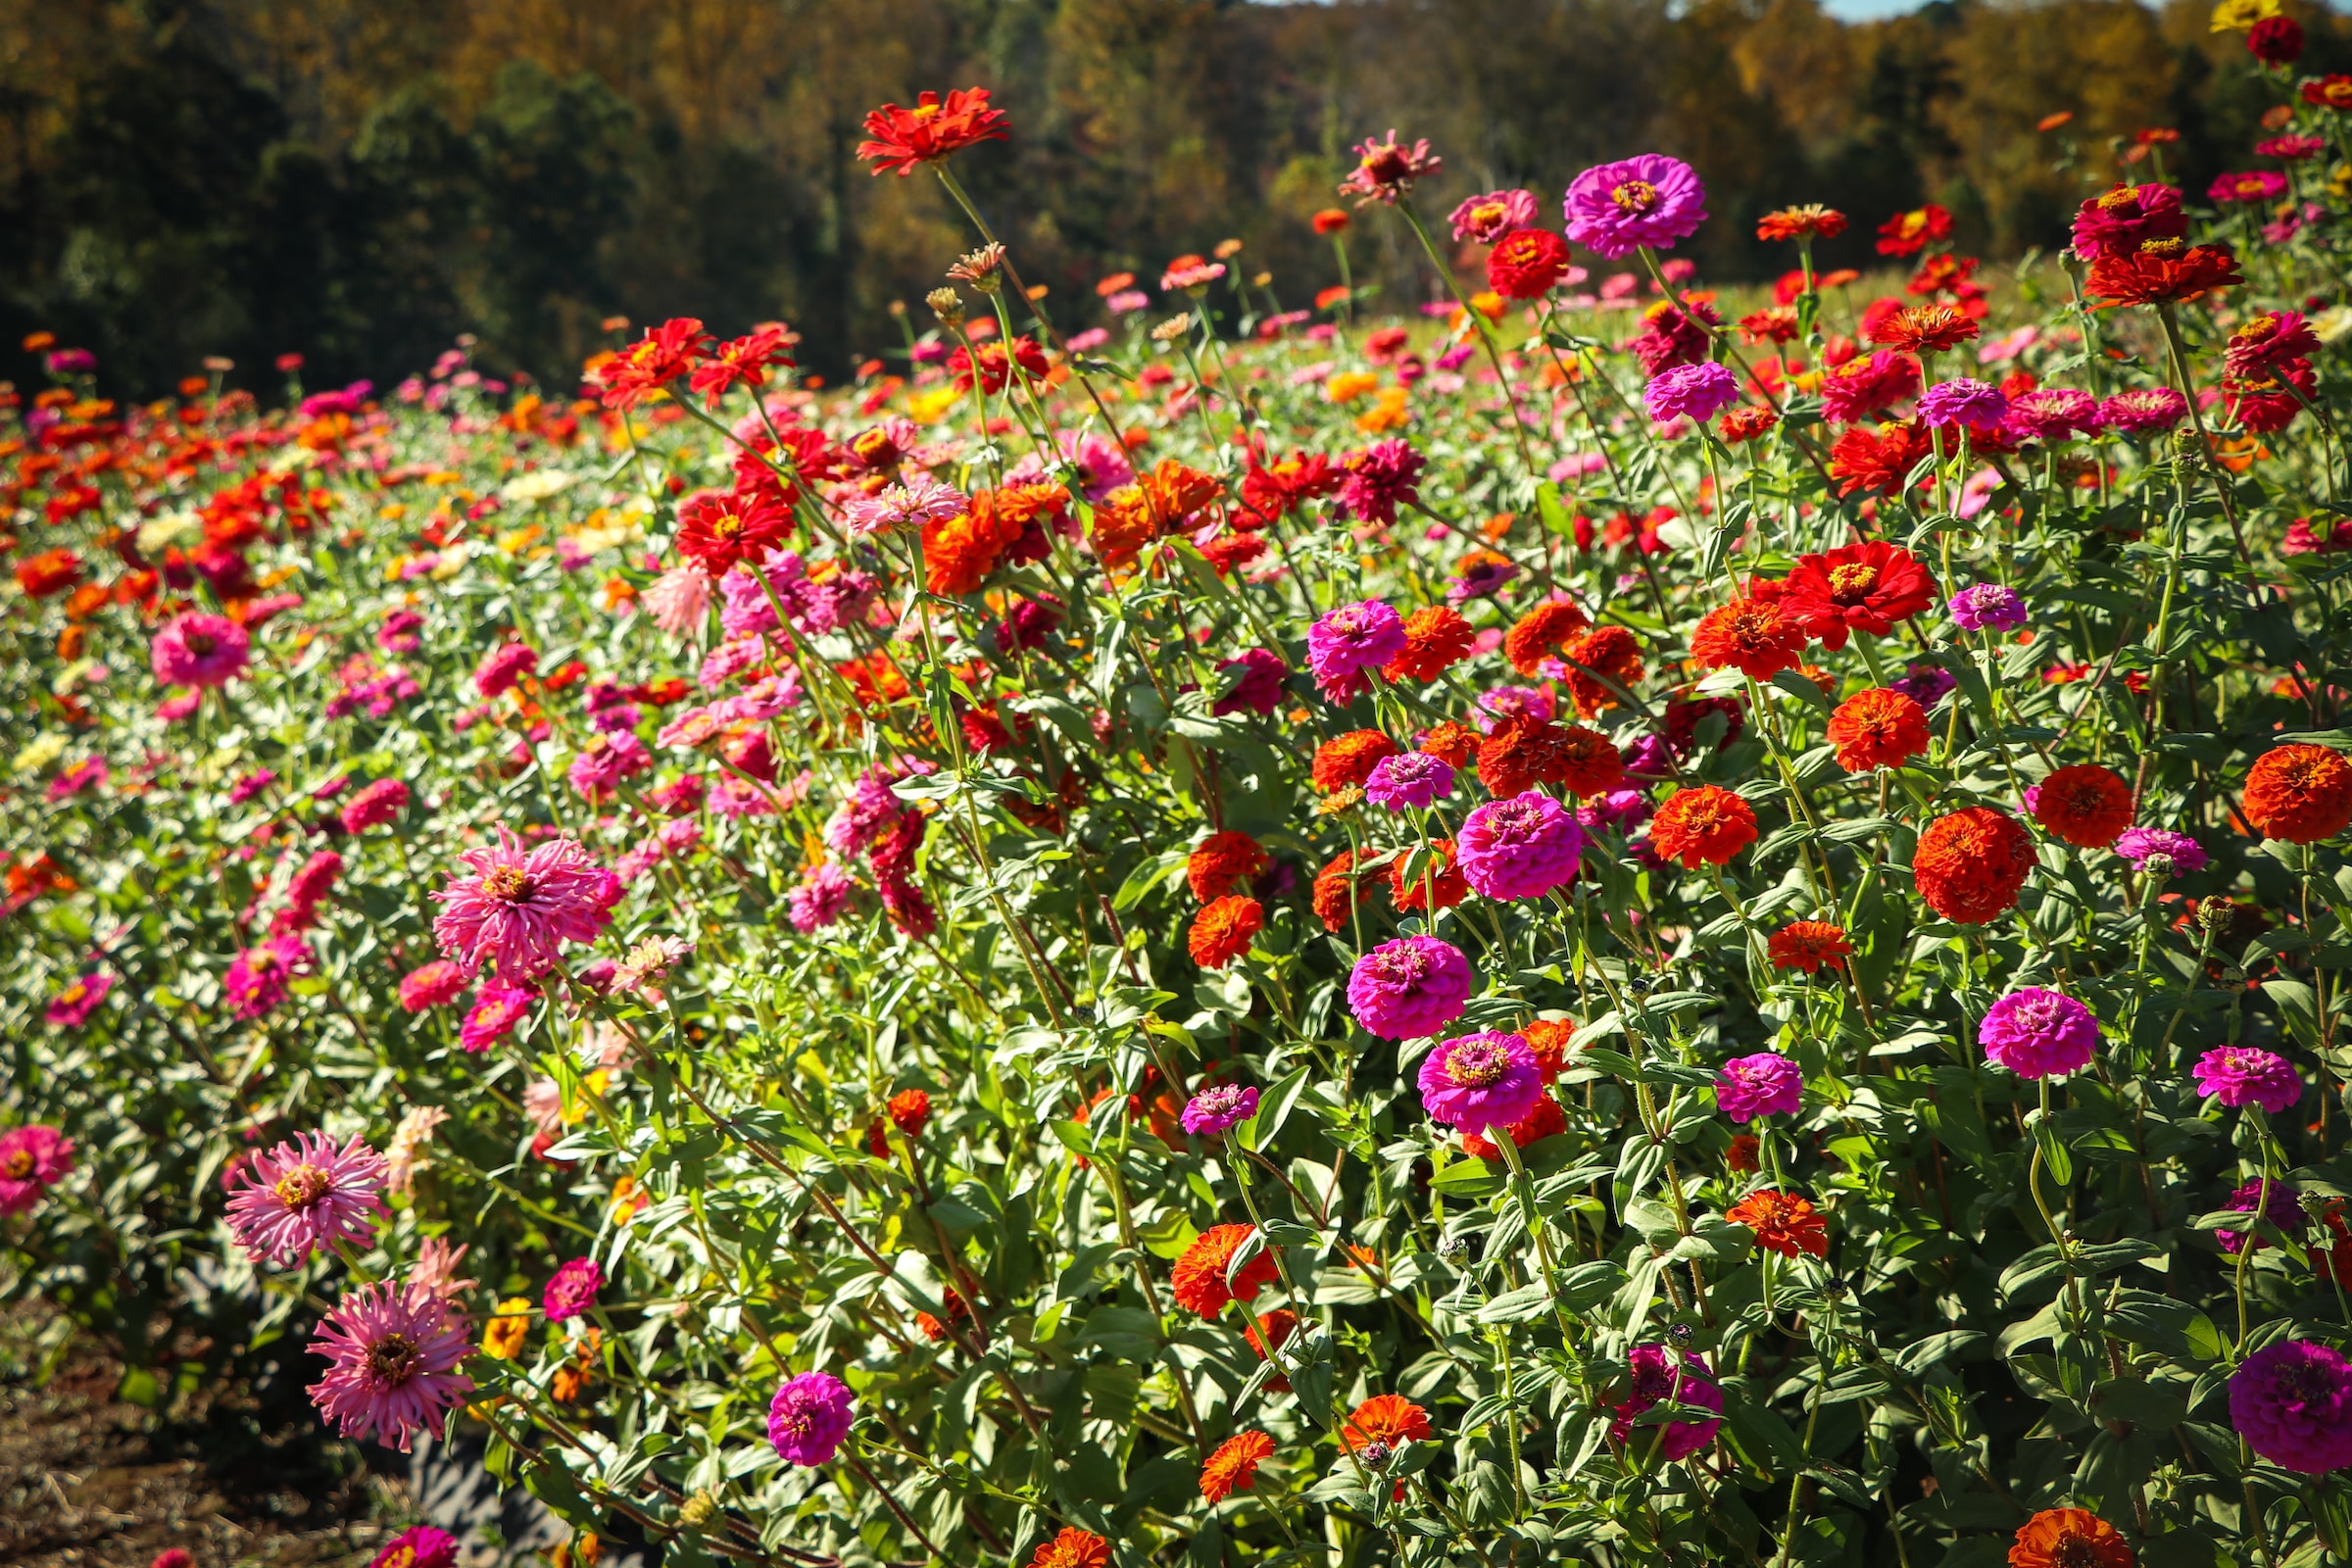
Create a Fall Gardening Succession Plan

Great fall gardening starts well in advance! When you’re planning your garden and purchasing seeds, bulbs, and plants, make sure you think about succession planting. For vegetable patches, this means that when one crop finishes, you start a new one to ensure your beds are always full and there’s always something fresh on the table. For example, you might grow a fall pea crop after your corn comes in for the season or plant lettuce once your tomatoes are done.

In a flower garden, the focus is to have some blooming all through the season, including into autumn. Look at average bloom times for bulbs and perennials. Read seed packets for days to maturity on annual flowers. Add this information to a calendar and see how you can fill the gaps. To help extend blooms into fall, plant multiple successions of annuals. For example, continue sowing cosmos and zinnias late into the summer.

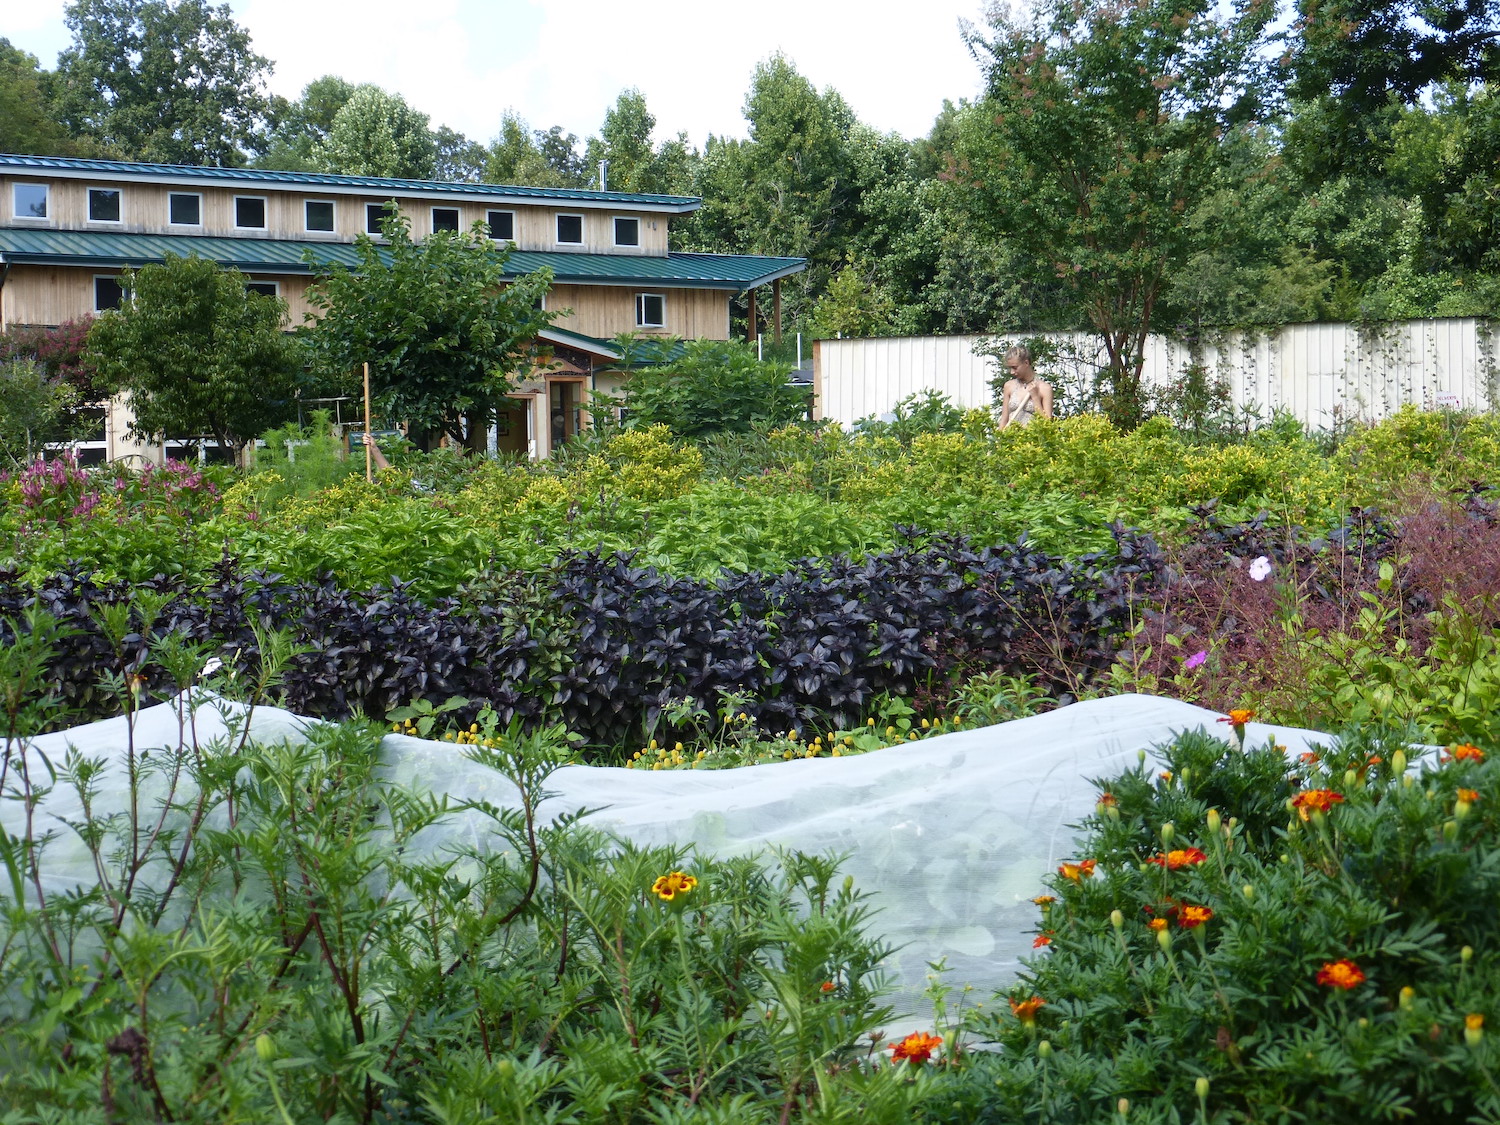
Add Larger Perennials, Shrubs, and Trees

If you’re working on an ornamental garden, one thing you can do to keep it attractive year-round is to vary the height and textures. These help add interest when little is blooming. Native trees and shrubs with berries or evergreen foliage can provide interest even into the winter and are excellent habitats for songbirds and wildlife. Shrubs like rhododendron, bayberry, and mountain laurel are good choices, as are trees like magnolia, cedar, and holly. You may also consider some wood ferns and other evergreen or semi-evergreen perennials.

Despite all the hard work that comes with a garden, it can be hard to say goodbye to the fresh food and beautiful flowers when the leaves start to drop. Whether you have a large vegetable garden, herbal medicine garden, cut flower garden, ornamental garden, or a combination, these tips will help you keep growing into autumn and winter. 

Helpful Gardeners: Support Migratory Birds

Autumn is a busy time for gardeners as we sow fall crops and finish the summer’s harvesting and preserving. It’s also a critical time for migratory birds. Many of these birds have spent their summers helping our gardens thrive. They’re the Ruby-throated Hummingbirds that pollinate our flowers, the Goldfinches that feed on weed seeds, and the Eastern Bluebirds flitting through the beds, snatching up pests. This fall, there are a few simple steps you can take to help support migratory species and ensure their population returns next season.

Common Migratory Birds in the Eastern United States

Bird migration varies over species. There are short-distance migrants that move to nearby areas with more food availability, often between low and high-elevation regions. In many places in the eastern United States, American Robins are short-distance migrants.

Medium-distance migrants will often fly south in the fall, just as far as they have to avoid extreme weather and food shortages. Often, these migrations are just a few hundred miles. The Eastern Towhee is a common medium-distance migrant. Those in the Northeast often fly to Virginia or a bit farther south in the winter. Individuals in the Southeast may not migrate at all. 

Long-distance migrants usually move to breeding grounds in the United States and Canada in the spring and return to wintering grounds in South and Central America in the fall. Ruby-throated Hummingbirds are an excellent example of this migration. Most individuals leave North America in the fall and winter from Mexico to Costa Rica or Panama. 

Here are a few of the species you may spot moving through the Eastern United States in spring and fall:

  • Chipping Sparrows
  • Eastern Bluebirds
  • Eastern Towhees
  • Evening Grosbeaks
  • Field Sparrows
  • Goldfinches
  • Hermit Thrushes
  • House Finches
  • Indigo Buntings
  • Purple Finches
  • Ruby-crowned Kinglets
  • Ruby-throated Hummingbirds
  • Scarlet Tanager
  • Song Sparrows
  • Yellow-rumped Warblers
Female Ruby-throated Hummingbird visits a Red Cypress Vine flower
Female Ruby-throated Hummingbird feeding on Red Cypress Vine flower

How Can You Help Migratory Birds?

Migratory birds are struggling. In today’s rapidly changing world, these excellent garden helpers struggle to adapt and cope with climate change, habitat loss, pesticide use, light pollution, and collisions with vehicles, buildings, and other human-made structures.

While we can’t fix all of these issues, you can take a few simple steps to lend migratory birds a helping wing.

Go Lights Out for Birds

Light pollution doesn’t just affect stargazers and moths; it’s a severe threat to migratory birds. Bright light sources often disorient these birds, which typically migrate at night. Disoriented birds may hit buildings or waste energy and become exhausted and more susceptible to predation. 

Turn off exterior and decorative lighting. For essential outdoor lighting, switch to motion sensor lights or down-shield lighting to eliminate glare and upward-pointing light.

Turn off interior lighting at night, especially in higher-story buildings. Pull curtains at night to cover windows in areas where lighting is necessary or use task lighting. 

You can also get others involved by working to start an Audubon Lights Out Chapter in a  city near you.

Make Daytime Windows Safe

Many people have heard or seen a bird hit a window. They see the reflection in the glass and perceive it as a habitat they can fly into. Use glass paint, strings, screen, or film to break up these reflections and make them easier for birds to spot. Encouraging local businesses to create window murals can save birds from this fate.

Keep Feeders and Bird Baths Clean

Bird feeders can be especially helpful for migrating species like the Riby-throated Hummingbird that need all the energy they can get for a long journey. That said, it’s essential to keep them clean and sanitary. Especially during migration, hundreds of birds may visit a single feeder, which can spread disease if not kept clean. The same goes for bird baths. Dirty bird baths can spread diseases, contain harmful algae, or become breeding grounds for disease-carrying mosquitoes. 

Hold Off on Garden Clean-Up

Birds will probably enjoy your garden and yard better if you don’t keep it perfectly tidy. Leaving standing dead plants a little longer allows resting places for migratory birds to hide and search for insects as they journey south. This also applies to standing dead trees in forested areas on larger properties.

Indigo Bunting perched on Tansy Ragwort (migratory birds)
Indigo Bunting perched on Tansy Ragwort

Plan a Migratory Bird-Friendly Garden

As you plan for next year, think about birds as you plan your garden. Flowers like sunflowers, Black-eyed Susans, and echinacea provide great food for pollinators and seed-eating birds. Species like mulberries, chokecherries, elderberries, and serviceberries are also great options for feeding the birds without a feeder. Whenever you can, native plants are an excellent choice.

Varying the height and texture of plants in your garden can also make it more attractive to many small bird species, which will find places to hide and nest in dense shrubs and places to perch on taller trees and plants. 

Support Bird-Friendly Legislation

Legislators have the power to influence changes on a larger scale. Encourage local or state legislators to support legislation like the Federal Safe Buildings Act or other legislation focusing on sound farming practices. These issues can make a huge difference in protecting migratory bird species.

Avoid Using Pesticides and Other Chemicals

The most commonly used class of pesticides in the United States are called neonicotinoids or “neonics.” These systematic pesticides are fatal to insects and the birds that consume them. Other commonly used products like weed-killers 4-D and glyphosate (used in Roundup) can also harm birds and other wildlife.

Purchase Shade-Grown Coffee and Local, Organic Food When Possible

This step may be out of reach for many on tight budgets as food prices continue to rise. However, if it’s available to you, buying locally grown, organic food ensures you’re not supporting destructive farming practices like heavy pesticide applications and slash-and-burn agriculture. Shade-grown coffee leaves trees intact, providing critical habitat for birds that winter in South and Central America. 

Chipping Sparrow on a branch holding a twig (migratory birds)
Chipping Sparrow

Keep Your Cat Inside and Encourage Spay/Neuter Programs

It’s estimated that cats kill 2.6 billion birds in the United States and Canada each year. Keeping your cat indoors or building a “catio” can protect your cat from predators and save migratory birds. Spaying and Neutering are also critical for cats. It’s estimated that 110 million feral cats are now in the United States and Canada. These cats lead short, harsh lives and are thought to cause about 2/3 of the cat’ bird kills in the United States.

We may not be able to fix the world, but we can take small steps to improve it. Picking a few simple tasks off this list can lessen the stress on migratory birds this fall and help preserve them for generations to come. 

How to Save Tomato Seeds

Homegrown tomatoes are one of summer’s highlights. Storebought tomatoes just can’t compare! After a few years of gardening, many of us have a tomato variety that earns a special place in our hearts, whether it’s a giant slicer like Radiator Charlie’s Mortgage Lifter or a tiny cherry tomato like Coyote. One way we can all help ensure that these precious open-pollinated and heirloom varieties remain in circulation for generations to come is to choose a variety to steward. Tomatoes are a great crop for beginner seed savers. Here’s how to save tomato seeds properly to ensure good germination and healthy plants in the coming seasons.

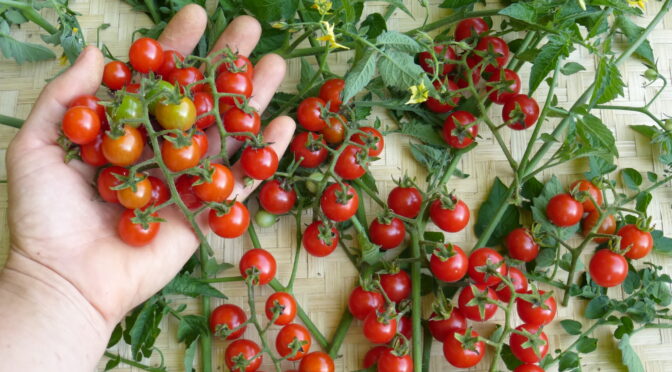
Select an Open-Pollinated Variety

Odds are, you’ve already completed this step if you’ve purchased seeds from us. However, if you have seeds that you’ve picked up at your local store or another seed company, you may want to ensure that they’re an open-pollinated variety and not hybrids. Open-pollinated seeds are established varieties, while hybrids are a cross between two different parents. Hybrids may not produce true-to-type. 

Read more about types of seeds in our past post, What’s in a Seed: Open-Pollinated Vs. Hybrid Vs. GM.

Isolate Varieties

Generally, we recommend that you isolate tomato varieties from each other by at least 10 feet (for modern varieties) or 35 feet (for heirloom varieties). This distance means that pollinators are less likely to spread pollen between different varieties. Here at Southern Exposure, we have higher standards for pure commercial seed and isolate varieties by a minimum of 150 feet.

However, a little cross-pollination isn’t the end of the world in a home garden, and in many places, it is still the norm. 

Watch and Select Plants

Ideally, throughout the season, you’ve been able to spot plants that are performing particularly well. Maybe they transplanted better, grew faster, produced earlier, or seemed less susceptible to blight. When you go to save seeds, aim to use tomatoes from these high-performing plants. 

Pick Overripe Tomatoes

To ensure all the seeds inside are mature, select tomatoes that are as ripe as can be. Don’t worry if they’re soft, split, or damaged. Underripe tomatoes will result in lower germination rates. You can leave tomatoes out to ripen for a few more days if necessary.

Process the Tomatoes

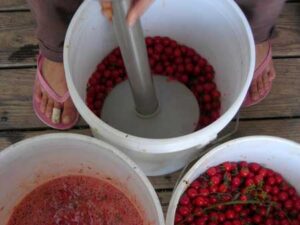
The easiest way to process tomatoes is just to blend or mash them up. This is especially true if you’re working with a large amount of tomatoes as we do. We often use a five-gallon bucket and an immersion blender.

However, if you’re working on a smaller scale and want to save as much of the tomatoes as possible, just cut them open and scoop out the gelatinous, seedy pulp. Place this material into a bucket or jar. You can use the rest of the tomato for making sauce, dehydrating, or canning.

Ferment the Seeds

It may sound weird, but you’ll get better results if you let your tomato 
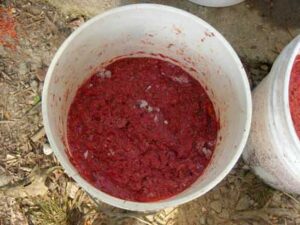
seed mixture ferment for 2 to 3 days. Tomatoes seeds have a gelatinous coating. In the wild, tomato seeds would fall to the ground, and this coating would slowly rot off until it was time for them to sprout. 

To ferment your seeds, place them into a bucket or container with a lid or cover. This lid should keep out flies, but you don’t want it to be airtight as air pressure could build up as the tomatoes ferment. Stir this mix about every 12 hours. A little mold will probably form on the surface. Don’t worry it won’t hurt the seeds; just mix it in.

Wash Your Tomato Seeds

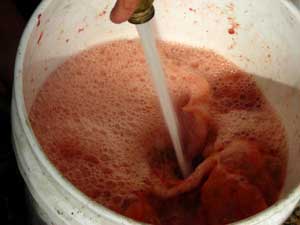
After your tomato seeds have fermented, you’ll want to add some water. For the large batches we process, we like to use high water pressure, which helps to dislodge the seeds from the pulp you can also give the mixture a good stir. Once you’ve added the water, the pulp, and any bad seeds will float to the top, while good, viable seeds sink to the bottom.

Pour off the pulp and most of the water. Add more water and pour the pulp off again. Repeat this process until you’ve removed as much pulp as possible. Lastly, strain your seeds and rinse them in a mesh colander or similar screen.

Dry Your Tomato Seeds

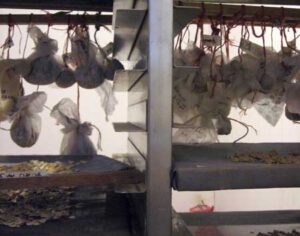
Dry your tomato seeds so that they’re out of direct sunlight and get good air circulation for three weeks. You can lay them flat on screens, pieces of paper, or paper towels. Don’t put them in a dehydrator; it can damage the seeds. You can also hang small bundles in pieces of cloth.

Label and Store Your Seeds

It’s best to store your seeds in an airtight container somewhere cool and out of direct sunlight. An airtight container in the freezer works well for tomato seeds and many other seeds. 

Always label your seeds well. Our memories are never as good as we think they are! Be sure to include the variety name and year of harvest on your label.

This winter, you don’t need to order seeds, and next spring, you can proudly plant your own! Following these simple steps, you can proudly save tomato seeds and steward a variety for years to come!