Tag Archives: fermented food

Farm Ferments: Swiss Chard Kimchi

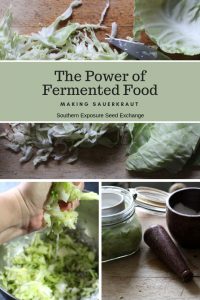
Some evidence suggests that humans have been fermenting food and beverages for over 13, 000 years! This ancient method of food preservation uses naturally occurring bacteria that create acids to prevent spoilage and give fermented foods their sour flavor. Even though most of us now have access to other food preservation methods like canning or just refrigeration using this time-honored technique can still be a great choice for the modern gardener. Recent studies continue to link gut bacteria with mood and some even suggest that good gut health may help prevent depression.

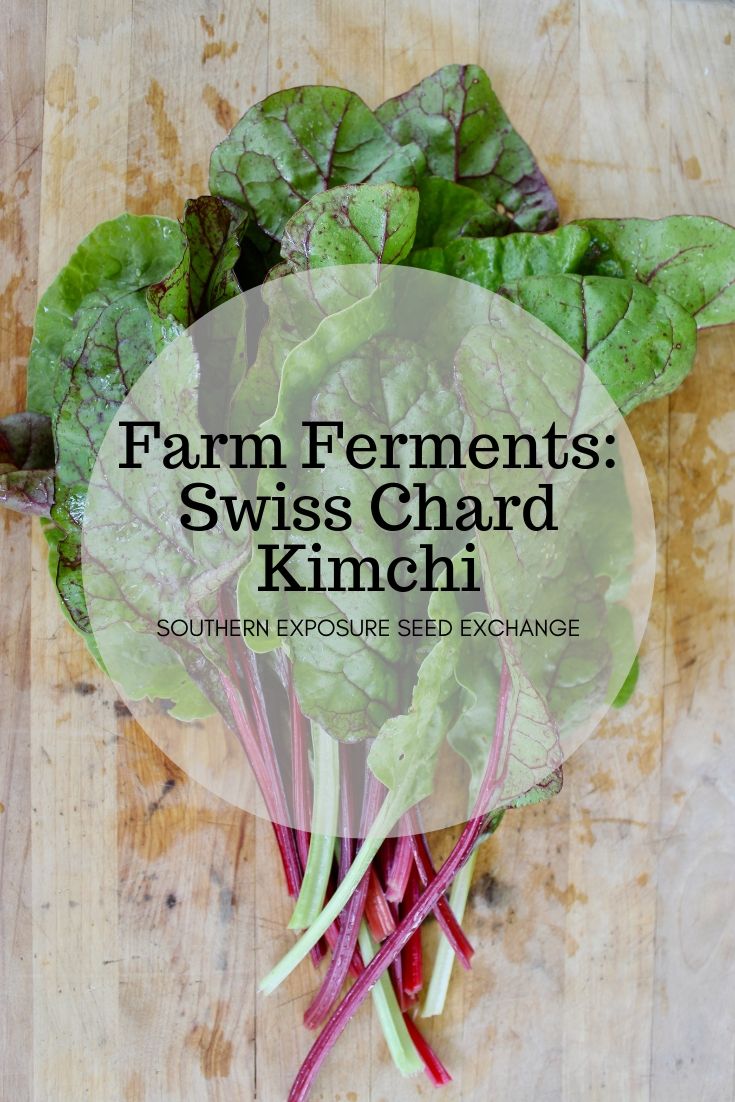
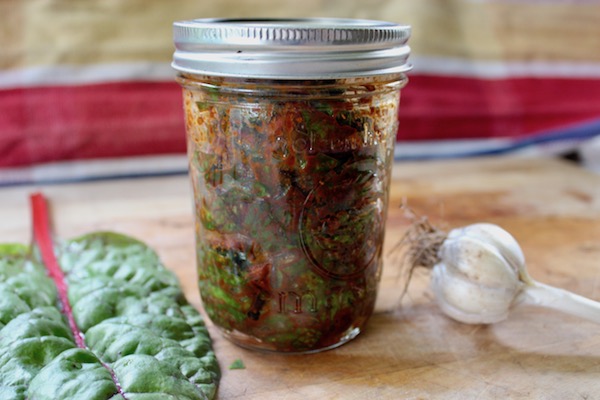
If you want to improve your gut health an easy recipe to try is kimchi. Kimchi has probably been around since before 37 BC and is a staple in Korean cuisine. Traditionally kimchi was made from vegetables like napa cabbage, radishes, and carrots which were fermented in earthenware pots buried in the ground. The ground temperature helped the kimchi ferment slowly and keep for long periods during the summer and prevented it from freezing during the winter. This time of year a great way to make kimchi is with swiss chard.

Making Kimchi

Ingredients

  • about 1lb swiss chard
  • 1 tsp salt
  • 1 tsp sugar
  • 3 TBS red chili powder
  • 1 TBS paprika
  • 5 large cloves of garlic
  • 1 TBS fresh ginger
  • 1 tsp soy sauce
  • 1 TBS sesame oil

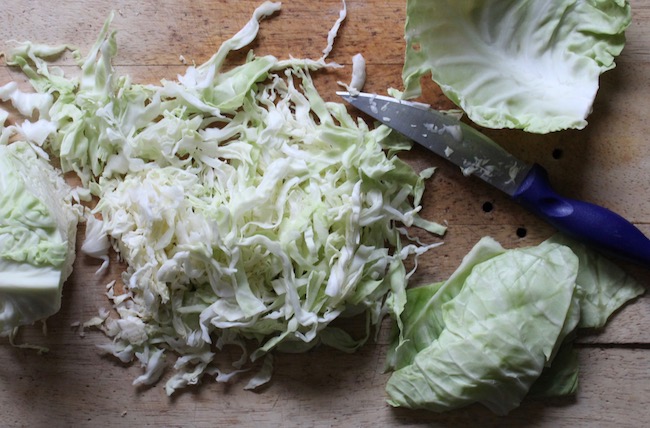
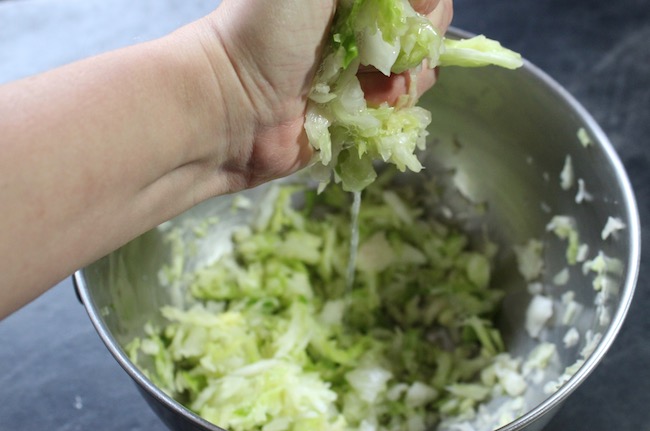
Rinse off your chard and separate the leaves and stems before roughly chopping all of it into small pieces. Thoroughly mix all ingredients. It’s often best to sort of massage them together with your hands like you would sour kraut. You can use gloves for this if desired.

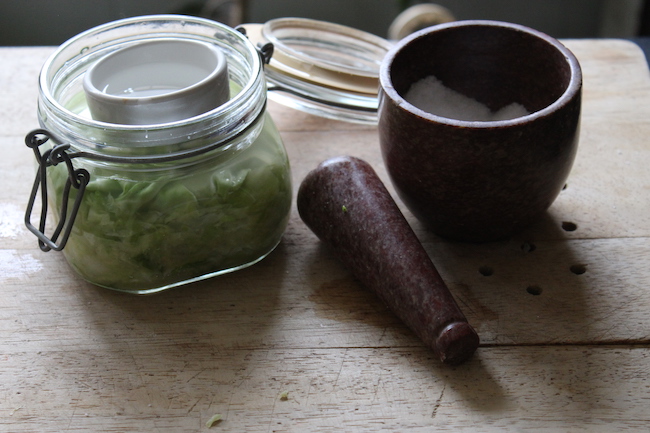
Pack your kimchi into jars leaving at least 1-inch of headspace. Fit lids loosely to your jars and leave them in a spot on your counter out of direct sunlight for 4-5 days. Remove the lids at least once per day to allow any trapped gases to escape and stir your kimchi so the same leaves aren’t always sitting on top. After a few days, your kimchi which shrink down and you may be able to combine jars if desired. Taste your kimchi every day or so and when you like the flavor move it to the refrigerator to slow down fermentation.

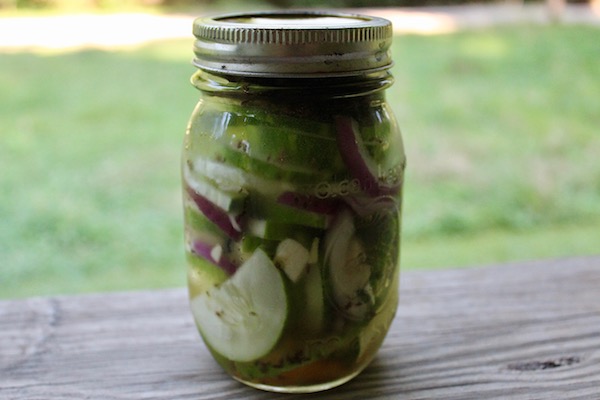
If you like this ferment try making your own sauerkraut!

The Power of Fermented Foods: Making Sauerkraut

Pin it for later.

The Power of Fermented Foods: Making Sauerkraut

You may have heard  people talk about how good yogurt is for you because it contains probiotics. However there’s actually a variety of foods that are naturally fermented and contain these helpful organisms. When made at home, products like kimchi, certain pickles, kombucha, and even natural sodas are all chock full of probiotics. One of the easiest foods to ferment yourself is Sauerkraut.

Benefits of Sauerkraut

  • It’s great for gut health.
    The probiotics in sauerkraut helps keep your digestive system healthy.
  • Kraut is highly nutritious.
    The fermentation process makes the vitamins and minerals in cabbage more accessible to your body.
  • It’s good for your immune system.
    Many studies show having a healthy digestive system is important to having a healthy immune system.
  • It’s a  great way to preserve and use extra cabbage.
    It can last for months in the fridge or cold storage.
  • It may help improve your mood.
    Some recent studies have led scientists to believe that there’s a connection between gut flora and a person’s mood. Eating fermented foods like sauerkraut may help you feel better physically and emotionally.
  • It’s simple to make.
    Sauerkraut requires just 3 basic ingredients and there’s no fancy equipment needed!

Want to make your sauerkraut? Here’s what you’ll need to get started:

  • Cabbage
  • Kosher, pickling, or sea salt (non-iodized)
  • Knife and cutting board
  • Mixing bowl
  • Clean jar or jars with lids

To begin rinse your cabbage and then set a few nice, whole cabbage leaves to the side (you’ll need one per jar). Then finely slice your cabbage. If you’re doing a lot of kraut you may want to use a mandolin vegetable slicer however I usually just use a knife.

If you were to read more on the most popular recipes on the internet, you’d know that a lot of recipes call for a specific amount of cabbage but you can use as much as you’d like to make and adjust your salt to the amount of cabbage you’re using. You should use approximately 1 1/2 tsp of salt for every quart of kraut you’re making.

Once you’ve sliced your cabbage, place it in a mixing bowl. Slowly add the salt while squishing the salt and cabbage together with your hands. The cabbage will begin to look slippery and shiny. Eventually there should be a good bit of juice (called brine) in the bowl. You should be able to see it run out of a handful of cabbage when you squeeze it. If you taste your cabbage, it should be pretty salty but not disgustingly so.

Then you can pack your cabbage into a clean jar. Start with a spoonful or handful at a time carefully packing each one into the jar to avoid any air pockets. You can use a clean spoon, your hand, a tamper, or a pestle. Leave at least an  1 1/2 inches of head space in your jar.

Use the cabbage leaf you set aside at the begin to cover the top of your kraut. You want all of your cabbage to be fully submerged. You can way your kraut down with a sterilized stone like I did for these pickles or if you have enough room you can use a little dish of water. You can also use a ziplock bag of water or a crock weight if you have one.

Place your jar or jars of kraut out of direct sunlight but somewhere you will remember to keep an eye on them. You kraut will need to ferment between 4-14 days. It will ferment faster in warmer temperatures. You should open your jar at least once per day to let out any gases that have built up. You don’t want your jar to explode. You may also need to pack the cabbage down if you notice any above the brine or any air pockets. If you notice a film on top of the brine you can just scrape it off. It won’t hurt you.

You’ll know your kraut is finished when it is more yellow than green and translucent. It’s flavor will get more intense the longer it ferments so how long you leave it is up to you. Once it’s finished you can store it in the fridge or a cool root cellar to stop fermentation.

Pin it for later.

Easy Fermented Cucumber Pickles

Fermenting food is actually one of the oldest and safest methods of food preservation. Despite this fermenting food as a means of food preservation has largely been replaced by canning and freezing. While fermented foods may require a little extra care and attention they are still pretty easy to make and are beneficial to eat. Eating a diet that includes fermented foods promotes healthy gut flora and good digestion.

Fermented cucumber pickles are an easy way to get started with fermented foods and they’re just as tasty as home canned ones! They’re also easy to make in small batches, perfect for people with smaller gardens.

Here’s what you’ll need:

  • fresh cucumbers
  • filtered water
  • salt 
  • onions
  • spices (dill, pepper, garlic, etc.)
  • jar or crock
  • crock weight
  • *optional – grape leaves 

Directions

Rinse your cucumbers and remove any that are bruised or damaged. If you’re making a large crock and can fit them in whole they’re ready to go. If not slice your cucumbers however you desire. Spears and slice both work fine.

Mix your cucumbers, onion slices, and spices and pack them into your jar or crock leaving an inch or so of head space.

Don’t worry that the recipe isn’t specific. It doesn’t matter! Unlike canning you can mess around with ingredients without making your food unsafe. If you’re not sure what spices you’d like small batches are wonderful for trying different combinations.

In a quart jar mix 1 1/2 TBS salt and water until the salt is dissolved and pour over your cucumbers. Repeat this process as needed until they’re completely covered.

Place some sort of weight over your cucumbers to hold them under the water. You can purchase a crock weight, use a plate, or use a clean rock. In my mini batch pictured above I washed a small rock and used it.

If desired you can also layer clean grape leaves over the top of your cucumbers before weighing them down. The grape leaves help keep the air away from your cucumbers and the tannins in them help the cucumbers stay crisp.

If you’re using a jar you can now lightly put the lid on. Don’t screw it down tight. If gases can’t escape your jar will explode. If using a crock you can lay a clean towel or cloth over it. Let your pickles ferment for 2-3 days on the counter.

Once they’ve fermented they can be moved to cold storage like a refrigerator or root cellar and they’ll last for months!

Pin it for later.