

Radishes are often at the top of the list for beginner gardeners, and with good reason. These nutritious roots are tasty, easy to grow, and versatile in the garden and on the plate. In this post, we’ll cover the two types of radishes, growing tips, and how to use the different parts of the plant. It’s not just the roots that are edible!
Spring Radishes
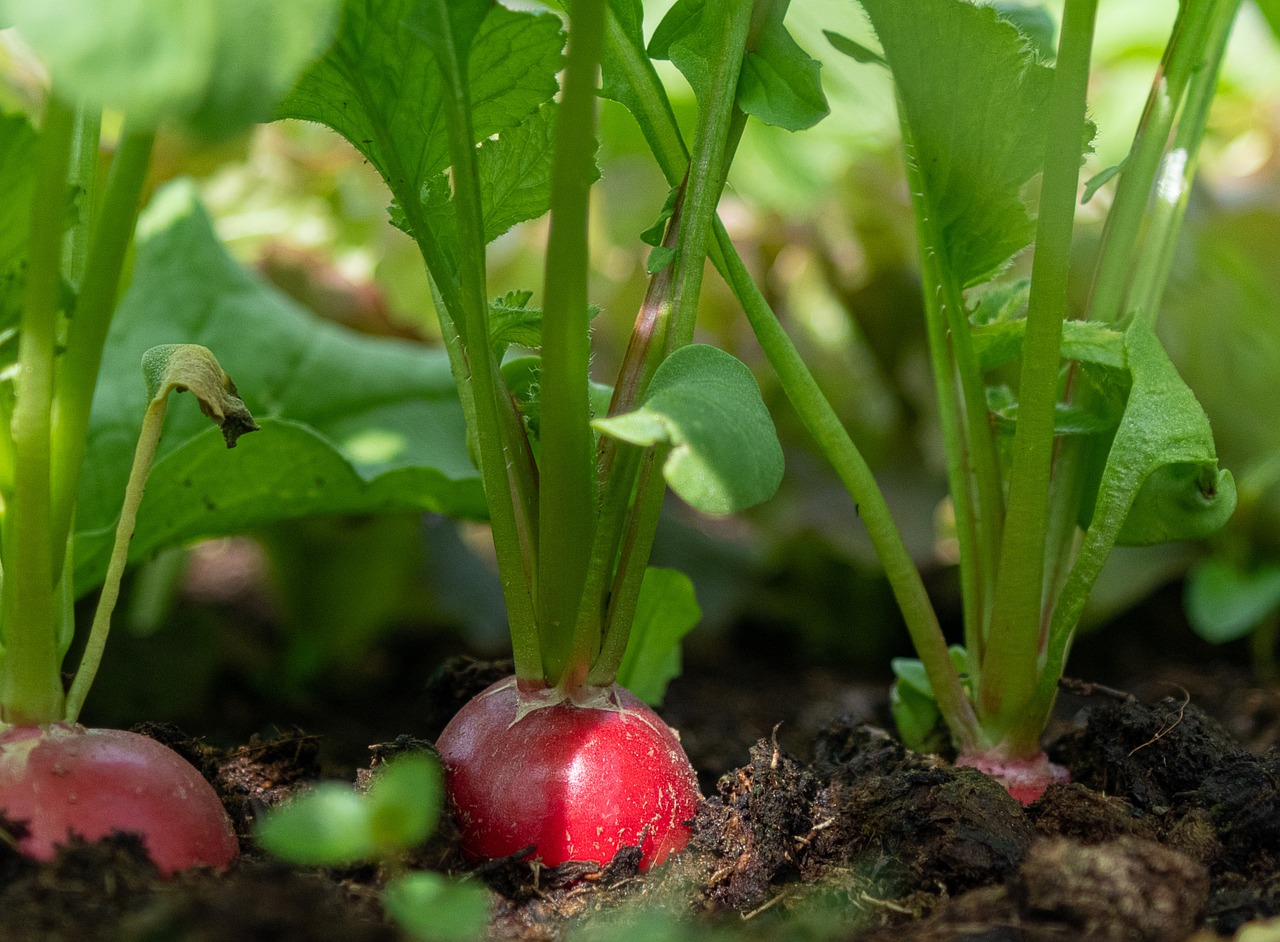
These are the small, crisp radishes you may have eaten in salads. They’re quick growing and thrive in cool weather. Depending on the variety, you can have radishes ready to eat just 24 to 30 days after planting! They may be mild or a bit spicy. Below are the spring radishes we currently carry:
- Cherry Belle
- Easter Egg
- Red Head (Roodkopje) Radish
- Sparkler White Tip
- White Icicle (Lady Finger)
Their quick turnaround time makes them excellent for succession planting. When the weather is cool, you can get a crop or two out of bed before switching to a warm-weather crop like beans or summer squash.
Don’t let the name fool you; spring radishes are also suitable for fall planting. You can enjoy another round of fresh radishes once the weather cools off.
They’re called spring radishes because they aren’t a good storage crop. Generally, we harvest spring radishes when small, only about 1 inch in diameter. If left in the ground too long, these radishes become woody. However, a few varieties, like White Icicle, stand up to heat better, remain mild and crisp, and are sometimes considered all-season varieties.

Fall Radishes
You’ll also find a few radishes listed on our site and catalog as fall radishes. These radishes are larger, slower growing, and generally more starchy with a more robust flavor. They also have a much longer shelf-life. Unlike spring radishes, these radishes are daylength-sensitive and should not be sown in spring.
- Round Black Spanish
- Daikon
- Miyashige White Daikon
- Misato Rose
You can plant these radishes in later summer for fall or winter harvests. These types keep well in the root cellar or soil in areas with mild winters. Often, it’s best to harvest these larger radishes with a fork or spade.
Daikon radishes are sometimes grown as a fall cover crop, particularly in no-till systems. These incredible radishes sometimes grow up to 3 inches wide and 24 inches long. Their large roots help to break up and create air pockets in compacted soil. In areas where the temperature dips below 20°F, they winter kill and decompose pretty quickly, releasing nitrogen early in the season.
How to Grow Spring Radishes
Sow these radishes in the spring as soon as the soil can be worked. They don’t have a long storage length, even in the ground, so it’s best to plant small successions rather than many all at once. Successive sowings can be made through May and again after mid-August.
Sow seeds about 3/4 inch apart, 1/2 inch deep in rows 8 to 12 inches apart, and thin to 1-1/2 inches apart. For good production, water regularly, keeping the soil moist.

How to Grow Fall Radishes
These radishes are daylength-sensitive, so they need to be fall sown.
Sow fall radishes about 5 to 10 weeks before the first fall frost. Sow like spring radishes but thin to wider spacing, about 4-6 inches apart.
Harvest before temperatures drop below 20°F. You can trim the roots and store them for 2 to 3 months in the refrigerator or root cellar.
Radish Pest Issues
Radishes aren’t particularly pest-prone, but like other crops, they are susceptible to a few pests, including cabbage loopers, flea beetles, and slugs. Early spring radish crops often avoid pests because of the cold weather. You can also use row cover to prevent pests.
Diatomaceous earth is an effective organic treatment for flea beetles and slugs, while you can use Bacillus thuringiensis to treat cabbage loopers if necessary.
Cooking with Radishes
While we often think about growing radishes for their roots, you can eat the entire plant. Radish leaves, flowers, and seed pods are also edible.
Even the young leaves can have a rough, irritating texture, but this disappears upon cooking. Radishes greens can be used similarly to kale or spinach. Try adding them to stir-fries, soups, or pesto.
Spring radishes are sometimes called salad radishes because they’re excellent fresh from the garden and are easy to throw into pasta, potato, and green salad. They’re also good cooked and tasty in recipes like lo mein or curry.
Fall radishes are starchier and offer a more intense flavor, making them better suited to cooking. They’re lovely roasted with salt, spices, and olive oil or cooked in stews and other hearty dishes.
The flowers can be used similarly to the greens or tossed into fresh salads to add a touch of color. The seed pods that follow them are also tasty. Some radish varieties are grown primarily for their seed pods. Like the flowers, they’re excellent raw, or you can lightly sautee them.
How Do I Save Seed from My Radishes?
If you plan to save seed from your radishes, it’s best to isolate your varieties. Isolate a minimum of 1/8 mile for home use. For pure seed, isolate from wild and cultivated radishes by a minimum of 1/4 to 1/2 mile.
You also want to think about population size for viable seeds. It’s best to save from at least five plants for home use, but if you’re going to maintain a variety over generations, seed from 20 to 50 plants would be better.
Radishes may be annual or biennial, depending on the variety. After flowering, they produce seed pods, which become brown and dry when mature. Thankfully, they don’t split quickly, so you can wait to harvest until they’re fully dry.
The pods are difficult to thresh. You may want to shell them by hand if you’re only preparing a small amount. Threshing radish seeds takes a lot of force. Some folks put them in tarps or old feed sacks and drive over them with a vehicle.
Thankfully, radish seeds are usually much heavier than the chaff and are generally easy to winnow.

