All posts by Jordan Charbonneau

Transplanting: 9 Tips for Success

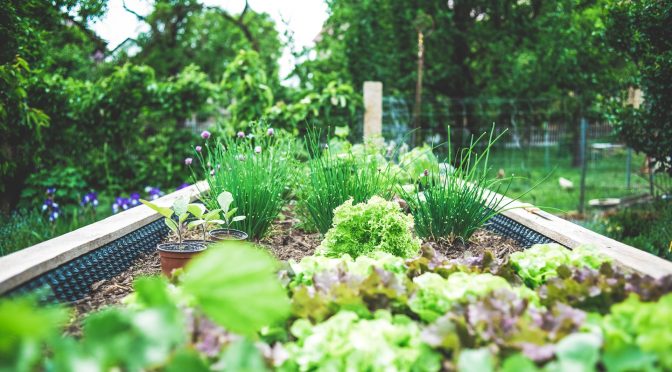
This time of year is all about planting. We’re transplanting cabbages and broccoli this week in our zone, but soon it’ll be time to start setting out tomatoes, peppers, and other warm-weather crops. While transplanting is relatively straightforward, there are a few things you can do to ensure your seedlings grow successfully.

Hardening Off

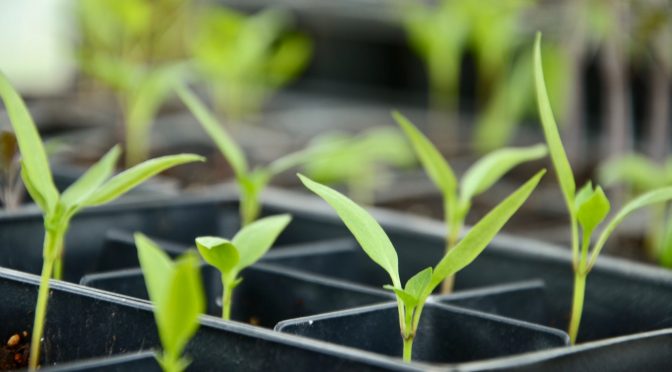
The first thing you need to do is harden your seedlings off. Seedlings accustomed to the relatively stable conditions in your home just aren’t up to coping with the outdoors just yet. For best results, move your plants outside for a few hours each day, gradually increasing the time over a week or two. This process allows your seedlings to become accustomed to the sunlight, wind, outdoor air temperature.
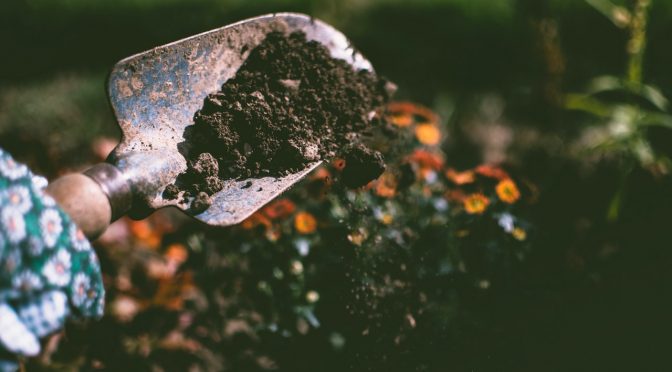
Prepare Your Soil

Transplants do best when they have fertile, soft soil to grow in. You can prepare your bed by incorporating a couple of inches of finished compost and loosening the soil with a garden or broad fork. It’s also a good idea to dig a larger hole than your transplant needs and fill in around your plant with compost.

Choose an Overcast Day

Even though you’ve hardened off your seedlings, it’s best to plant them on an overcast day. Transplanting is a bit stressful for plants, and a lot of heat and sun can make it harder for them to recover quickly. If you have to transplant on a sunny day, you can use shade cloth or similar material to create a bit of temporary shade.

Water Before Planting

Ensure that your seedlings are watered well before planting, preferably paying extra close attention starting a day or two ahead of time. Dry seedlings will have a more difficult time recovering from transplant shock.

Newly transplanted leek.

Gently Break Up Roots

If you notice that your transplants are root bound, meaning the roots have formed around the container’s inside, it’s a good idea to break them up a bit gently. Gently pinch apart the bottom and sides of the roots in a few places. These breaks will encourage the roots to grow outward.
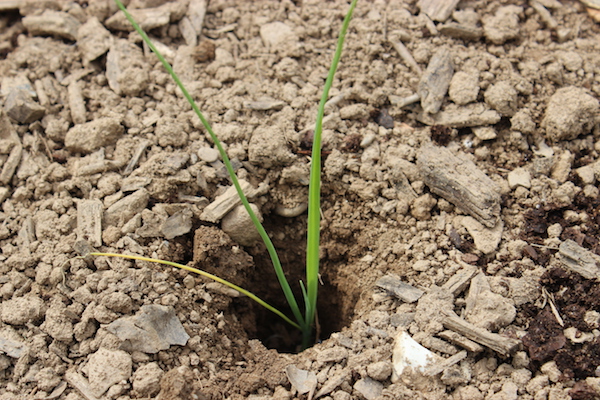
Proper Planting

For most crops, you should plant your seedlings so that the soil is at the same level as it was in the pot. However, tomatoes will grow roots from farther up their stem, so it’s helpful to buy them deeply. You can plant tomatoes so that their first set of leaves is just above the soil (if the first set is yellow or dying, remove it and plant up to the next set). Another exception is leeks which you should plant in a hole to create the nice white, blanched stems.

You can also give your plants a bit of extra help by creating a small basin around your transplant. The basin will help catch and hold water while the plant is young.

If you’re using peat pots or other pots that you plant into the ground, it’s essential to avoid leaving any sticking up. You may need to tear a bit of the top off the pot. Leaving any material such as peat pot or newspaper sticking out into the air can wick moisture away from the plant’s roots.

Press the Soil in Gently but Firmly

Once your plant is in the hole, you should gently but firmly press the soil around it. If you don’t press the soil in, you may leave air pockets around the plant, preventing root growth.

Give Your Plants a Boost

After you’ve got your transplants in, you’ll want to water them. If you can, it’s best to provide extra nutrients with the water. Liquid kelp or seaweed liquid fertilizer is excellent for this. You should follow package instructions, but you typically only add a tablespoon or two to every gallon of water. Alternatively, you can use mild compost tea. Water at the base of the plant and avoid pouring all over the leaves.

It Will Take Plants a Little While to Take Off

Don’t be worried if you don’t see a lot of new growth quickly. When you first plant your seedlings, they’ll be working hard to establish healthy root systems. This will happen before you get to see any foliar growth. However, once their roots are established, you should see good growth.

Spring planting is a fun time of year for many gardeners. It’s good to be out in the garden finally and starting to see plants on their way. Make sure that your seedlings transplant well this year by using these simple tips. Getting your plants off to a good start can help ensure a good harvest.

10 Easy Ways to Improve Your Soil

Want healthy plants? Start by building healthy soil. Your soil health can affect your plant’s productivity, disease and pest resistance, and more. Use these ten strategies to improve your soil and build a healthier, more productive garden.

1. Start composting.

Compost enriches the soil and adds structure and beneficial fungi and bacteria. It’s an excellent amendment for any garden and easy to make yourself. Check out our post, Black Gold: Making Compost, for easy directions to get started in your backyard.

Those without yards can consider vermicomposting or check with community gardens or city compost facilities to bring kitchen scraps to and access aged compost.

2. Grow cover crops.

Cover crops are not just for big farms! Cover crops help improve the soil in many ways. Some are “nitrogen fixers” like clover and vetch and add nitrogen to the soil as they grow; other crops like buckwheat help quickly build up organic matter and make excellent mulch.

All cover crops are a good way to cover the soil. They shade it holding in moisture, provide habitat for beneficial insects and pollinators, and their roots hold the soil preventing erosion.

You can read more about using cover crops in your garden here.

3. Get a soil test.

Testing your soil can help you make the best choices for your garden, saving you time and money. You’ll learn what nutrients may be missing and whether you should amend your soil’s pH. Check out Understanding Soil Tests for a more in-depth explanation.

You can purchase at-home soil tests at most garden centers or send your soil to be tested. Many universities and state and county extension services offer very affordable soil testing.

4. Understand the soil food web.

The soil food web is similar to a “food chain” but is non-linear. It’s made up of plants, animals, and all the organisms in the soil from visible insects and fungus to microscopic bacteria. A healthy soil food web is key to a healthy garden and ecosystem. Learn more by reading our post, The Soil Food Web.

5. Reduce erosion.

Not everyone is blessed with a large, perfectly flat garden site. Even if you are, wind can still wreak havoc on exposed soil. Don’t lose soil to the effects of wind and water.

If you live in a windy area, utilize windbreaks. These can be fencing, shrubs, or trees. Even young shrubs and trees can make a surprising difference.

To prevent water erosion, you should try to keep your soil covered. Use cover crops whenever possible and keep the soil around plants mulched. Permanent pathways with a cover crop like clover are ideal.

If your property is sloped, look into permaculture methods like planting on contour and building swales. These can help you stop erosion and collect water for your plants!

6. Provide habitat for beneficial insects.

When people hear beneficial insects, they often think of bees, butterflies, and other pollinators. While you should strive to help these species, there are many more that also play key roles in keeping your garden healthy. These include many predatory species such as wasps, beetles, and mantises.

You can support beneficial insects in many ways. Using cover crops and mulch, as I mentioned above, helps provide habitat as does planting native species and leaving dead material in your garden (unless it has a pest or disease issue). You can also create your own habitat by building an insect hotel.  Of course, it’s also important to avoid using pesticides. Even organic pesticides can spell doom for beneficial insects as they usually affect more than one species. 

7. Use mulch.

I’ve mentioned mulch a couple of times now, but it’s incredibly helpful in the garden. It helps to block weeds, keep the soil cool and moist (or warm in the winter), and provides structure and organic matter as it breaks down.

Check our post, Mulch Ado…, to learn more about why mulch is important and how we use it at SESE.

8. Rotate your crops.

Whether you have an acre in garden or just a tiny little plot, you should rotate your crops. Rotating crops prevents pests and diseases from building up the soil where you grow a particular plant. It also helps to reduce nutrient depletion. One year you grow heavy feeders like tomatoes or corn, and the next, you grow nitrogen fixers like beans and peas or a cover crop.

Need advice? See Planning Crop Rotation by Plant Family.

9. Amend your soil.

As you’ll learn from your soil test, it is sometimes necessary to add amendments to your soil. These amendments can be used to change the soil’s pH like lime, wood ash, or peat moss. Other amendments allow you to add the macro and micronutrients that are necessary for plant growth. These include manure, compost, eggshells, greensand, and fertilizer.

Learn more about amendments and common nutrient deficiencies in plants here.

10. Reduce or eliminate tilling.

Rototilling may seem like a crucial part of gardening, but many farmers, gardeners, and scientists have discovered that it’s possible to grow a more productive and more environmentally friendly garden by ditching the tiller.

Going no-till reduces compaction and keeps the soil structure intact. It allows you to use plant and cover crop residue as mulch that will decompose as it would in a natural ecosystem. It also allows beneficial bacteria, insects, and fungi to thrive in the soil. 

Follow these tips to build healthy soil in your garden.

13 Things I Wish Someone Told Me When I Started Gardening

I’m a firm believer that having a good, productive garden is a lot more about hard work than having a green thumb. That being said, there are some things I’ve learned along the way that I wish someone had told me from the start.

Use supplemental light when starting seeds.

Popping your seed trays into a sunny window just won’t cut it. You’ll end up with weak, leggy seedling straining for more light. Use supplemental light and keep it a couple of inches above your plants. You don’t need fancy grow lights; old shop lights will do! Need more advice? Here are 8 Common Mistakes to Avoid When Starting Seeds

Make room for flowers.

When I started my first garden, I didn’t plant any flowers. After all, why waste space and effort on something you can’t eat? I like to think gardening has helped me grow a bit wiser, and now I always make room for at least a few. Flowers are beautiful, and they help attract beneficial insects which pollinate plants and kill pests! Plus, if you want to maximize their utility, you can plant edible flowers.

Those little tomato cages they sell at the store are useless.

Your tomatoes will outgrow and topple those dinky little wire cages, I promise. Save yourself some money and disappointment and use a different trellising method. You can use fencing to create your own larger, sturdier cages or use a tried and true method like the Florida weave. Check out our post, Vertical Gardening: The Beginner’s Guide to Trellising Plants for more ideas and advice.

There’s a difference between open-pollinated, heirloom, hybrid, and GMO.

When you’re new to gardening, all the seed-related jargon can be a bit confusing. At Southern Exposure, we carry, almost exclusively, open-pollinated varieties. Open-pollinated means that a variety will “breed true” and produce a reliable seed crop year after year so long as it isn’t crossed with another variety. At SESE, we believe that all gardeners and farmers should be able to save seed if they so desire.

At Southern Exposure, we define heirlooms as open-pollinated varieties that date to 1940 or before. These varieties have withstood the test of time and have been selected over years and years for incredible flavor, disease and drought resistance, and other helpful features.

Hybrid seeds are the careful cross between two specific varieties. This process has to be completed each year. While hybrids aren’t our favorite because they don’t allow growers to reliably save seed, having a few in your garden isn’t the end of the world either. We carry hybrid sweet corn because many market growers prefer it for its uniform size and maturity.

GMO seed is seed that has been genetically modified in a lab. The use of GMO seed in the United States is widespread among large industrial farms growing corn and soy though other crops are grown as well.

Get a soil test.

You’ll save yourself a lot of trouble by having your soil tested. You can purchase home test kits at most garden supply shops, which do a decent job. You can also send your soil in to be tested. Check with your county or state extension agency or a local college with agricultural programs. Most offer affordable, if not free, testing.

Once you’ve had your soil tested, you’ll know what amendments you need to add. Check out our post Understanding Soil Tests.

You’ll save a lot of money starting your own seeds.

Buying transplants gets expensive quickly. If you have a good-sized garden, hope to preserve food, or are growing for a family, it’s worth starting your own tomato, pepper, eggplant, broccoli, cabbage, cauliflower, and more indoors.

Always put up a garden fence.

Even if you’ve never seen so much as a squirrel in your yard, the local wildlife will find your garden. You’ll wake up one morning to what was carefully tended rows of carrots, beans, and cabbages mowed off by the local animals.

Preserving vegetables isn’t complicated or dangerous.

I was anxious that my homemade pickles could kill someone. I also worried that I would be spending hours in the kitchen over a hot stove. Thankfully, safely freezing, canning, drying, and even fermenting vegetables can all be done safely and easily. You also don’t have to can 100 pounds of tomatoes because your grandmother did (unless you want to and then go for it). You can do all kinds of preserving in small manageable batches.

If you’ve got extra produce, give it a try. You’ll find a few recipes here on the blog, or the Ball Fresh Preserving site is an excellent resource.

Buy canning supplies ahead of time.

Especially during the pandemic, canning jars and other supplies like vinegar, lids, and rings can be in short supply during the height of the season. If you’re hoping to do a lot of canning, it’s prudent to buy supplies ahead of time.

Gardening will make you a vegetable snob.

This sounds bad, but it probably isn’t. Even if you’re new to gardening, you’ve probably heard someone talk about just how amazing a homegrown, sun-ripened tomato is compared to the watery, mealy store-bought ones. What I quickly learned is that that is true with all vegetables. From beets and carrots to lettuce and collards, once you’ve had the homegrown version, what’s available at your local supermarket will never taste as good.

Perennials are your best friend.

Perennials are those plants that come back every year without you having to replant them. They’re often some of a garden’s earliest producers too. Crops like rhubarb, asparagus, and lavender are a joy to have in the garden and often require less effort once established.

You can learn a lot about what will do well in your garden and when to plant by understanding your hardiness zone.

We have a whole post about this, but basically, each area of the United States has a different hardiness zone depending on its climate. Each hardiness zone has different first and last frost dates and typical summer temperature highs and winter temperature lows. Your hardiness zone will determine what perennials you can overwinter, when you should start seeds, when you should transplant out, and when you should expect to pull your last crops before the fall frosts.

Ask the locals.

Find out what people are growing in your area and what they struggle with. If everyone on your road has excellent luck with a particular type of tomato, it can be a great starting point, even if there are other varieties you’d like to try too. Other local gardeners will be able to help make your first garden successful by recommending varieties that work well in your area.

Some of these 13 points were tough lessons for me in my first year or two of gardening. Hopefully, keeping these in mind can help you have a happy and successful season.