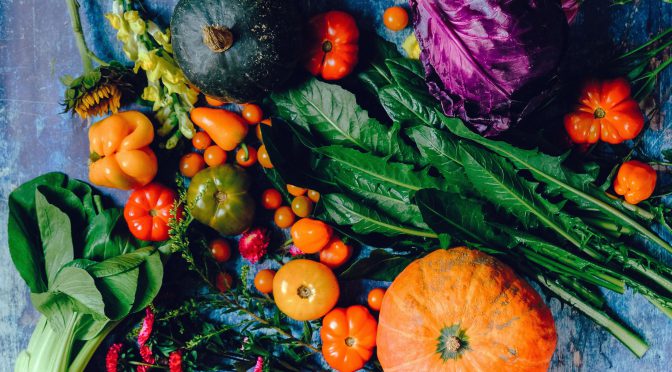
We always say that anyone can grow a bit of there own food but what if you have no outdoor space? There are a few vegetables and herbs that you can grow indoors like houseplants. Plus a few alternatives to indoor growing even if you don’t have so much as a balcony.
Natural Light
If you’ve decided to start an indoor garden the first thing to consider is your home’s natural light. Here in the northern hemisphere south-facing windows provide the most natural light. East and west-facing windows will also provide some direct light. In most situations, north-facing windows will not provide enough light for vegetables.
If you live close to neighbors or another building, be mindful that this could block your direct light. Trees shading your windows are also something to consider.
Indoor gardens are also generally more successful in the summer months when the days are longer.
Grow Lights
Proper grow lights can significantly increase your yield and allow you to grow vegetables and herbs you otherwise couldn’t indoors.
While you can use shop lights, as many do for seed starting, these are generally rather inefficient. They produce less of the light that plants need than grow lights do and put out more heat. This means you’ll have a higher electric bill which may make the purchase of proper grow lights worth it.
Many new LED grow lights are also designed to fit in better in your home. You can find a variety of styles and sizes online.
What to grow?
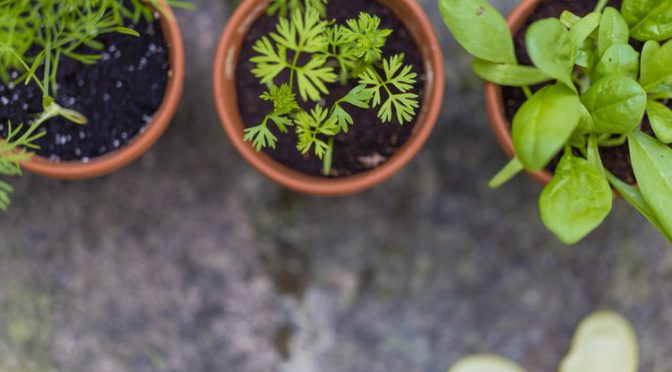
To have the best results, start with plants that are the most shade tolerant. These include leafy greens like lettuce, kale, spinach, and cress. You can also try more shade-tolerant herbs like cilantro, parsley, and mint. These plants are also “cut and come again” plants allowing for multiple harvests.
These vegetables and herbs also stay fairly small and aren’t heavy feeders, allowing you to grow them in small containers.
If you want to grow fruiting vegetables like tomatoes indoors you’ll probably need to learn about tree trimming for small trees and invest in a grow light.
Potting Up
Unlike transplants for your garden, you may not have to transplant indoor plants at all. However, there are a few benefits to starting in a small pot or flat.
Many plants do best when started in smaller pots. Small pots allow you to easily provide optimum growing conditions including ideal moisture and fertility.
If you started plants like greens and herbs in smaller pots you’ll probably need to pot them up in 2-3 weeks. You should try to pot them up once they’re roots are well-developed but not so far along that they’re root bound.
Fertilizing
Occasionally you should feed your plants. Watering with homemade compost tea or liquid kelp is great for this.
For low feeders like greens and herbs, once a month should be plenty. You may need to increase this if you’re growing in small containers or for a long time.
If you’re growing larger, heavy-feeders you may want to fertilize twice a month.
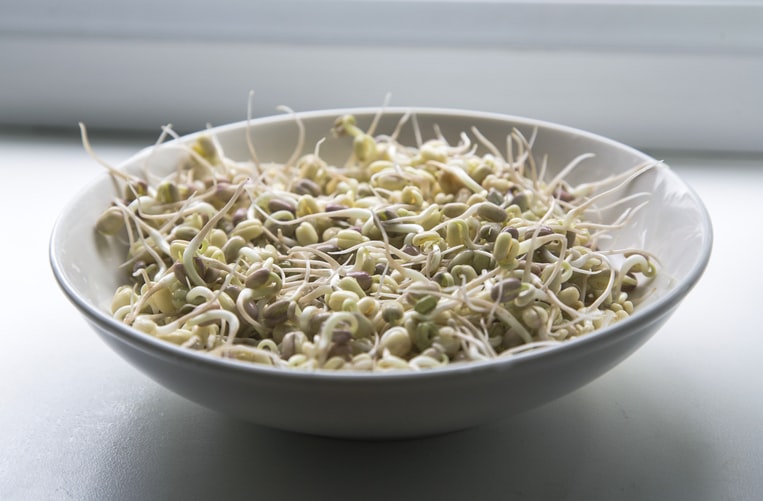
Sprouts
One simple way to grow a bit of food without a big set-up or commitment is to grow sprouts. All you need is a glass jar, water, some seeds, and cheesecloth or a fine strainer.
Soak about 1-2 TBS of seeds like alfalfa, mung bean, or broccoli in a glass jar full of water for 24 hours.
After 24 hours, drain and rinse your seeds. Repeat rinsing and draining every day until your seeds are as sprouted as desired. Then they’re ready to be added to salads, sandwiches, stir-fries, and other dishes.
Your jar can sit on your kitchen counter. Sprouts don’t require direct light, just a warm place.
Alternatives
Another option to gain a bit of outdoor growing space is mounting a window box. This can still be problematic for some vegetables if your window doesn’t get much direct sunlight. They’re also small which isn’t optimum for larger veggies.
If you’re desperate to garden you should also check into community gardens in your area or try to start one yourself. Some CSAs (community supported agriculture) also trade work for part (or all) of the price of a share. Check with farmers near you!
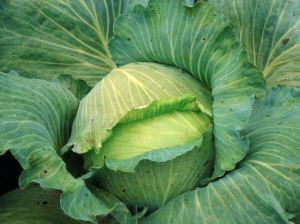 Cabbage
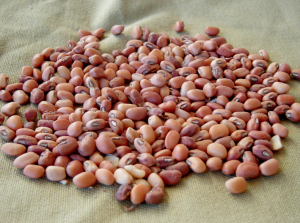 Cowpeas