Category Archives: Garden Advice

12 Creative Ways to Use Pickled Vegetables

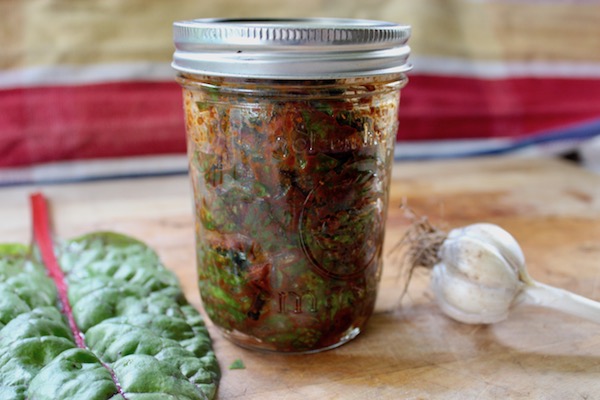
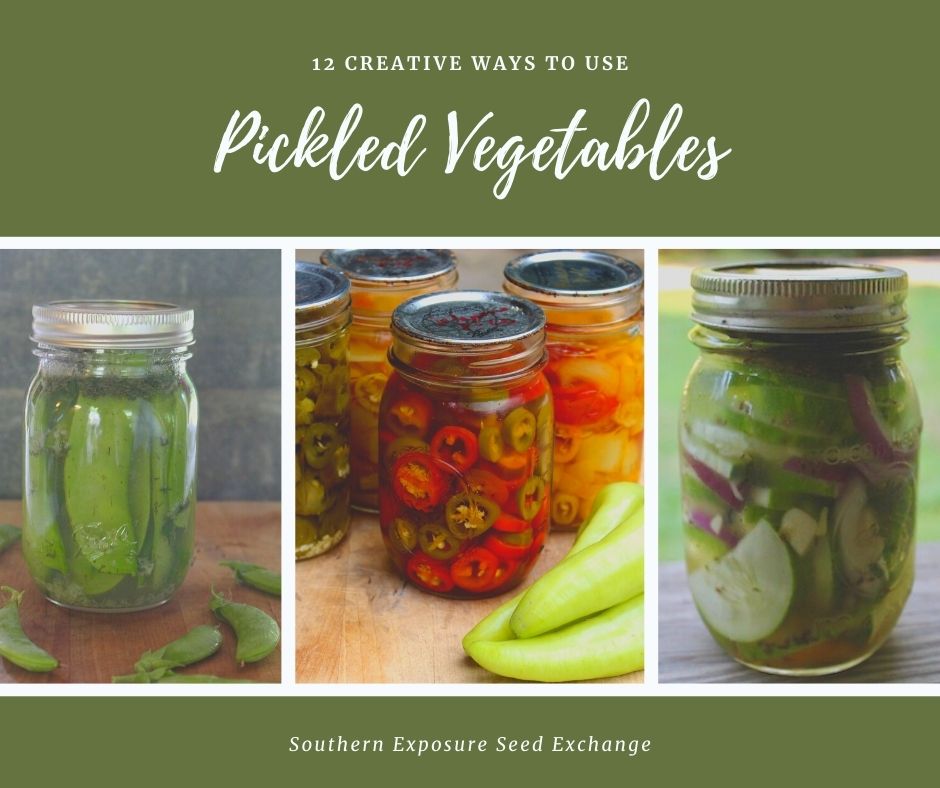
New gardeners are often flooded with produce and ideas for preserving it. Among the most common suggestions is to pickle it and for good reason. Pickled foods are easy to make and store incredibly well. They’ve been a staple in many traditional diets. You can find recipes for pickled peppers, dilly beans, pickled cauliflower, pickled snap peas, even pickled watermelon rind!

If you decide to make a lot of pickles this year, here are a few good ways to use them.

Pizza

Pickled jalapeños, banana pepper, and garlic scapes are great for spicing up wintertime pizzas. They pair well with roasted tomatoes.

Potato or Pasta Salad

Dilly beans, cucumber pickles, or dilly snaps peas add a tasty crunch to your favorite potato or pasta salad recipes.

Spring Rolls

Spring rolls are a fun way to use whatever veggies you have on hand. Tossing in a few pickles is a great way to add a little extra flavor. Try pickled peppers, carrots, radishes, onions, or garlic.

Charcuterie Boards

A charcuterie board with pickles you grew and made is extra impressive. If you don’t want to get too involved they’re also just a great snack alongside crackers, cheese, fruit, and/or nuts.

Omelets

Make a spicy veggie omelet with diced tomatoes, onions, mushrooms, spinach, pickled jalapeños, and salsa.

Burgers

Next time you make a burger try something besides the classic cucumber pickle. Pickled garlic scapes or radishes are a great options. The same goes for cold sandwiches.

Salads

Pickled vegetables salads are surprisingly tasty. Try pickled vegetables like radishes, carrots, cherry tomatoes, onions, cucumbers, or cauliflower. Chop them up small and serve over fresh baby greens with your favorite vinaigrette.

Fried Rice

Finely chopped pickled vegetables are perfect for adding color and flavor to simple fired rice recipes. Try to squeeze out as much liquid as possible so they don’t make the rice soggy.

Cocktails

Pickles make great garnishes for a variety of cocktails. Try some of your pickled vegetables with a Bloody Mary, pickle-juice Margherita, or make some pickle infused vodka.

Soup Garnishes

Homemade pickle garnishes are a delicious and simple way to make soup a little more special.

Deviled Eggs

Small slices of pickled vegetables can make deviled eggs feel a little more special. You can also add a touch of pickle juice to the mixture.

Hummus

Next time you’re having hummus serve it with some finely diced pickled veggies in the center. Peppers are always a favorite!

Pickling vegetables is a great way to store the season’s excess. Learning to incorporate these pickles into meals can help you make the most of your harvest.

Preserving Leafy Greens

One of the best parts of gardening is all the fresh greens. Their grocery store counterparts just don’t compare! Unfortunately, they don’t stay fresh forever. If you’re growing fall greens this year, here are a few ways to preserve your harvest.

A quick note: for best results use freshly picked greens that are free from bad spots. Harvest in the morning or evening if possible and especially if it’s hot, dunk greens in cool water immediately after harvesting. You can use these methods for a variety of greens including collards, kale, chard, and spinach.

Freezing Greens

To begin, put a pot of water on to boil.  While it’s heating, rinse off your greens and roughly chop them. Also, prepare a large mixing bowl or pot of cold water and ice. Once your water boils, blanch your greens in it, about 1 pound at a time, for one 1 minute.

Strain them out and immediately dunk them in your ice water. Then squeeze as much water out as possible. Place them in containers to freeze. Alternatively, spread them out as best you can on a cookie sheet to freeze and move them to containers later so that they don’t freeze together as much.

Dehydrated Greens

Dried greens may sound odd but they can be surprisingly good. Some “heartier” greens like kale, make great snacks when dried with a bit of salt and seasoning. Others like spinach or even lettuce, are great for drying and powdering to add to soups and smoothies.

To dry your greens, rinse them off and lay them to dry on a towel. Then transfer them to a dehydrator tray, placing them in a single layer. Greens with minimal stems can be dried on the “herb” setting or at about 95°F. Green with larger stems may need to be dried at a warmer temperature, between 105°F and 110°F. Your greens may take anywhere from 4 to 12 hours to dry.

When they’re completely dry and brittle, pack them in airtight containers and store them out of direct sunlight. You can also powder them in a blender or food processor first.

Fermented Greens

Fermented foods are excellent for gut health and are easier to make than you’d think. Try our simple recipes for kimchi or sauerkraut and experiment substituting other greens that are available to you such as kale or collards.

Pressure Canned Greens

Many people don’t love this method but if you like canned food, it is possible to pressure can greens. Just like for freezing you’ll need a pot of boiling water and clean, roughly chopped greens. Blanch your greens 1 pound at a time for 3-5 minutes or until well wilted.

If desired add 1/2 tsp of salt to sanitized jars. Loosely fill jars with hot, blanched greens and cover with boiling water leaving 1 inch of headspace. Place your lids on and process pint jars for 70 minutes or quarts for 90 minutes. Use the correct PSI for your canner and elevation.

Learn more about pressure canning greens and canning safety at The National Center for Home Food Preservation website.


Enjoy your harvest!

Aphids, Scale Insects, & Mealy Bugs

Pests can be the bane of many gardeners’ existence and can be especially difficult to cope with if you’re new to gardening. Three pests that commonly make an appearance on a variety of plants include aphids, scale insects, and mealybugs. While they’re three different insects they all attack plants the same way, by feeding on its sap. You’ll find them along the stem and underside of the leaves where they suck the plant’s sap and drain it of important nutrients. They also secrete a substance called “honeydew” which can cause sooty mold to grow on your plants in severe cases.

You may have one of these insects feeding on your plants if you notice wilted, curled, yellow, or misshapen leaves, and water and nutrient issues aren’t the cause. You may also notice “honeydew” a sticky substance on the stem or leaves or the sooty mold that sometimes grows on it. These insects can also spread diseases between plants. 

Aphids

Aphids are tiny, pear-shaped insects with long antennae. Different species are a variety of colors including green, brown, black, pink, white, yellow, and gray. They’re typically wingless though as populations increase many species have a form with wings that can be used to spread and create new colonies.

Scale Insects

Like aphids, scale insects are small and come in a variety of colors in eluding green, brown, tan, yellow, orange, and black. Unlike, aphids they lack antennae and just look like a tiny rounded shell. Their shell means that they’re hard to eliminate as adults because it protects them from most natural pest control methods. However, they’re much easier to eliminate at their “crawler” or nymph life stage before they’ve developed their hard shell.

Mealy Bugs

Mealybugs are white and fluffy and sometimes look like little tufts of cotton or mold. They may look larger when they’re all together in a clump.

How to Prevent/Eliminate Them

Attract or introduce their predators.

As mentioned in a previous post, ladybugs feed on these insects. Ladybugs also need to feed on pollen to reproduce. Including flowers like coreopsis, cosmos, and yarrow in your garden can help attract them. You can also let some of your vegetables and herbs like basil, dill, and lettuce go to flower for them. Ladybugs can also be purchased commercially and released into your garden.

Avoid over-fertilizing.

These insects are all much more likely to infest plants that have high nitrogen levels. Especially if you use chemical fertilizer, be judicious with the amount you use because it may do more harm than good!

Spray them off with water.

Especially if you catch an infestation early, you may be able to get rid of these insects by spraying them off with water. 

Use a little soap.

Spraying your plants with a mixture of 1 tsp of dish soap in 1 quart of water is often effective. You should reapply the spray every 2-3 days for 2 weeks, ensuring you get all the surfaces of the plant.

Try neem oil spray.

Neem oil is a non-toxic, organic pesticide. Most neem oil products come with instructions for mixing (ie. 2 tbs of neem oil per 1 gallon of water). Try spraying all the surfaces of your plant once a day for 7-14 days.

Dab them with rubbing alcohol.

If the infestation is small you can remove these insects with a bit of rubbing alcohol on a cotton swab or rag. 

Dust your plants with diatomaceous earth.

Diatomaceous earth is a powder made from the crushed remains of diatoms, tiny, fossilized aquatic organisms. It cuts through the exoskeleton of many insects and causes them to dehydrate. Just remember, it can harm beneficial insects as well. Avoid using it when plants are in bloom as it can harm pollinators.  

Prune off the affected areas.

If you caught the infestation quickly you may be able to prune off the affected branches and burn them to prevent the insects from spreading.