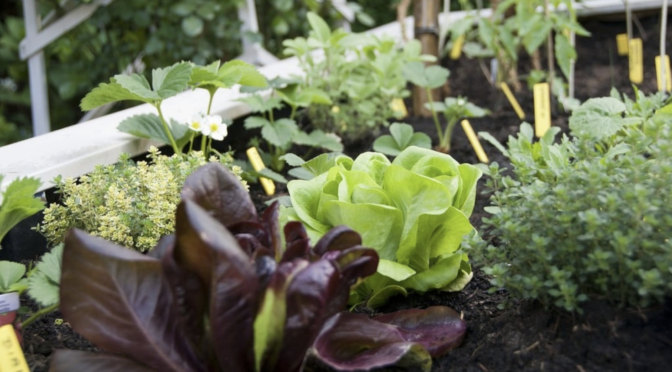
Sunny porches dotted with a mismatched selection of containers filled with medicinal herbs, patios with large containers of tomatoes and hot peppers, or a balcony with window boxes bursting with salad greens are among the many ways to enjoy a container garden. Whether you live in a small apartment or on an extensive property, container gardens have a unique appeal. They add beauty, greenery, and productivity to otherwise plain spaces and can be exciting to tend.
The Benefits of Container Gardens
Container gardens aren’t ideal for everyone, but they offer a few unique benefits whether you’re starting a container flower garden or want to harvest herbs and vegetables.
Perfect for Early Starts
Starting a traditional garden in spring can feel like an exercise in patience. Is the soil warm enough yet? It’s hot today, but we still haven’t reached our expected last spring frost date. Will it frost again? You get the idea.
Container gardeners can take away some of the risk of early planting. The soil in containers warms up early. Plus, if you use portable containers, you can always drag them inside on a night that’s calling for frost.
More Accessible
Container gardens may be more accessible for some gardeners, like those with mobility issues. You can set up your container garden right outside your door so it’s easy to access.
Placing pots on a sturdy table or shelf will alleviate the need for kneeling or bending. You can also design tabletop container gardens at heights and spacing appropriate for wheelchair access.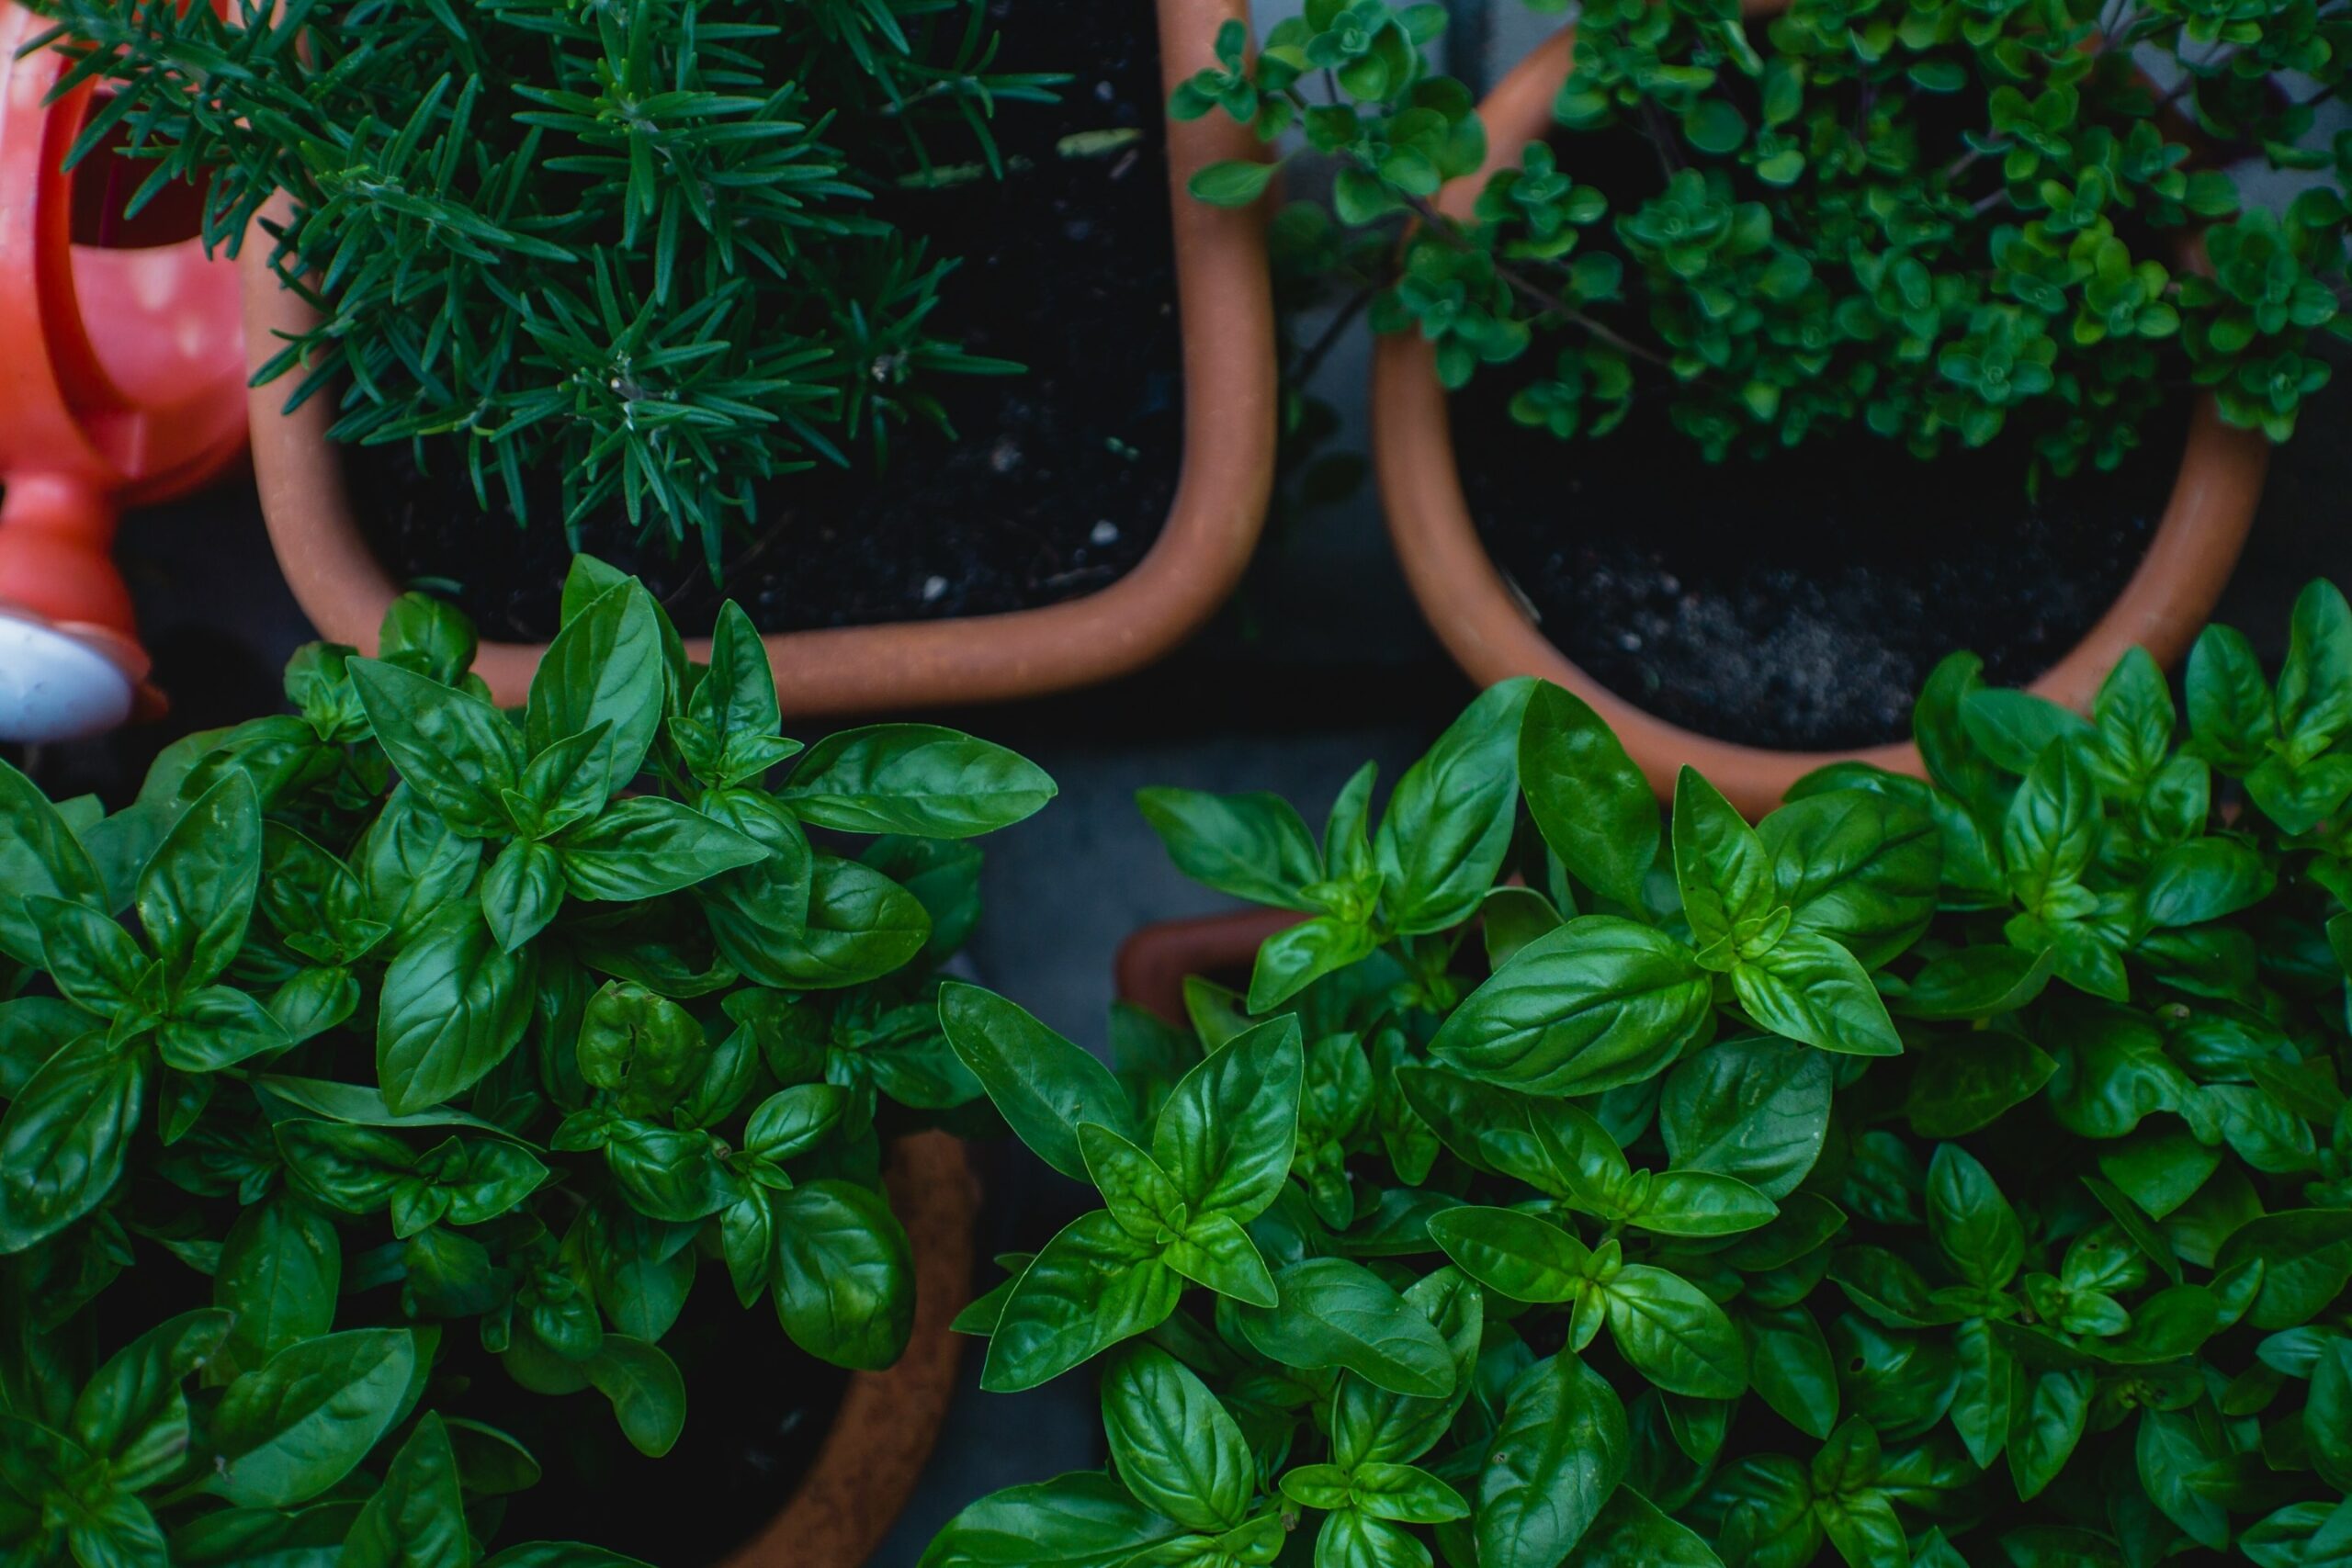
Less Weeding
If weeding is your least favorite task, you’re not alone. Container gardening limits the need for weeding and may create a much more joyful garden experience for you. You can also use mulch in containers just as you would in a traditional garden bed.
Ideal for Making the Most of Tricky Spaces
Generally, we see container gardens recommended for folks who don’t have any access to a yard, like those with apartment balconies or tiled patios. However, container gardens can be helpful in other situations, too.
If you live on a small lot and have already maxed out your backyard growing area, you can sneak in a few more plants on your porch or in any unused parking space.
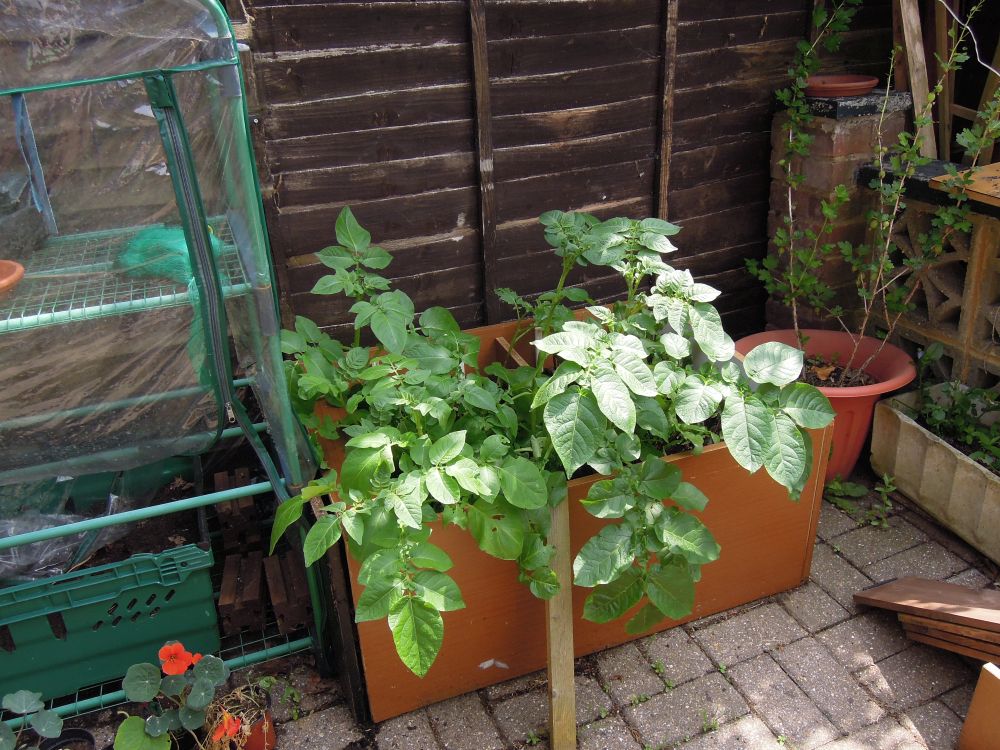
Container gardens are also ideal in areas with poor soil. Newer homes and lots often have poor, rocky soil thanks to topsoil removal, compaction, and the use of fill dirt during the construction process. To create a traditional garden, you’d need to invest in a large amount of finished compost or garden soil, or slowly build up organic matter. In the meantime, a container garden will quickly flourish.
You can also set up containers in areas with contaminated soil, whether the ground is contaminated with heavy metals or fuel from industry or herbicides. Just ensure the roots don’t escape the container into the soil beneath.
You may also choose to use containers if your yard doesn’t receive adequate sunlight. A container garden on a sunny front porch may perform better than a traditional garden in a shady backyard.
Limited Care
Container gardens are arguably easy and faster to tend. If you’re in a busy stage of life or have little energy, container gardens can help you enjoy growing and produce a harvest on a tight schedule.
The Disadvantages of Container Gardens
Like with any gardening technique, there are a few trade-offs when choosing container gardening.
Limited Space
The obvious drawback of container gardens is that they offer limited space. Even if you purchase large containers, this system will limit space-intensive crops like large vining pumpkins and sweet corn. While it’s still possible to grow these crops with a bit of ingenuity, you’ll likely see a smaller harvest than in a traditional garden bed.
Want growing ideas? Check out our post, 12 Varieties Perfect for Container Growing.
Less Affordable
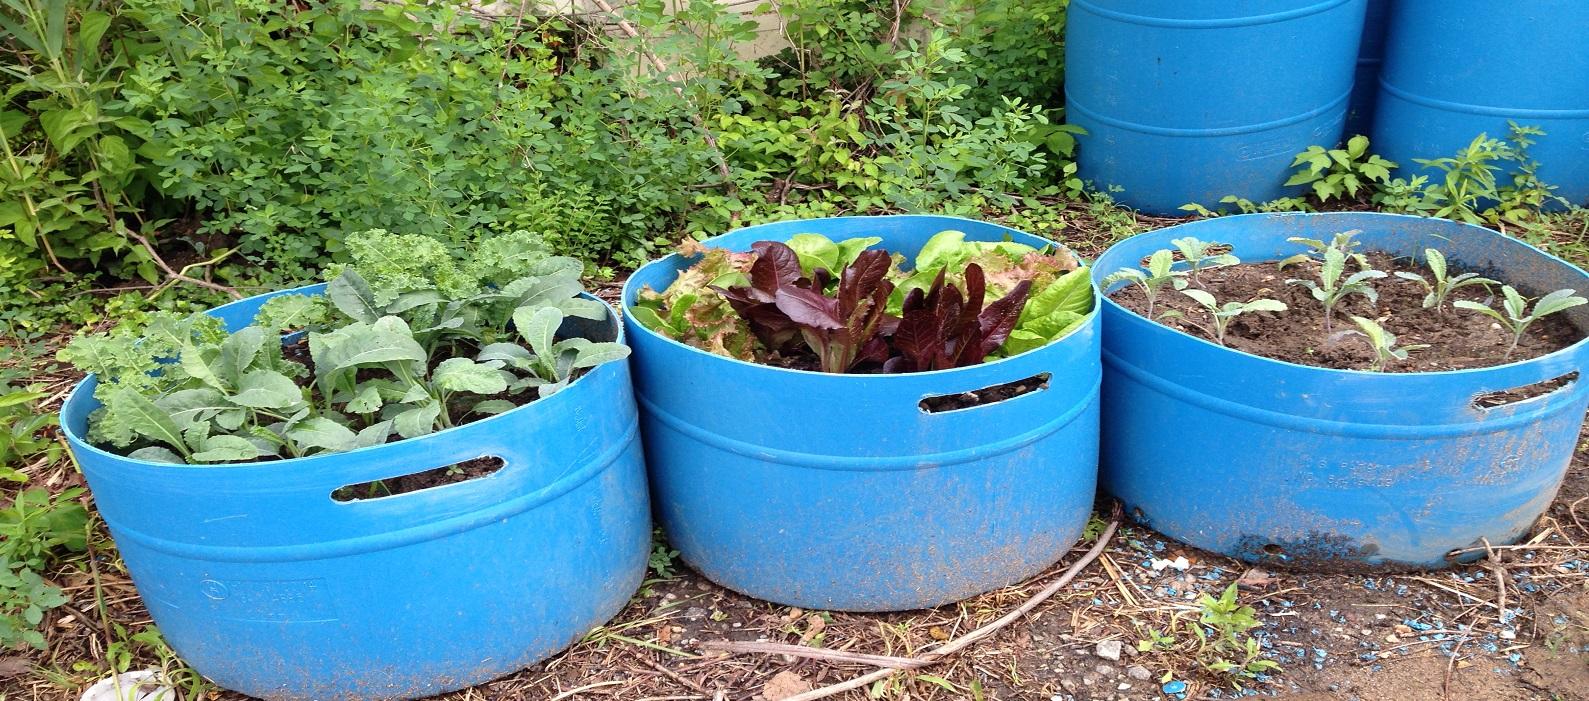
Depending on what you need to purchase for your container garden, it can be quite costly. Upcycling containers can help mitigate the expense, but you’ll still need to buy potting soil and amendments.
That’s not to say that traditional gardens are always cheaper. Many people find they need to purchase large amounts of compost or other amendments for good production.
More Watering
Containers will dry out much more quickly than traditional beds. Especially in hot, sunny climates, you’ll need to stay on top of watering. Using light-colored containers and mulch can help some, but plants will still suffer quickly if you forget to water or leave for vacation without a garden-sitter.
Additional Nutrients or Fertilizer Required
In a traditional bed, your plant’s roots will move further into the soil as they grow, accessing more nutrients. Ideally, you’ve also worked to build nutrients and organic matter in the soil over time through methods like composting, cover cropping, and mulching.
In a container of potting soil, plants have access to a limited supply of nutrients. During the season, you’ll need to offer your plants a boost if you want good production. Liquid fertilizers like fish emulsion or liquid kelp are great easy to apply, organic options. You can also mix finished compost with your potting soil at the start of the season to create a more nutrient-rich blend.
How often you’ll need to fertilize will depend on the plant. A slicing tomato that fruits heavily will use a lot more nutrients than a pot of lavender. Fertilize whenever you see signs of nutrient deficiencies, like yellowing leaves, or when the plants begin to flower.
Container gardening isn’t the perfect solution for everyone. Like any gardening technique, it comes with a unique set of benefits and drawbacks. Weighing these considerations can help you decide if it’s the right choice for your garden.
Think container gardens might be the right choice for you? Check out our post Grow Anywhere: Tips for Container Gardening.