“It’s exciting to see things coming up again, plants that you’ve had twenty or thirty years. It’s like seeing an old friend.”
― Tasha Tudor, The Private World of Tasha Tudor
Many of the perennials we offer are not as productive as our annual and biennial crops, but that doesn’t mean that they don’t offer an allure all their own. Perennials bring low maintenance beauty and flavor to the garden and table year after year. Here are a few perennials that you can still add to your garden this season.
Perennial Flowers
There are many flower species you can plant this fall, and some, like echinacea, actually perform better when fall sown. That’s because certain flower species, particularly natives, require cold stratification to germinate.
Cold stratification means that the seeds must go through a cool, moist period before they will break dormancy. If you plant these seeds in the fall, they will stratify over the winter and germinate in the spring.
Here are some of the flower species you can start this fall:
- Echinacea (Coneflowers)
- Rudbeckia
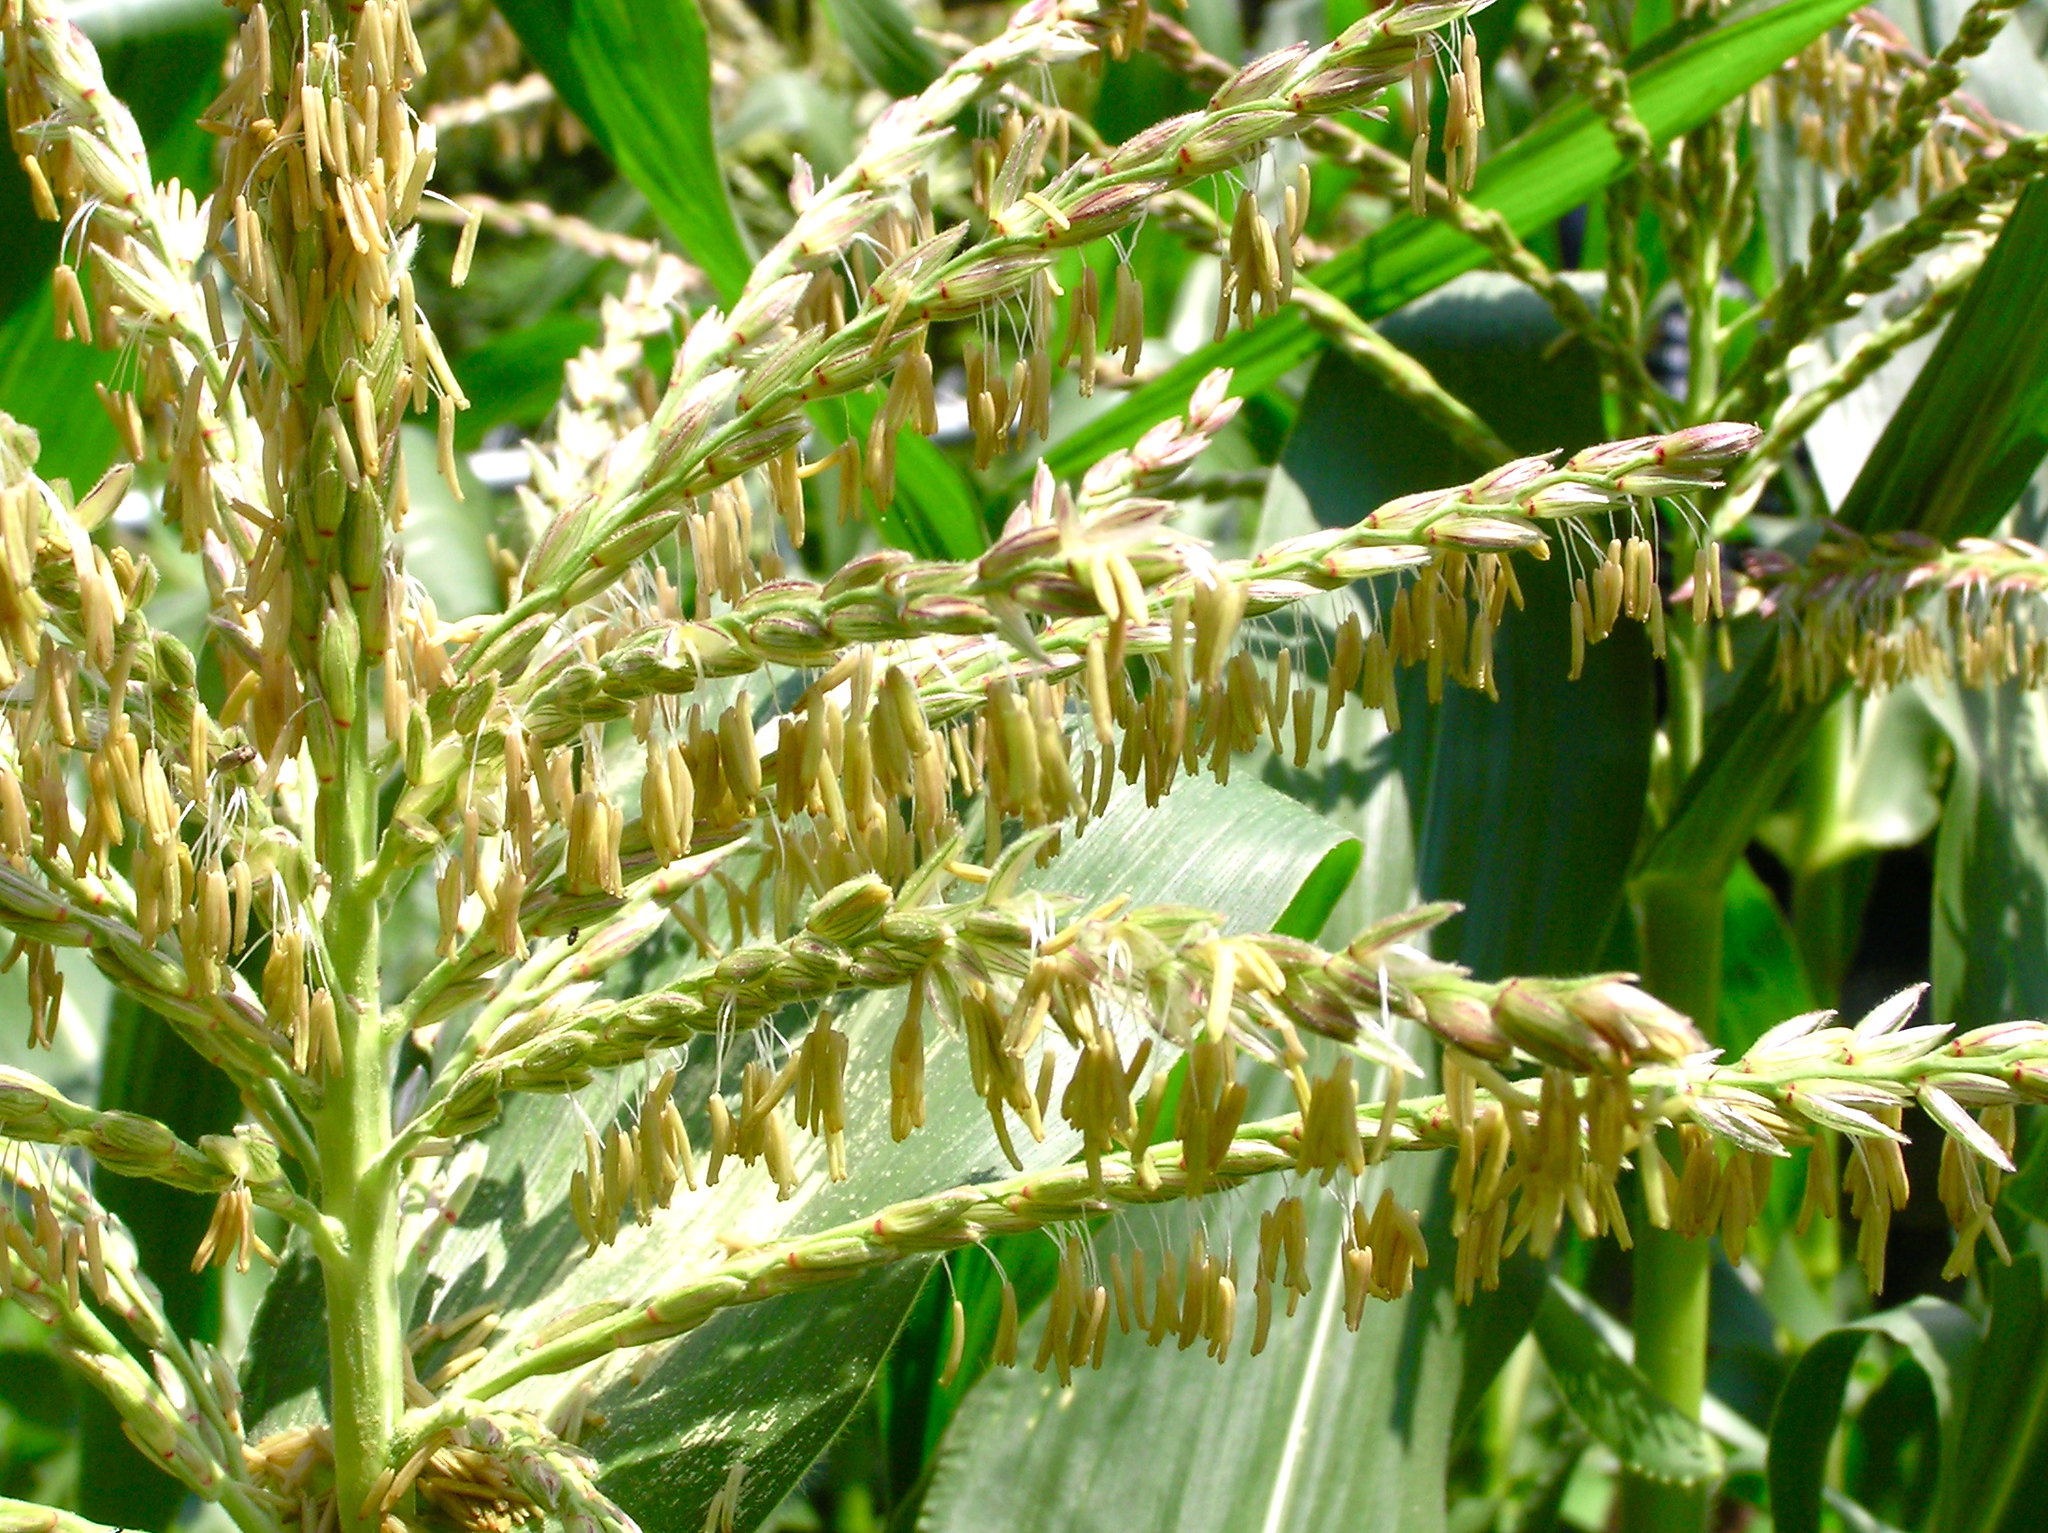
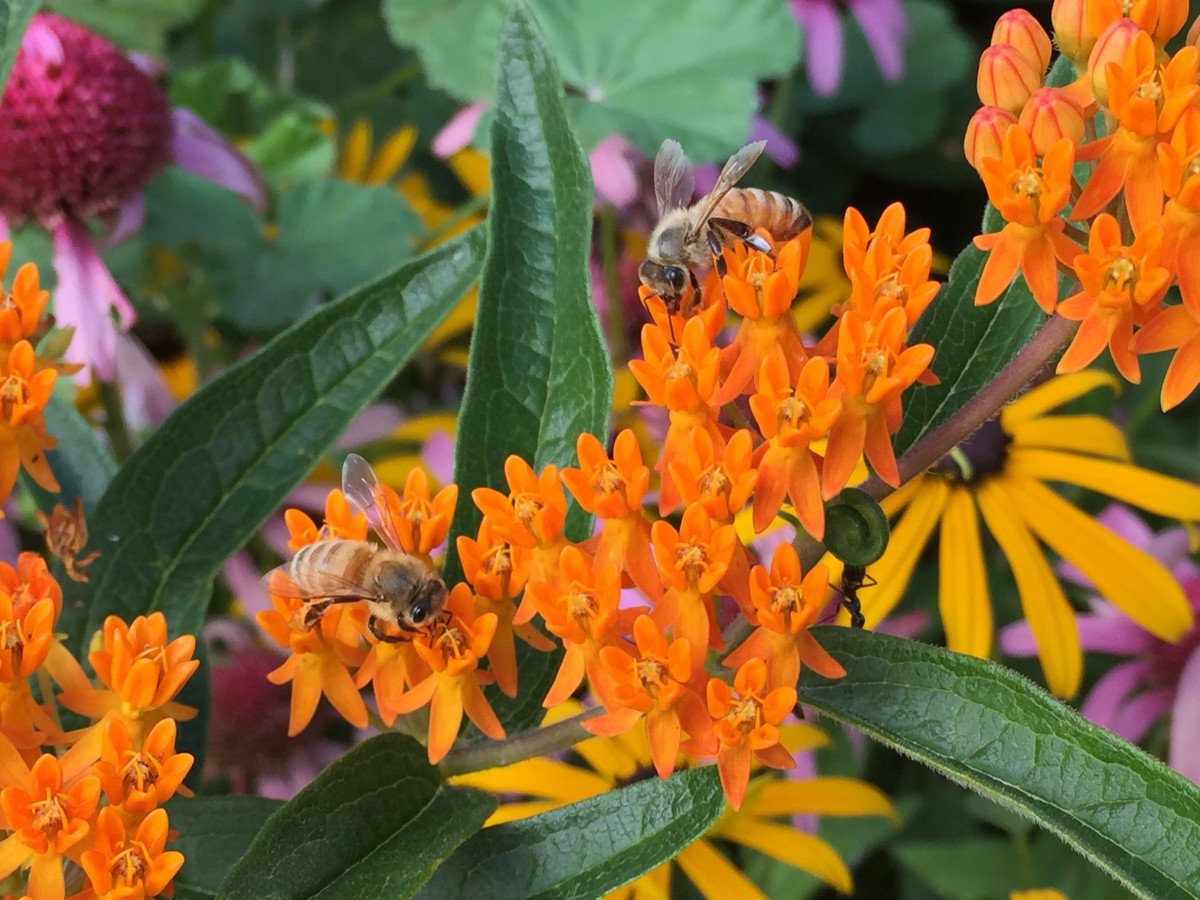
- Butterfly Weed
- Phoenician Mullein (Nettle Leafed Mullein)
- Rose Campion
- Soapwort
When fall sowing flowers, we recommend you prepare a well-draining bed, by loosening the soil and adding compost. Sow seeds according to their growing instructions about 4 to 6 weeks before your first fall frost.
While we only offer seeds, it’s also worth noting that many flower bulbs thrive when planted in the fall. These include many common favorites:
- Ornamental Alliums
- Tulips
- Lillies
- Daffodils
- Crocuses
- Ranunculus
- Hyacinth
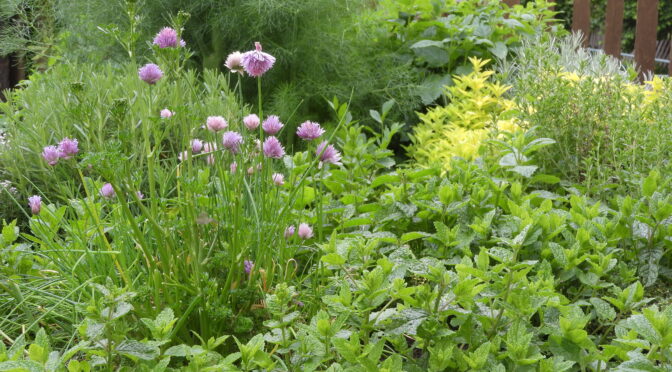
Perennial Herbs
There are also many perennial herbs that you can plant in your fall garden. These include culinary herbs like chives and oregano and medicinal herbs like lemon balm and horehound. Here are a few options:
- Anise-Hyssop
- Salad Burnet
- Catnip
- Mint
- Lemon Balm
- Short-Toothed Mountain Mint (native species)
- White Horehound
- Thyme
- Oregano
- Bergamot (Bee Balm)
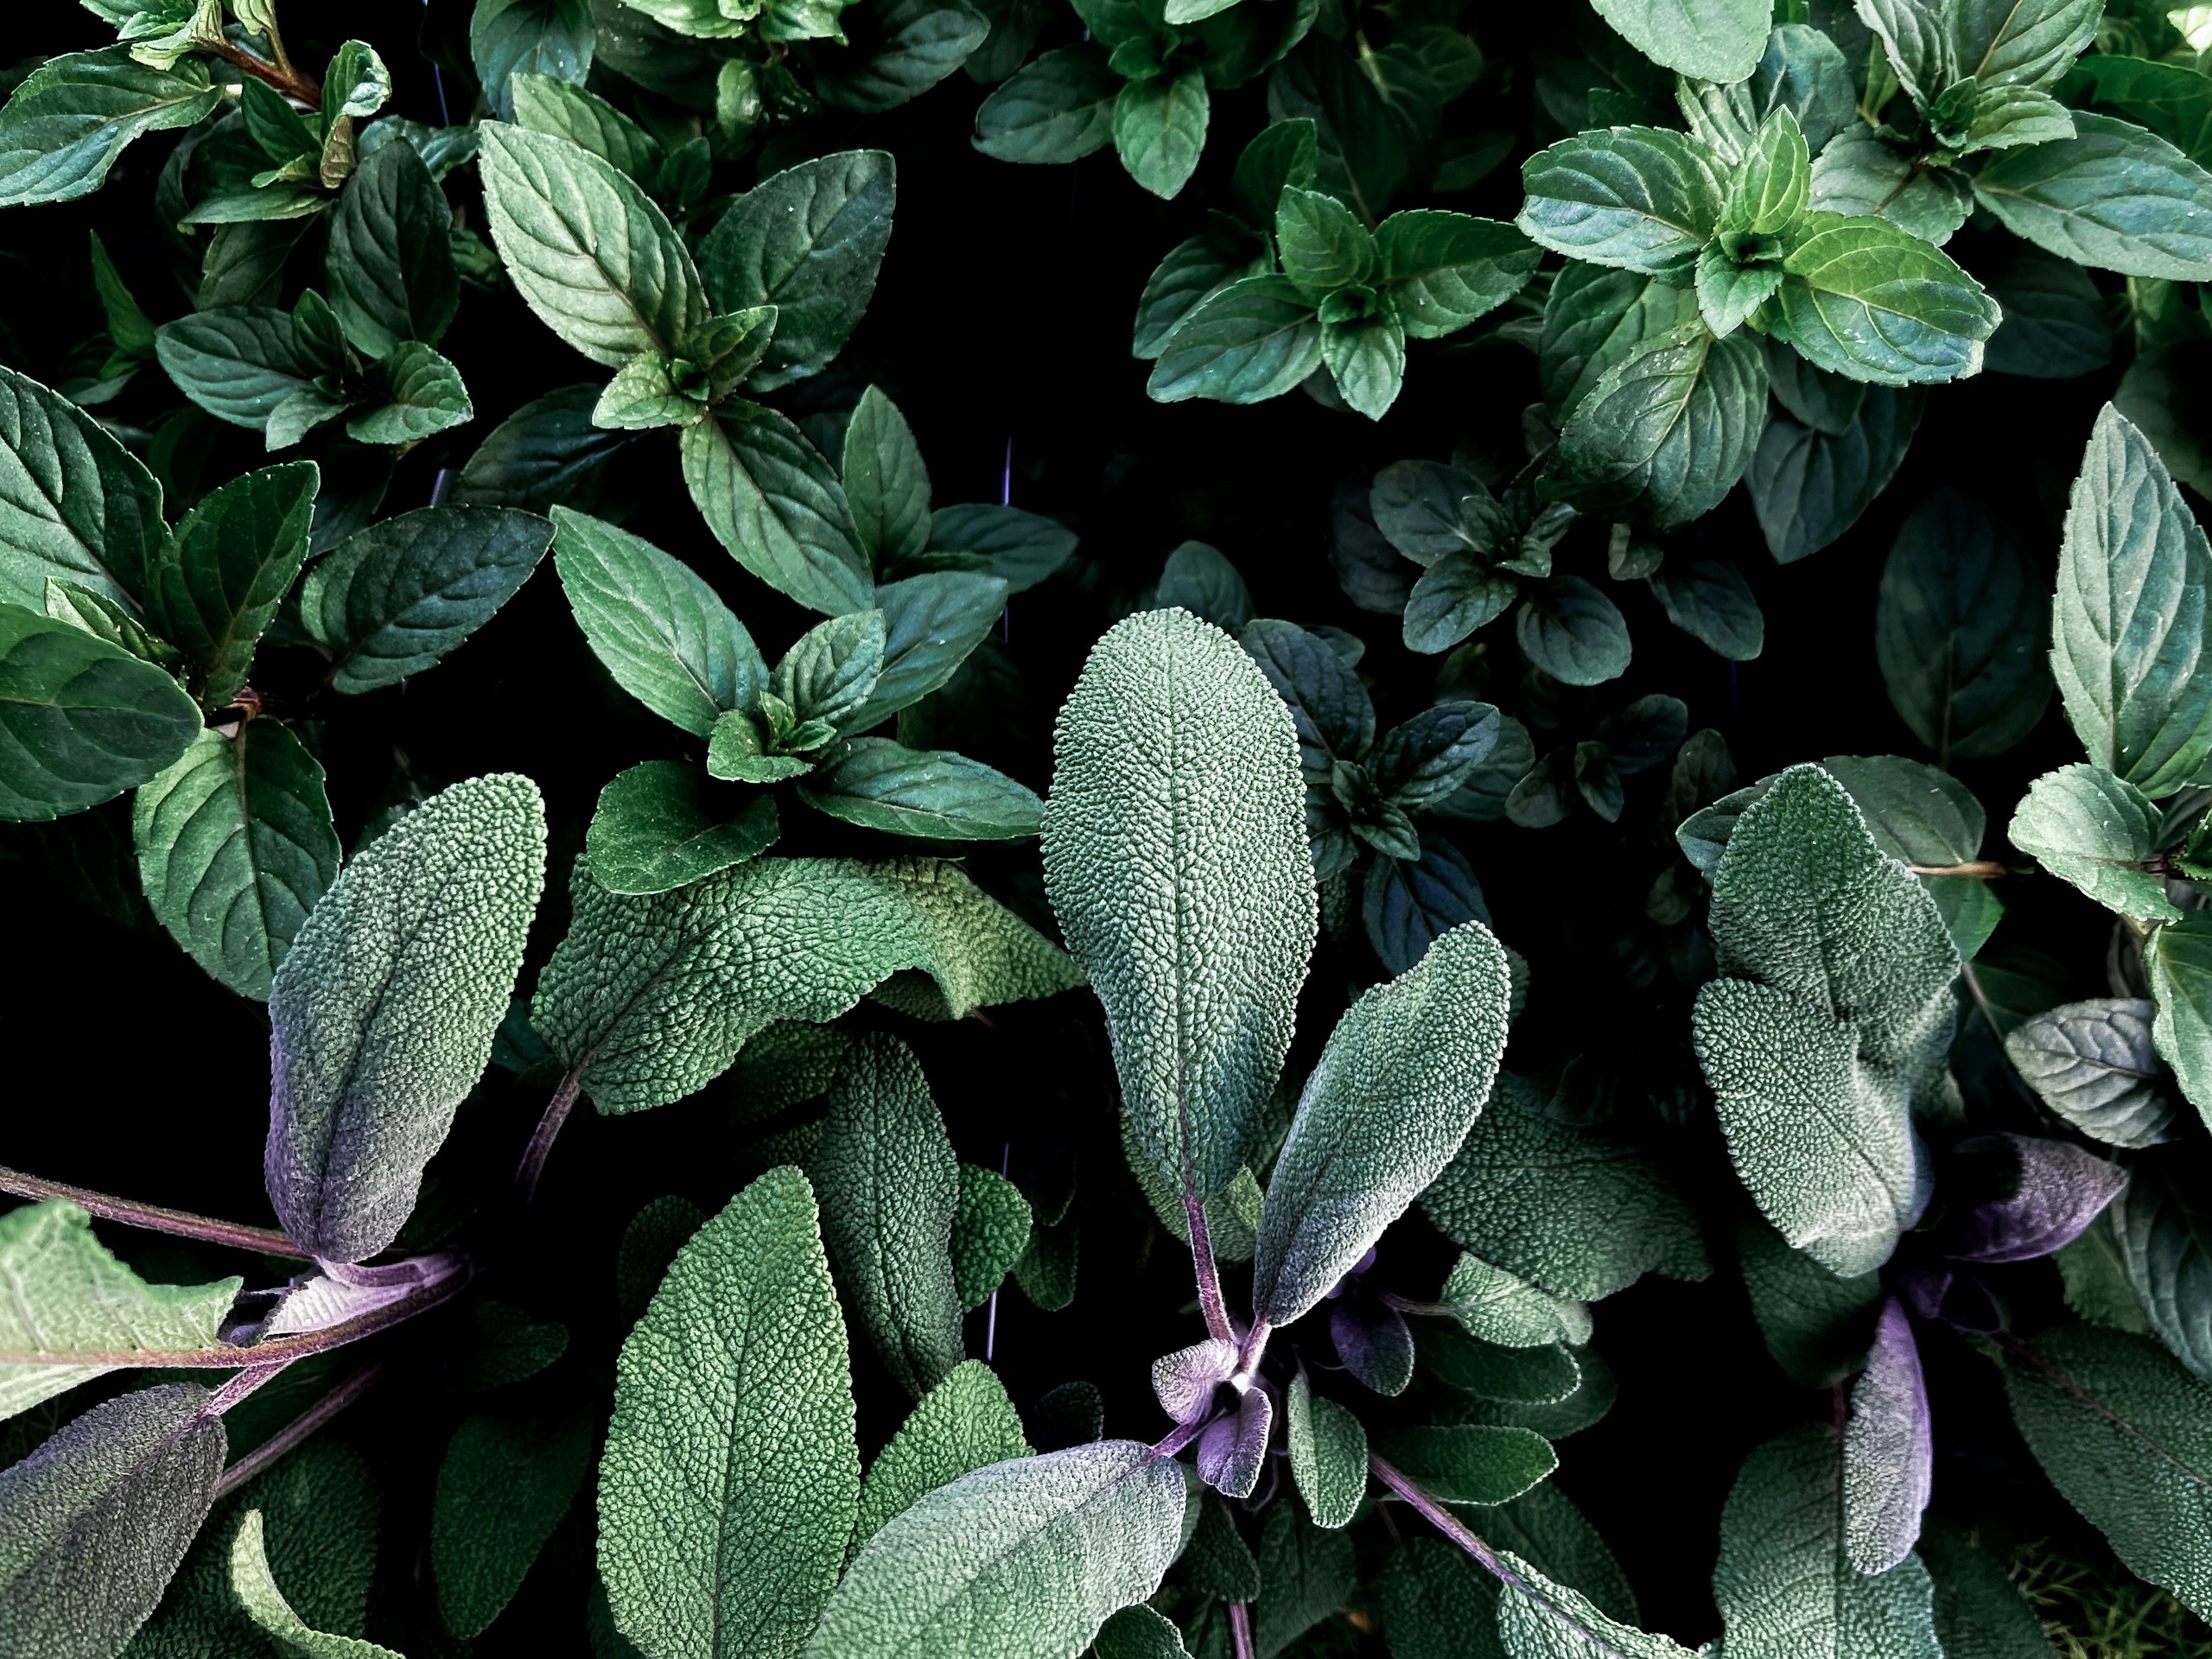
- Sage
- Rosemary
You can often get away with direct sowing some herbs, but for late summer and fall planting, we typically recommend getting them started indoors. This will allow you to control temperature and moisture conditions, ensuring good germination. Aim to transplant them out four to six weeks before your first fall frost.
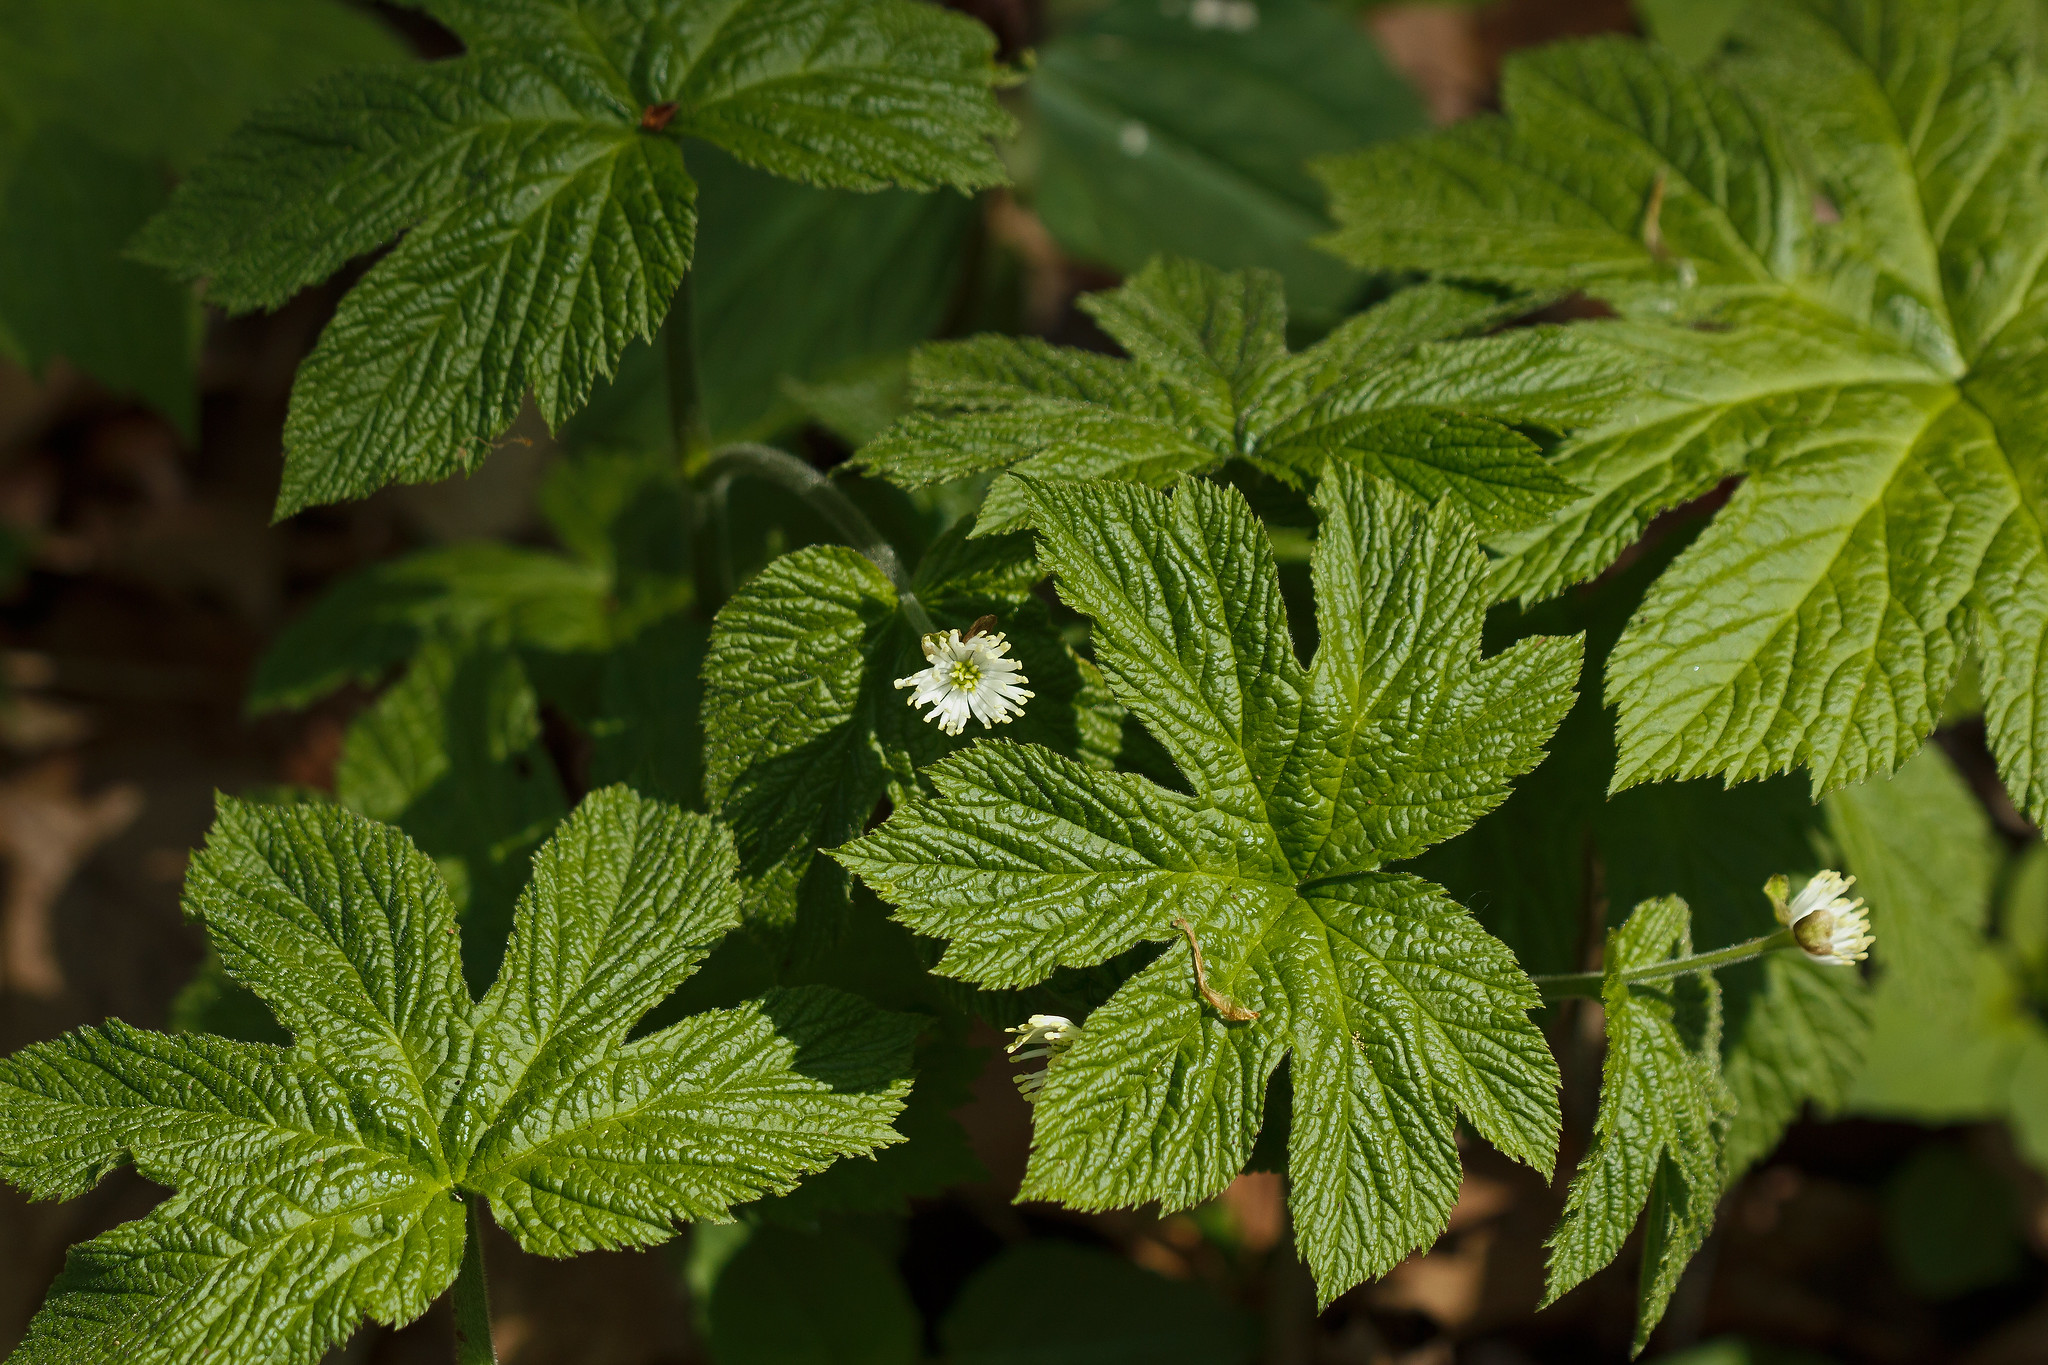
Woodland Medicinals
Fall is the ideal time to start native woodland plants like goldenseal and American ginseng. While these may also be medicinal herbs, I think they deserve their own category.
These native plants are both potent medicinals that have dwindled throughout the Appalachian region because of habitat loss and over harvesting, often for commercial use. By planting some this fall, you can help restore these incredible species.
Goldenseal and American ginseng are both forest understory species. They thrive in cool moist forests, often growing on northern slopes. Our growing guides offer thorough advice for getting these sensitive plants established.
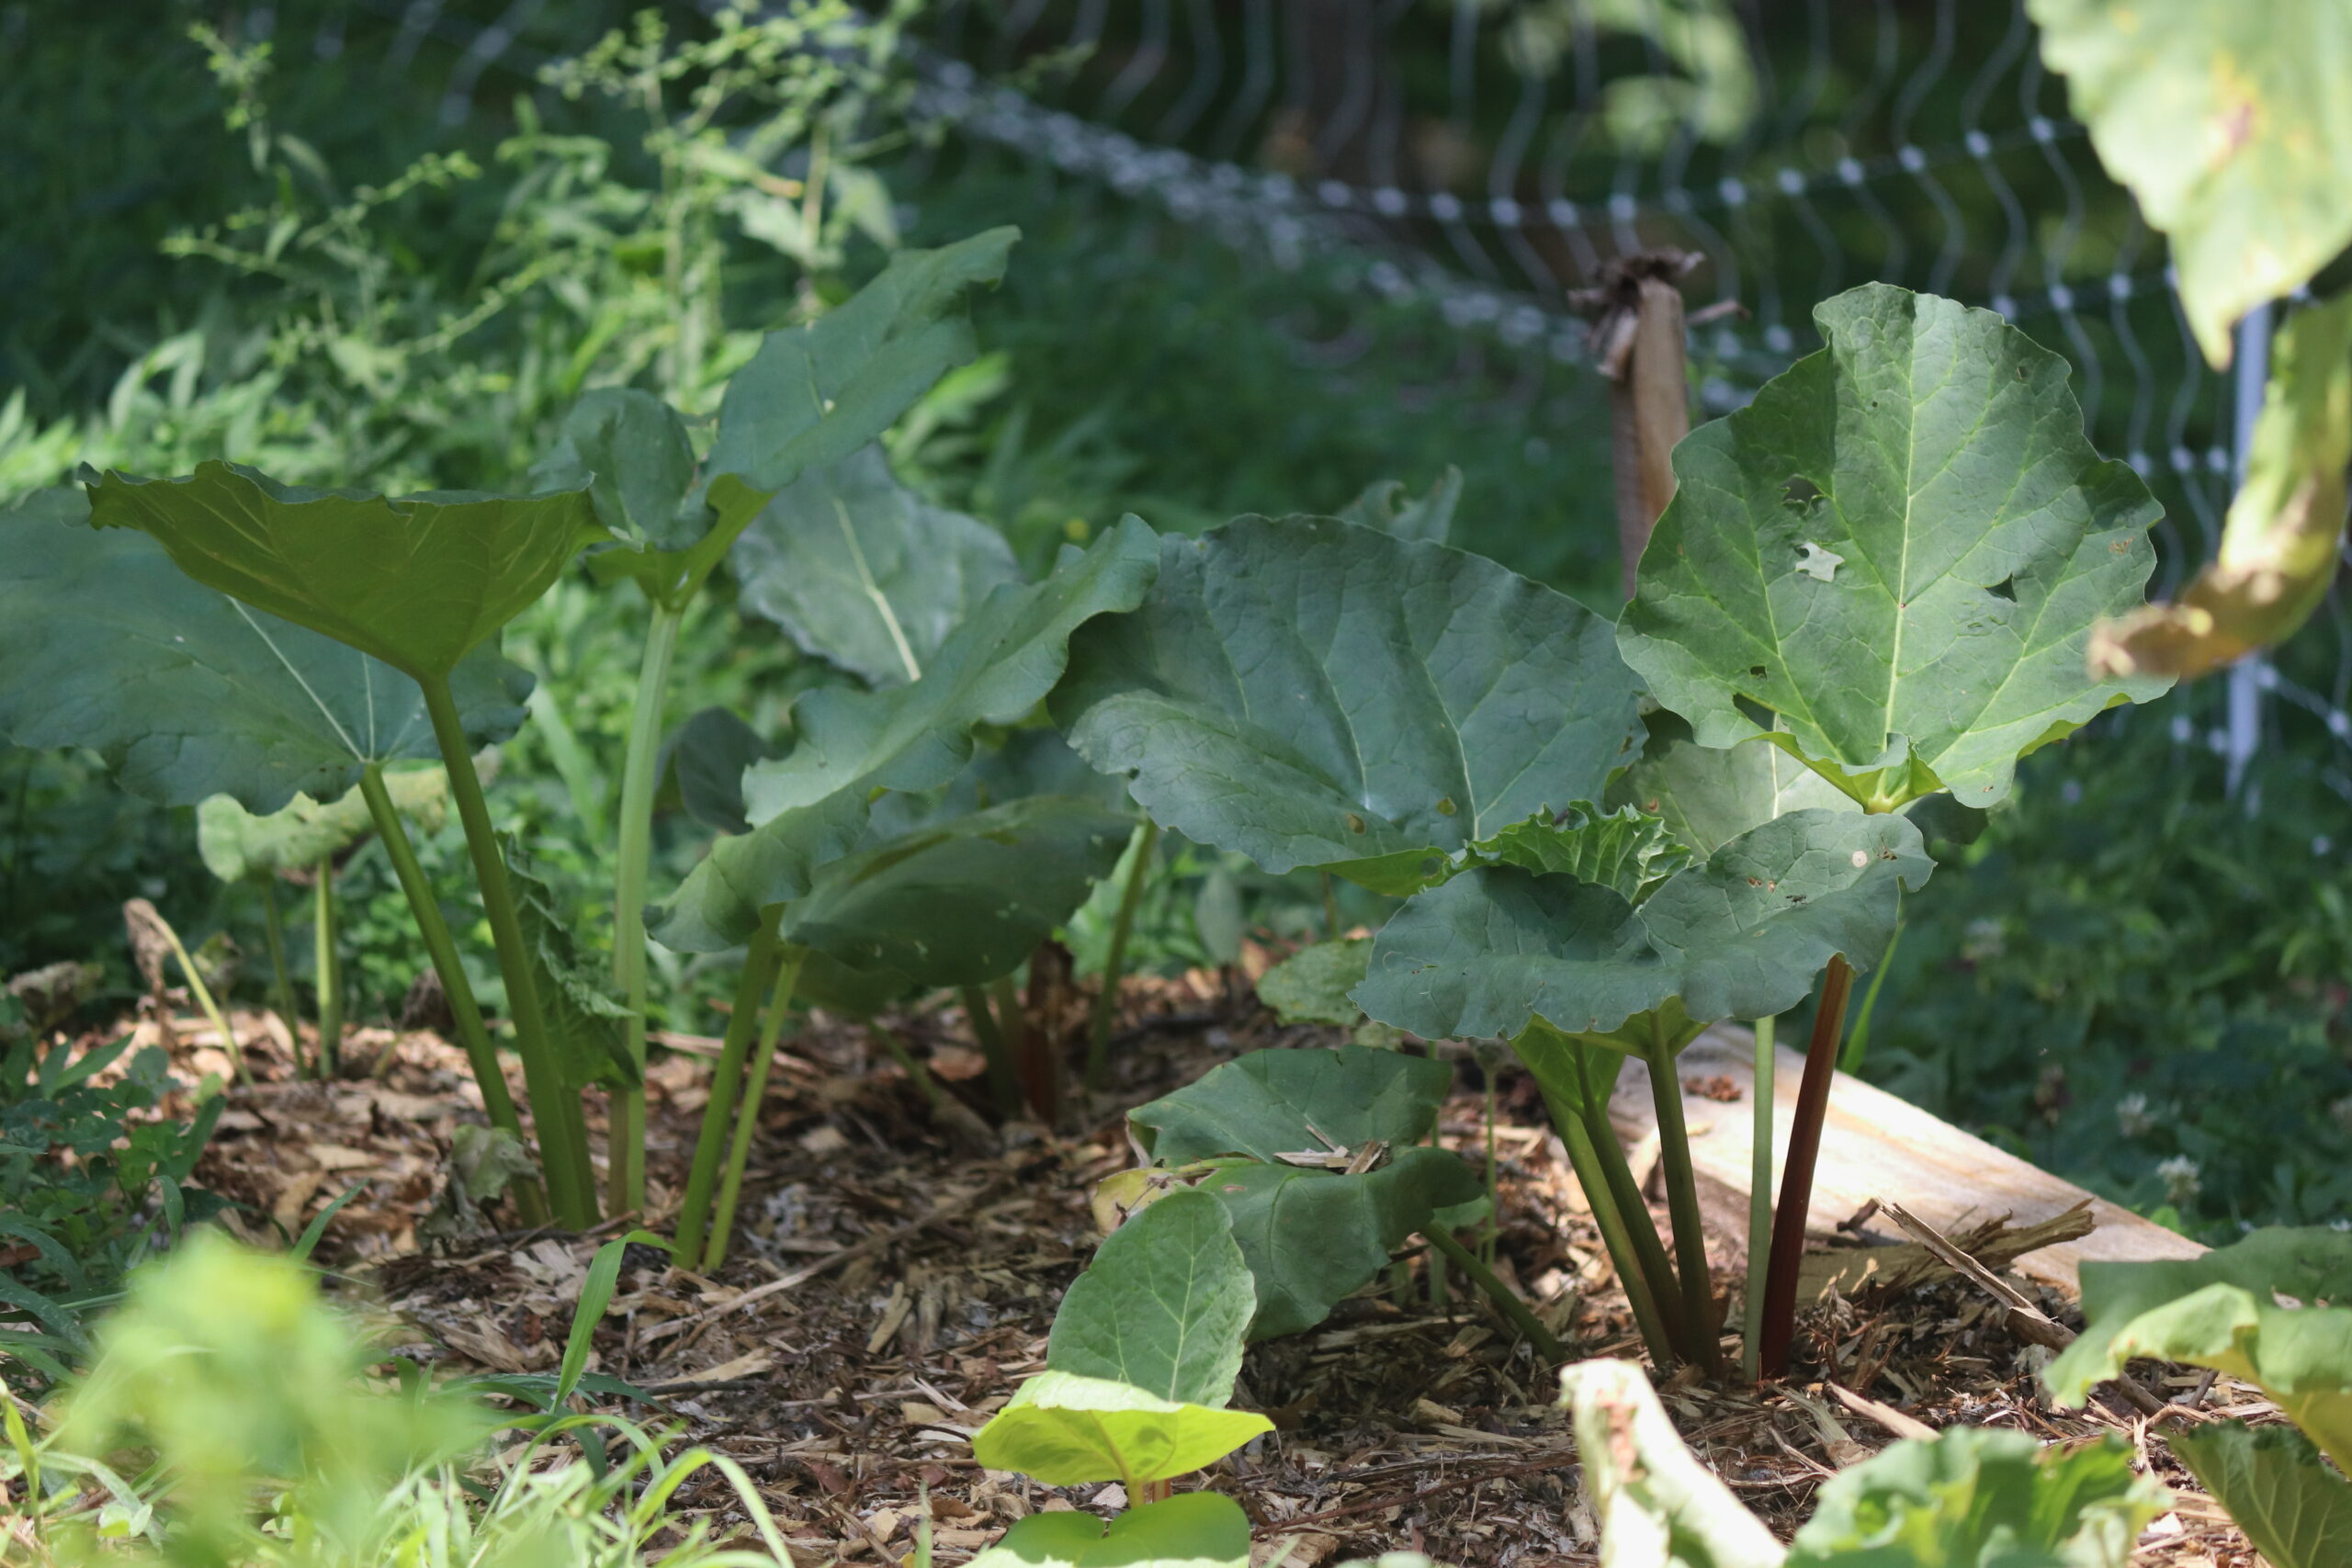
Rhubarb
Most people start rhubarb by ordering crowns, but starting rhubarb from seed is actually quite simple. It’s also much more cost effective. Rhubarb thrives in cool weather and is a great option for fall planting.
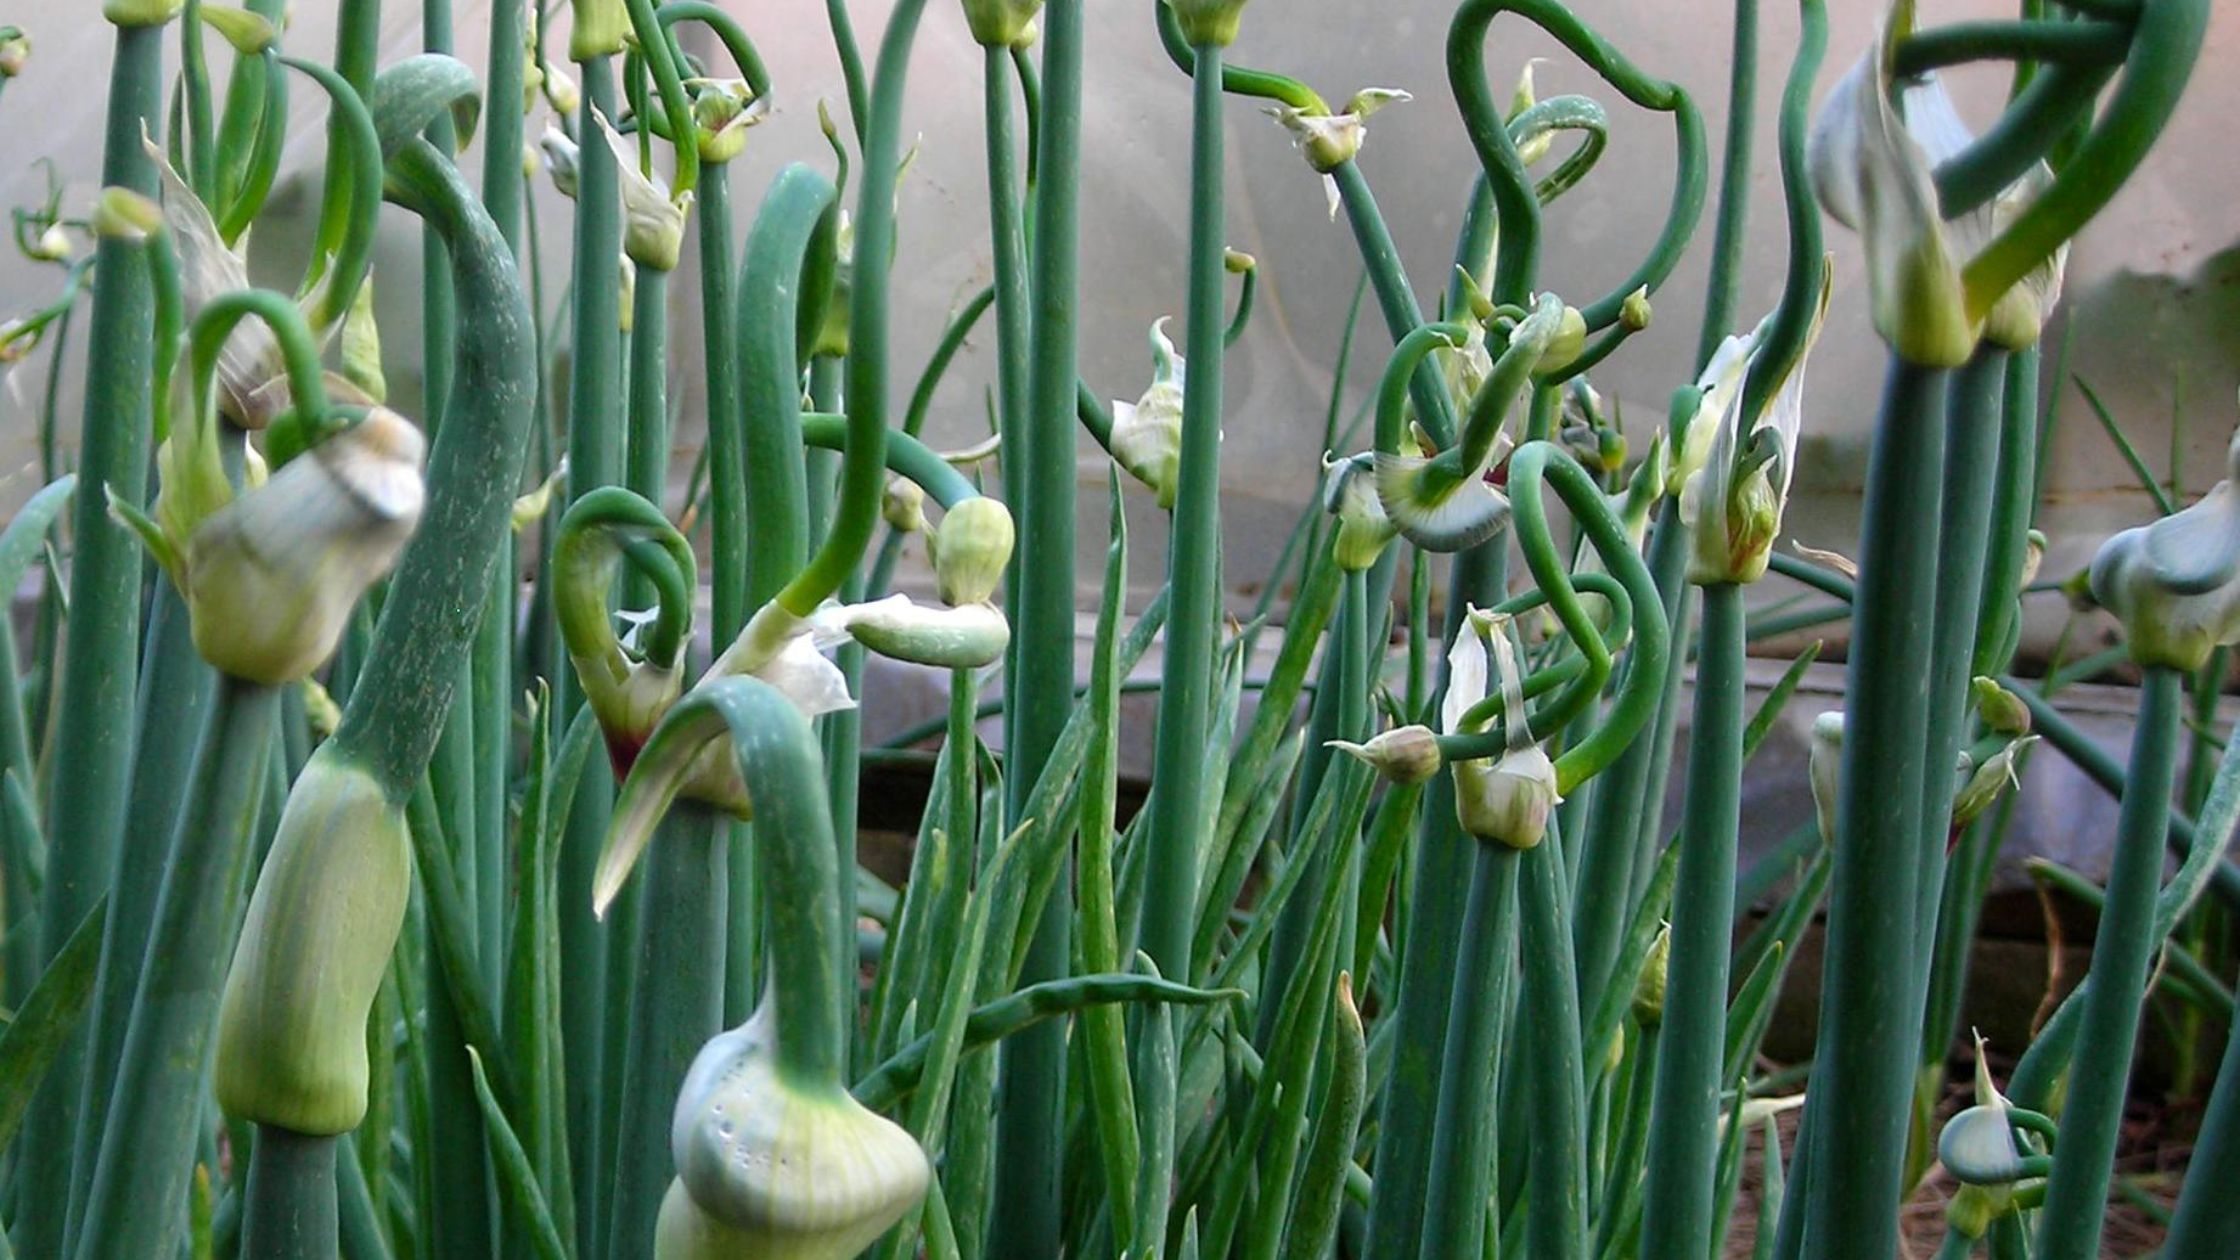 Perennial Alliums
One of our favorite categories of perennials is the allium family. These easy to grow plants pack a ton of flavor in a low-maintenance package.
Chives and garlic chives should be started indoors by seed like the other culinary herbs, but the rest of these plants are started by bulb. We ship all of our perennial alliums in fall depending on your zone. 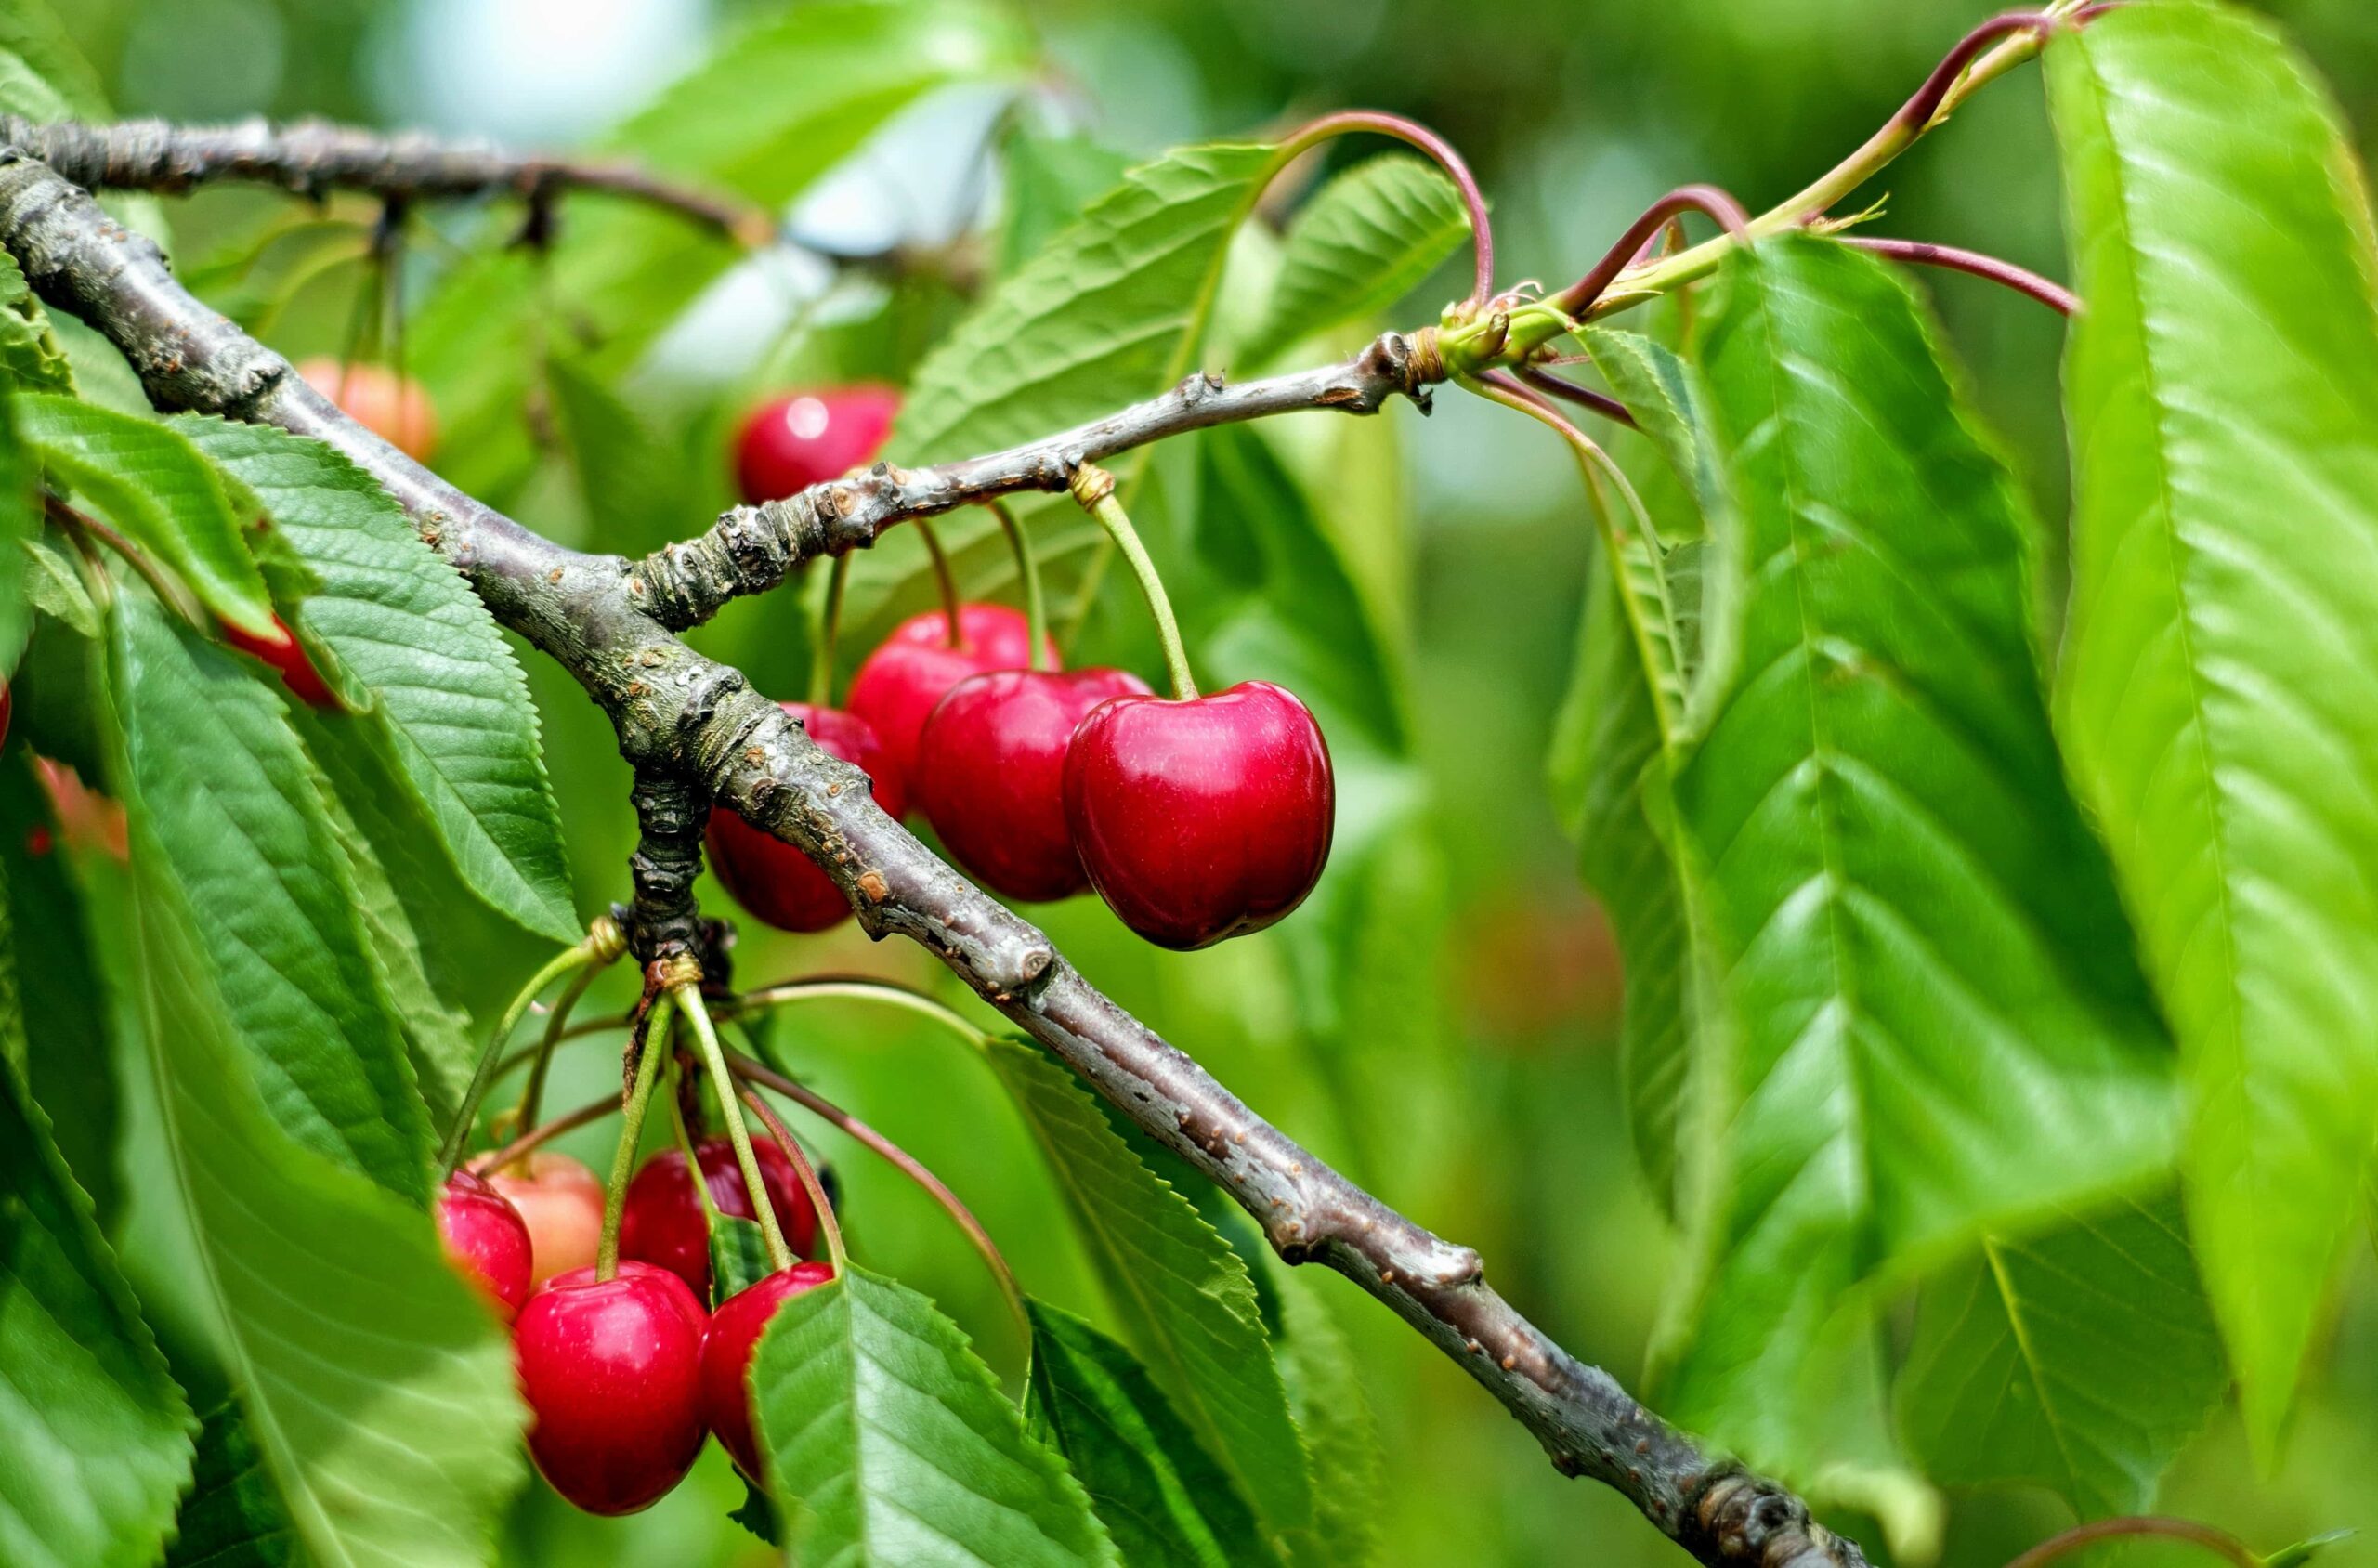
Fruit, Nut, and Flower Trees, Shrubs, and Vines
We only carry seeds, but many of our customers are dedicated gardeners in other areas too. If you’re looking to add more perennials to your garden, autumn great time to establish longer lived perennials like fruit, nut, and flowering trees, shrubs, and vines. While many of these are often spring planted, fall planting can be advantageous in the southeast as these crops can enjoy cool, moist conditions while they get established.