
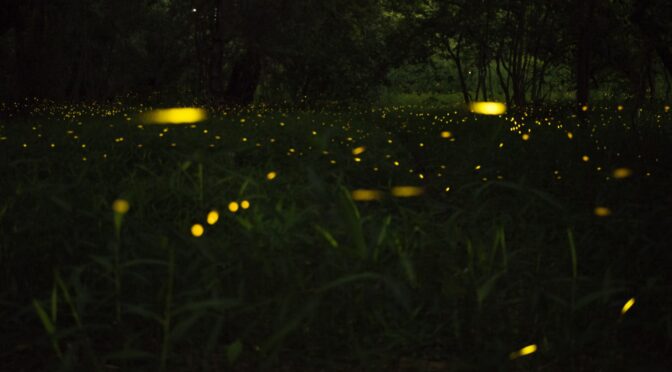
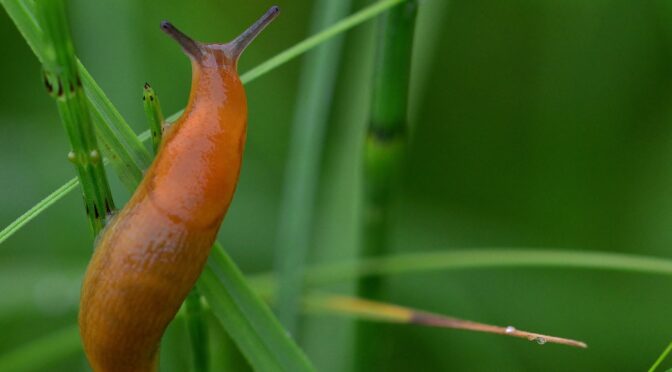
Let’s talk about fireflies! These beautiful insects enamor kids and adults alike. It’s hard not to love how they light up the night, but there’s more to fireflies than beauty! They are wonderful for gardens. They’re native predators that feed on common garden pests like slugs and snails. Keep reading to learn about some firefly species you might see, their lifecycle and benefits, and how to attract them to your garden.
Firefly Species of the Southeastern United States
The name firefly doesn’t refer to a single species. There are over 2,000 species of fireflies worldwide, and about 175 are native to North America! Here are some of the incredible firefly species you might see if you live in our region, the Southeastern United States:
- The Common Eastern Firefly or Big Dipper Firefly (Photinus pyralis)
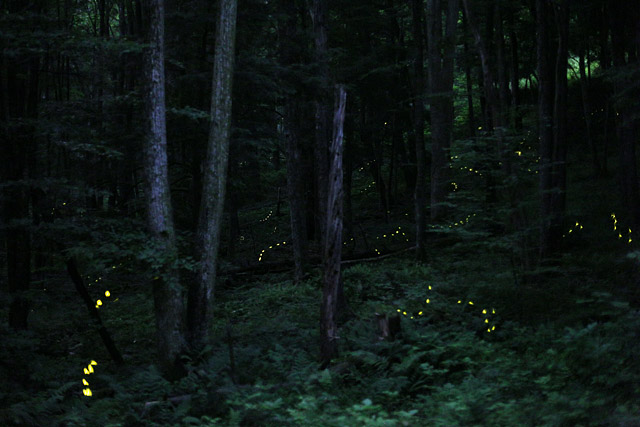
Males produce a single sustained yellow light, often in a J-shaped flight trajectory. - The Blue Ghost (Phausis reticulata)
Males glow with a pale blue or green light rather than flashing. - The Synchronous Firefly (Photinus carolinus)
All individuals in an area will display 5 to 8 flashes of yellow light followed by a period of darkness for 8 to 10 seconds. - Father Mac’s Firefly or Mr. Macs (Photinus macdermotti)
Males display two flashes of yellow light about 1 1/2 to 2 seconds apart, followed by 4 to 5 seconds of darkness, then another double flash. - The Spring Four-Flasher (Photuris versicolor var. quadrifulgens)
These fireflies display in spring with a stuttered four-part flash.
Next time you watch fireflies, see if you can spot any recognizable flash patterns! Of course, there are also many other species of fireflies you can learn to identify. Finding an insect field guide can be helpful (check your local library), or check out resources that the Firefly Atlas has listed.

Beyond Beauty: Understanding Fireflies
While you might already want to attract fireflies to your garden just for their looks, there are a few other reasons they’re great to have around.
Fireflies have a four-part lifecycle: egg, larva, pupa, and adult. The entire lifecycle can last two months to three years, depending on the species, with the longest period spent in the larval stage.
Firefly larvae live in moist soil, feeding off slugs, snails, and other soft-bodied insects. They’re an excellent garden ally! All firefly larvae are bioluminescent, which may help ward off predators.
After that stage, they pupate in safe spots like underground, rotting logs, or bark furrows. They overwinter in this stage and emerge in the spring as adult fireflies that light up the skies. Depending on the species, adult fireflies may feed on nectar, pollen, other fireflies or not eat at all.
Not all adult fireflies produce flashes. In those that do, the flash is made by chemicals like luciferase and luciferin, working with other substances in the insect’s body to produce light in the firefly’s lantern organ on their abdomen.
The flashes, often created by males while flying, are signals to find mates. Different species have different flash patterns and sometimes different colors so that they can find a mate from the correct species.
Thanks to fireflies, scientists have created a test for harmful bacteria like salmonella or E. coli in food products such as milk, soft drinks, and meat. The test contains luciferase and luciferin, which react with any ATP found in bacteria cells (and all living cells). A glowing test means bacteria is present.
How to Encourage Fireflies in Your Garden
Unfortunately, many firefly species are in decline. They have been affected by habitat loss, climate change, and pollution. Now that we have some basic knowledge about the firefly lifecycle, we can consider what would make our gardens and yard attractive to them.
Avoid Pesticides, Herbicides, and Other Chemicals
Some of this goes without saying; obviously, spraying your garden and home with pesticides is detrimental to all the species that live there. Pesticides (even organic ones) don’t discriminate between good bugs and bad.
Other chemicals, such as herbicides and fungicides, can also linger in the soil, affecting firefly populations for years to come. Always thoroughly research any product you intend to use in your garden.
Improve Soil Health
Much like your plants, firefly larvae thrive in rich, moist, loose soil with plenty of organic matter. Good soil isn’t built overnight, but there are many free or cheap ways to improve it. Consider adding compost and leaf litter to your garden. You can also use methods like broad forking, no-till gardening, and cover cropping.
Natural Spaces
Even if you nurture a suitable habitat in your garden, it’s always a good idea to consider keeping some space wild if you have a suitable property. Rotting logs, leaf litter, and weedy native plants may seem unsightly to some but are attractive to our firefly friends and other native species.
Minimize Outdoor Lighting
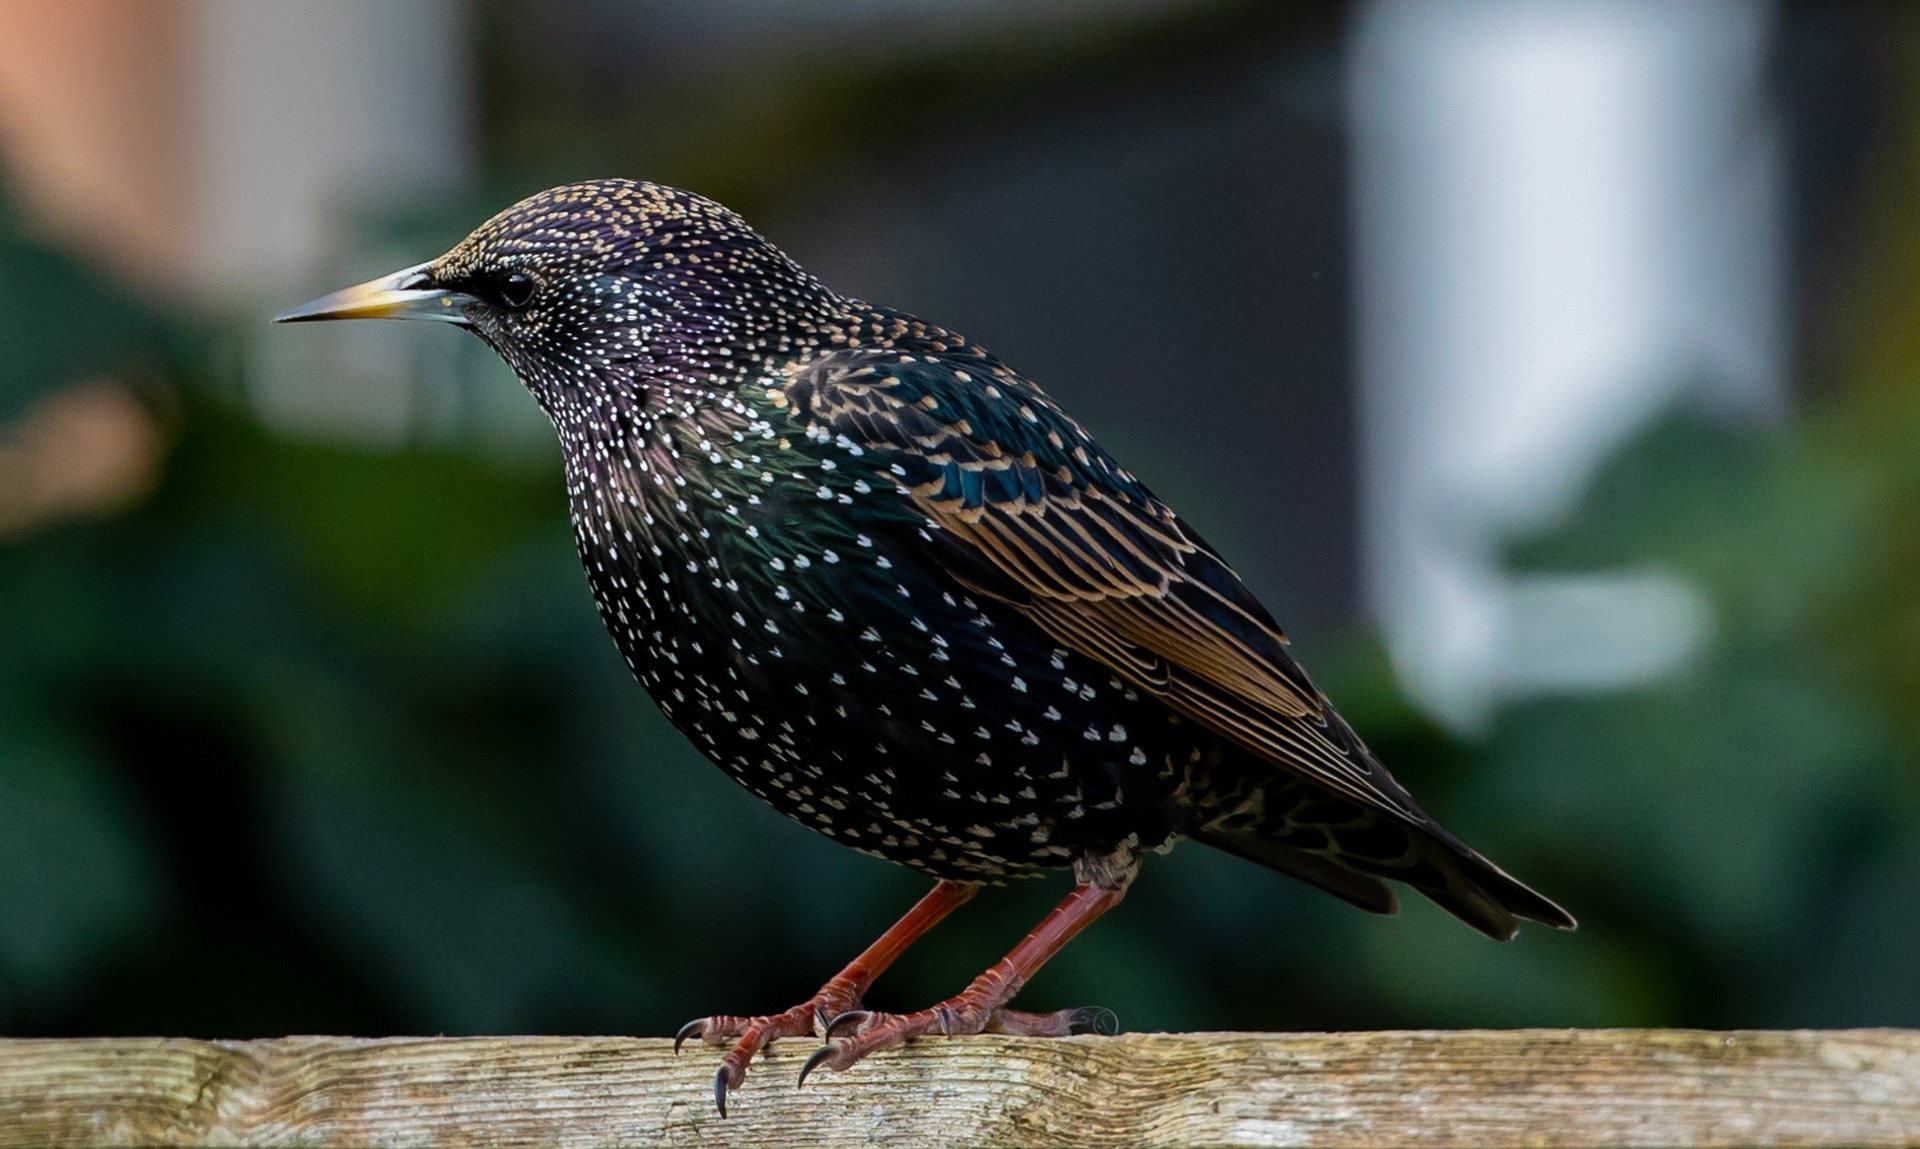
Many scientists believe light pollution interferes with firefly mating and probably contributes to their decline. Minimizing outdoor lighting at night can give those in your area a better chance. Plus, it also helps migrating birds!
Consider closing curtains in brightly lit rooms and turning off outdoor lighting when not in use. You may also consider switching to motion detector lighting for the outdoors, which can still help with security and provide automatic light whenever you need it.
Don’t Remove Leaf Litter
Leaf litter provides an essential habitat for fireflies and other beneficial insects. When you rake up leaf litter, you remove organic matter from your soil and rake up firefly larvae!
Leave Riparian Areas Natural
Don’t mow near the edges of ponds, creeks, and rivers any more than you have to. A small patch for access is fine, but mowing the whole thing eliminates habitat and contributes to erosion and water pollution.
Plant Native Species and Encourage Variety
When possible plant native species to support all kinds of native wildlife and insects. You can also improve the habitat, even in areas where you are growing non-natives, by encouraging diversity. Avoid aggressive invasive plants and monocultures. Instead, opt for a mix of plants with varying heights, textures, and blooms.
Fireflies bring a lot of joy and purpose to your garden. Help them thrive by keeping these practices in mind this season.
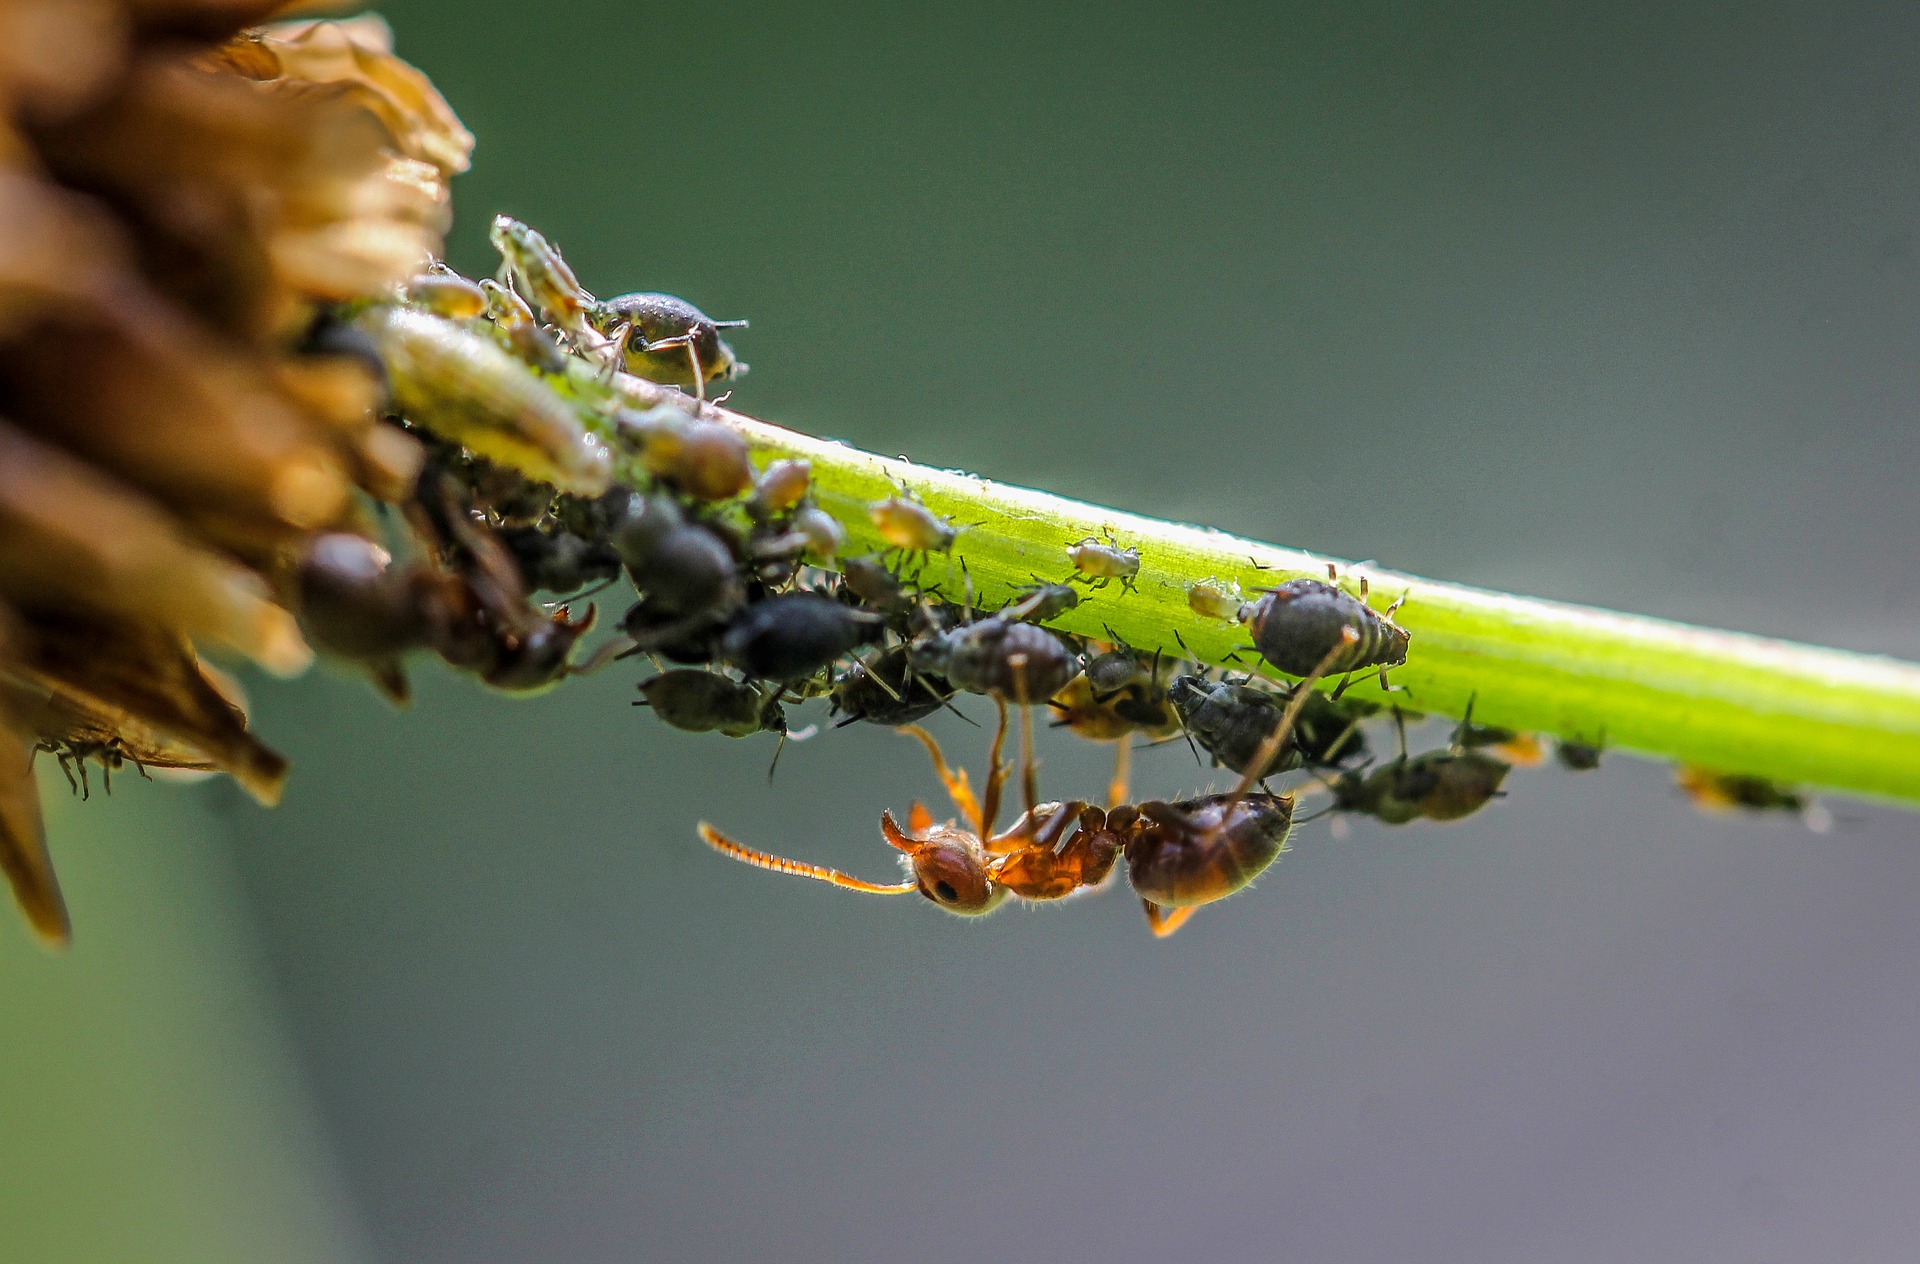 Farming Aphids, Scale Insects, and Mealybugs
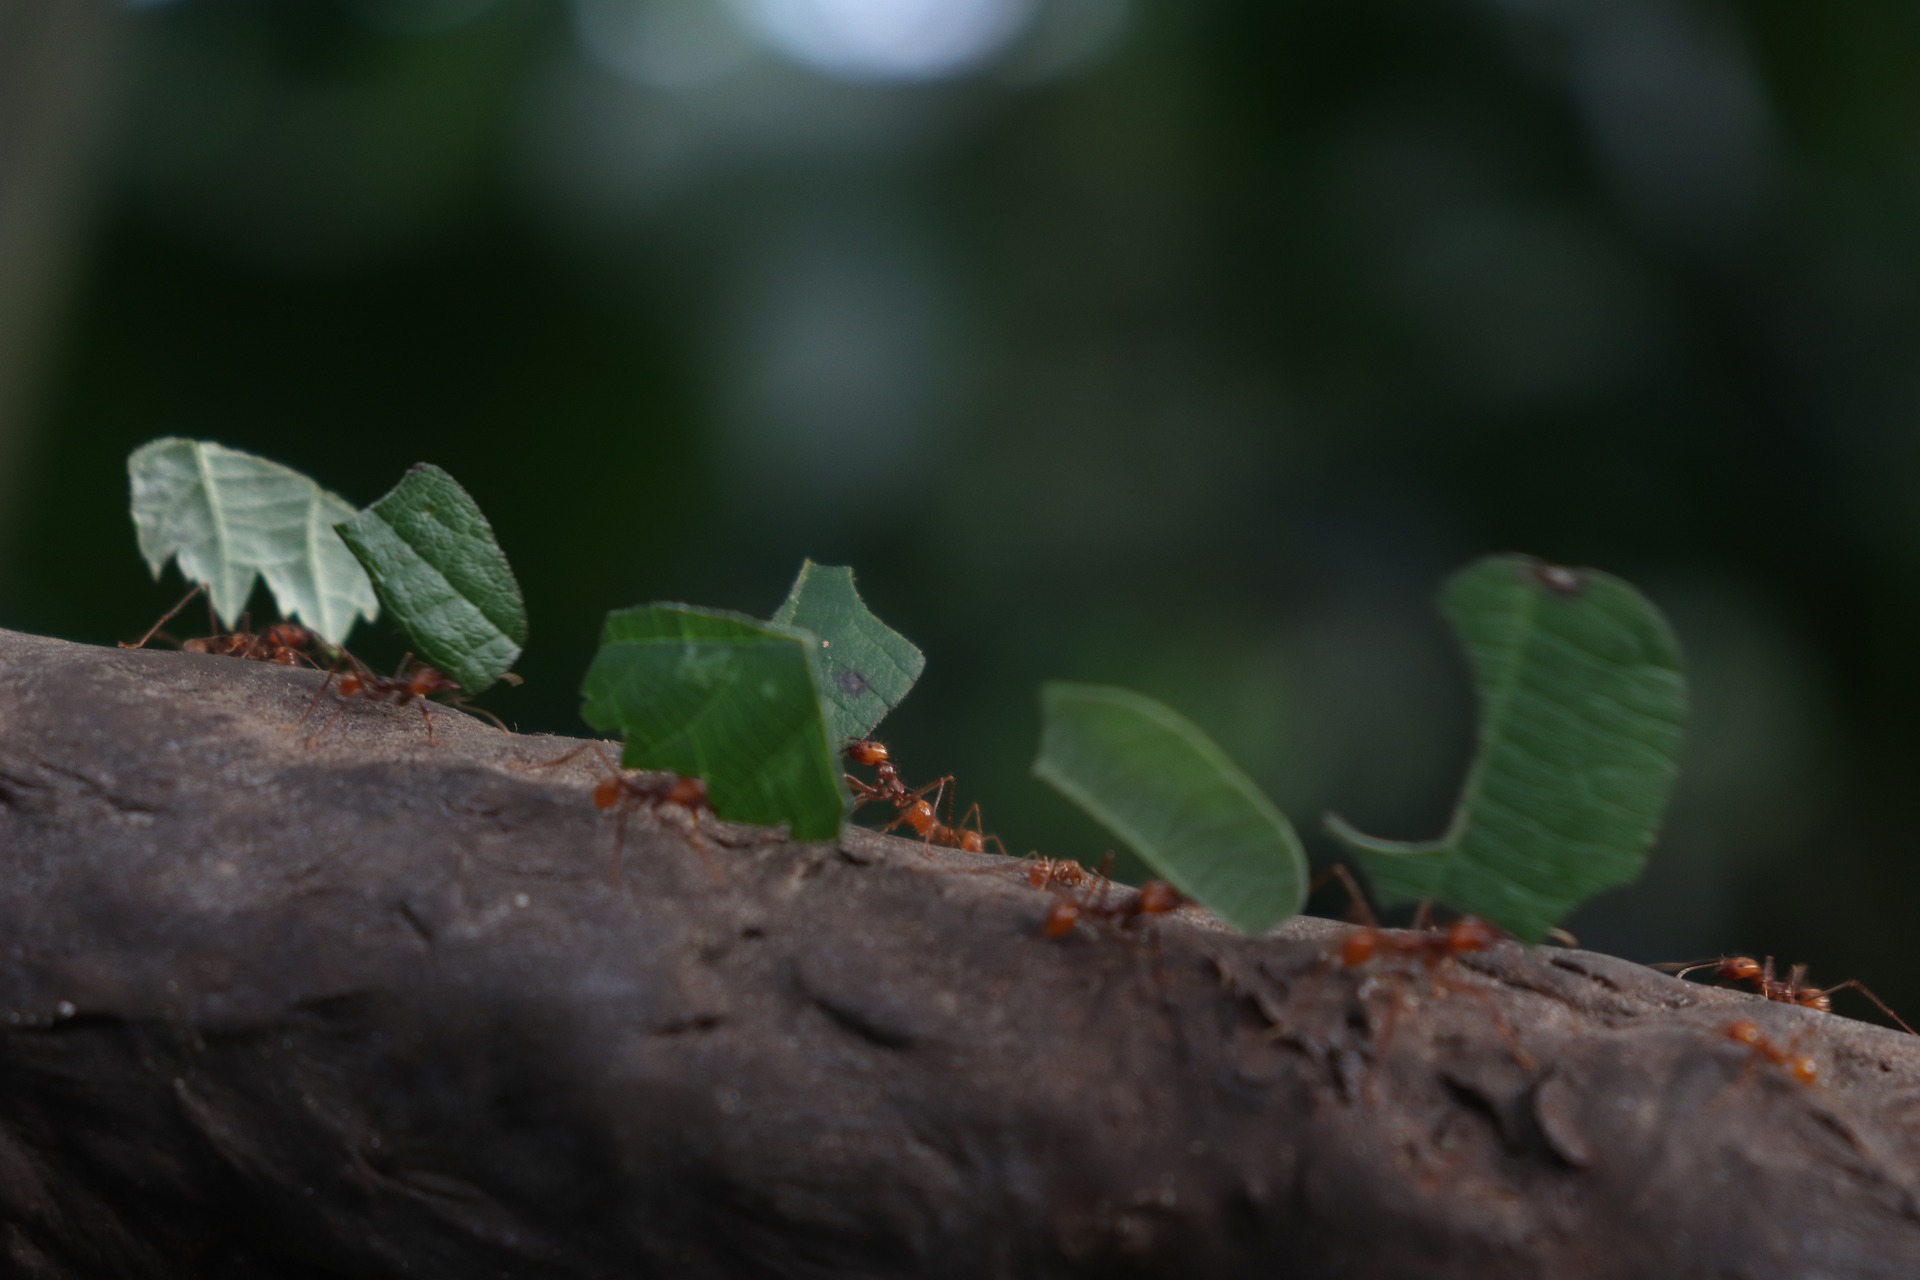 Leaf Cutters