Category Archives: Recipes

Fire Cider: An Herbal Tradition

It’s the season for colder weather, holidays, colds, and flu, so it’s time to make fire cider! Fire cider gets its name from its spicy ingredients like horseradish, garlic, hot peppers, and the main liquid ingredient, apple cider vinegar. The mixture is left to ferment for at least several weeks, creating a warming tonic rich in vitamins and antioxidants. It’s a fun recipe to share and make because it’s easy to add your own spin on or just work with ingredients you can get easily. 

I also love fire cider because it has become an example of community overcoming attempts to commercialize an important piece of culture and wellness. Just like SESE stands for everyone’s right to save seed, the folks using fire cider had to fight to ensure everyone was allowed continued access to this cultural resource. 

Fire Cider: Beginnings

Famous herbalist Rosemary Gladstar first coined the term “fire cider” in the 1970s. She has noted that using apple cider vinegar in conjunction with honey, cayenne, or other herbs has a long history in herbal medicine. Like many other herbalists, Rosemary Gladstar used what she knew of old folk remedies and combined them with the herbs she had at hand and her personal touch.

This recipe quickly became a favorite, and Rosemary freely shared it with other herbalists and students, never realizing how popular it would become. The recipe was often included in herbalism and wellness classes. It also appeared at farmers’ markets, co-ops, and Etsy shops across the country as herbalists began providing bottles of fire cider, often with their signature twist. Rosemary believed that fire cider should and would always be free for everyone. 

The Fire Cider Three

Unfortunately, in 2012 a company called Shire City Herbals trademarked the name fire cider. They sued three herbalists Kathi Langelier of Herbal Revolution, Mary Blue of Farmacy Herbs, and Nicole Telkes of Wildflower School of Botanical Medicine, for $100,000 in damages for using the name. Quickly after Shire City trademarked fire cider, another company trademarked a popular remedy called Four Thieves Vinegar, even though herbalists have used it for centuries! 

Thankfully, these three herbalists went to bat for fire cider, believing that these herbal recipes needed to be “open-source” and available for all to use. They earned the nickname “the fire cider three.” They worked with Rosemary Gladstar to found two organizations, Tradition Not Trademark and Free Fire Cider, to help educate the public about the trademarking of herbal resources. Finally, in 2019 after years of court battles, the fire cider three won a precedent-setting case declaring that fire cider cannot be trademarked. 

Fire cider ingredients and jar
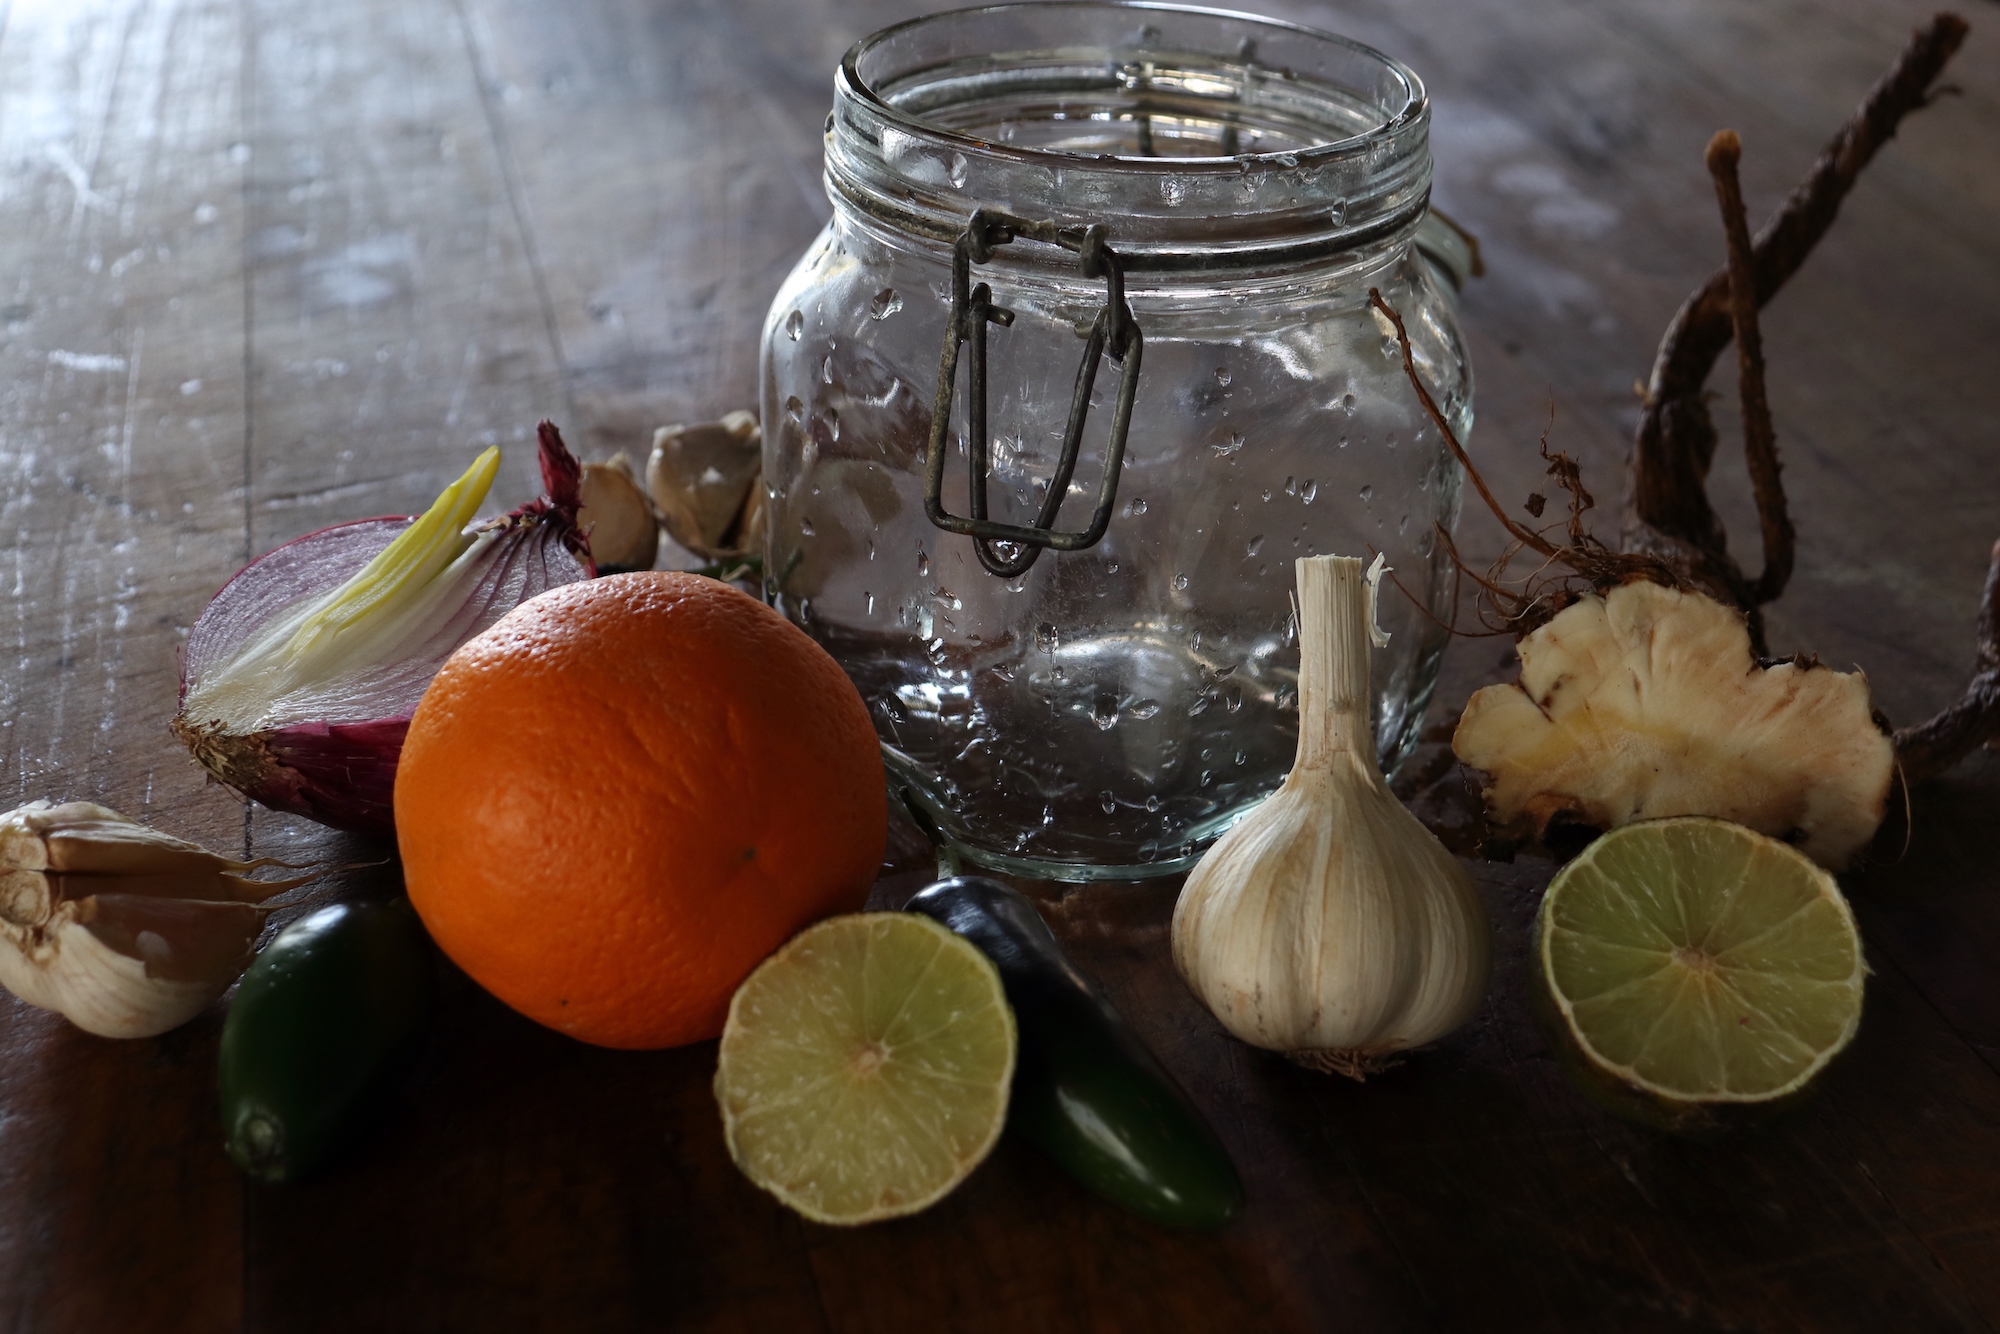
What Do You Need to Make Fire Cider?

Many herbalists develop their own take on fire cider. You may try to create one you think will taste good, one that includes helpful herbs for your situation, or use what’s most available. Here are a couple of recipes and a list of optional ingredients to get you started.

A Traditional Fire Cider

  • 1 medium or large onion diced
  • 1/2 cup chopped horseradish root
  • 1/2 cup grated or finely chopped ginger
  • 1 fresh cayenne pepper chopped
  • 10 cloves of minced garlic
  • Apple cider vinegar
  • 1/4 honey

Citrusy Fire Cider

  • 1 medium or large onion diced
  • 1/2 cup chopped horseradish root
  • 1/2 cup grated or finely chopped ginger
  • 10 cloves of minced garlic
  • 1 orange sliced
  • 1 lime sliced
  • 2-3 sprigs of fresh lemon balm
  • 1/4 cup chopped fresh turmeric or 1-2 tsps of dried turmeric
  • 1-2 sliced jalapeños
  • Apple cider vinegar
  • 1/4 honey

Other Optional Ingredient Ideas

  • Roselle 
  • Echinacea
  • Cinnamon
  • Hot peppers
  • Rosemary
  • Thyme
  • Maple Syrup
  • Black Pepper

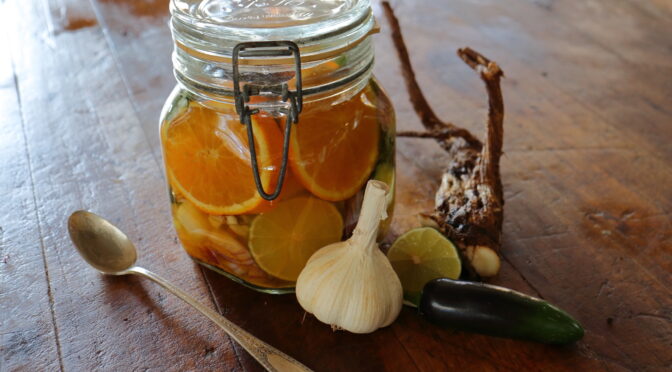
How to Make Fire Cider

Prepare all of your fresh ingredients. Place your fresh and dried ingredients in a large jar. Fill the jar with apple cider vinegar until all of your ingredients are covered with liquid. 

Place your fire cider somewhere cool and dark for about one month. It’s a good idea to give it a shake every day or so. 

After a month, use cheesecloth or another fine filter to strain out all of the solids. Squeeze any liquid you can out of them!

Then add honey or sweetener to taste. Stir until the sweetener is fully mixed with your clean cider.

Using Fire Cider

Many fire cider devotees take 1 to 2 teaspoons of fire cider daily, especially during cold and flu season. You can also take some when you feel a cold coming on.

Fire cider is also quite tasty. It’s lovely to add to salad dressings or sprinkle on tacos, rice, or roasted vegetables.  
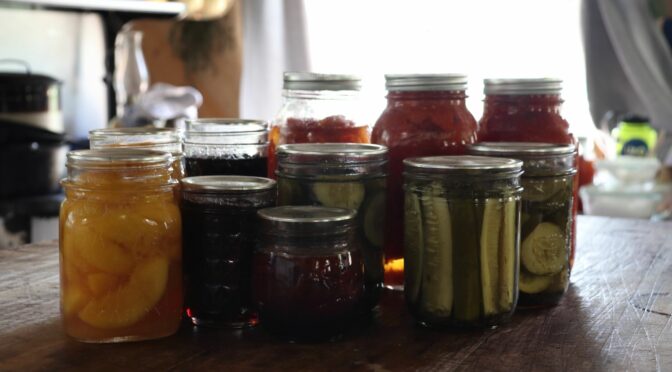
10 Canning Tips

Late summer and early fall is harvest season. As vegetable gardeners, we’re busy sowing fall crops, pickling peppers, curing winter squash, and processing flour corn. Food preservation is a time-consuming part of this season. While there are many ways to preserve food, those with large home gardens often turn to canning to put up at least part of their harvest. Maybe you’re trying to eat more affordable, organic food, perhaps you’re trying to connect with your heritage or become more self-reliant, or maybe you’re just a foodie who knows that homegrown salsa tastes best. Here are ten canning tips to help your preservation run smoothly.

Don’t be afraid.

I’ll admit that when I started canning, it made me nervous. The threat of botulism loomed heavy in my mind. I was horrified when my dad gave my grandfather some pickles I had made. What if I poisoned him?

Years later, canning seems like cooking. Yes, there are certain things you need to do to be safe, but they’re no different than making sure your roast reaches a specific temperature.

Make sure you understand the basics of canning.

Getting familiar with the basics of canning is a good idea for safety and ease of processing. Once you understand the basics, you won’t have to check the directions constantly or worry about contaminated food.

Resources:

Begin with a clean kitchen.

Starting with a clean kitchen will help ensure your food is sanitary and reduce your stress. You don’t want to have to work around other projects or have to wash utensils to sue them while you’re in the middle of canning.

Double-check your recipe and buy extra.

Make sure you have all the ingredients you need on hand before you begin canning. From personal experience, it’s horrible to realize you don’t have enough pectin for your batch of jam, or you’re missing a spice from your awesome marinara sauce recipe. Double-check ahead of time!

Canning Jars in Rack (Canning Tips)Consider smaller jars and amounts.

Getting a bit carried away can be easy when you first begin preserving food. Maybe you have a lot of vegetables to put up, or perhaps you remember your grandparents putting up tons of beans. As many of us don’t have the large families of previous generations, I recommend people consider using smaller jars. If it’s just you or you have a small family, you may want to consider using pints or even half pints for some foods.

You should also consider how much you’ll go through in a year. Crops like cucumbers can be incredibly prolific, and while it’s easy to think that canning may seem like a great solution, you don’t want to end up with unused jars. According to the USDA, you want to use your canned food in one year to get the best nutritional value. Will you eat a pint of pickles per week? If not, you may not want to can 52 jars. Consider donating extra fresh produce to food banks, family, neighbors, or anyone you know in need.

Prepare extra jars.

Most canning recipes, like those available on the Ball Mason Jar website, will tell you about how many jars a batch will make. It’s still a good idea to have an extra couple of jars on hand and ready to go if you have enough to fill more.

Have snacks and easy meals on hand.

Canning is hard and hungry work. Working hungry and convincing yourself to cook a complicated meal after spending hours processing food is tough. I like having easy snacks and meals on hand for big canning days.

Can in the morning.

You may have other preferences, but I generally like to get my canning done in the morning. This works well for me because the temperature is usually a bit cooler, and it gives me plenty of time to clean up the kitchen in the afternoon and still have a relaxing evening.

Clean as you go.

Another tactic that keeps canning from becoming too stressful is cleaning as you go. While I have a batch of food in the canner, I like to do up what dishes I can or wipe counters, so I don’t leave it all until the very end.

Use fresh, high-quality produce.

Canning is a lot of work. Make sure the food you’re putting up will be delicious and worth the effort by canning your harvests when fresh or selecting good quality produce from the farmers’ market when supplementing your own crop.

Canning is a great way to preserve a lot of food, but it can be intimidating to new canners and is a lot of work. Follow these canning tips to keep your food preservation simple and stress-free this harvest season.

Preservation: Leather Britches

Today, when we talk about food preservation, we’re often discussing canning and freezing, but people were putting up foods in the old ways long before the advent of freezers and pressure canners. This Appalachian recipe is one of those old ways. Leather britches, sometimes called shuck beans or shucky beans, were a way to preserve beans for winter with little technology or cost. They’re snap beans dried on a string. 

Leather Britches History

Leather Britches
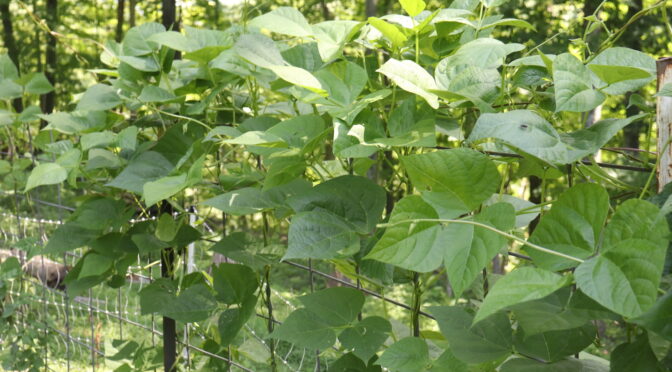
The practice of making leather britches most likely originated with the Cherokee people. They would thread the beans onto a rawhide cord and hang them over a slow fire to dry, protecting them from rot and insects. The Europeans who settled in Appalachia picked up this tradition, stringing beans and hanging them from rafters, porches, and fireplaces.

Even after canning became popular, leather britches remained a common Appalachian staple. Preserving beans this way creates chewy, sometimes smoky beans that were typically cooked over several hours with fatback, ham hock, or salt pork. Unlike pressure canning beans, this preservation method didn’t involve summertime cooking, didn’t use canning jars which could be pricey, and took up relatively little space. 

How to Make Leather Britches

Among the folks I’ve talked to, you either love leather britches or hate them. Many have memories of working alongside their parents or grandparents to put up the beans this way. I think they’re a recipe worth preserving and trying at least once.

Here’s what you’ll need:

  • Snap Beans
  • Strong Cotton Thread
  • A Sewing Needle with a Large Eye
  • A Space to Dry Them

To begin, harvest your beans. The variety isn’t crucial, though some may believe otherwise, preferring turkey craw, half runners, or red-striped greasy. I encourage you to try with whatever you’re already growing though you may find that wider, flatter beans are easier to string.

Wash your beans and string them if necessary. Lay them out on a towel and let any extra moisture from washing them dry. If desired, cut or snap them into 1 to 2-inch lengths. 

Using the needle, thread your beans onto the string, pushing them down to the end. Not everyone does, but I like to leave tiny spaces between each bean to ensure they get good airflow. 

Then hang your beans somewhere warm and dry. Covered porches, kitchens, and attics are all good places. 

How to Store Leather Britches

While some folks may have left their leather britches strung until needed, it was more typical to unstring and store them once they were fully dry. Often, people stored leather britches in paper or cloth bags. This kept the light and dust off them. Sometimes they added a dried hot pepper to the bag to discourage pests.

Today, most people store their leather britches in mason jars or other containers. Make sure your beans are fully dry before transferring them to containers! Keep your containers out of the sunlight and watch for any signs of moisture in the first few days. If you notice any, remove the beans from the jars and let them dry further on a screen or in a dehydrator. 

How to Cook Leather Britches

Recipes for leather britches undoubtedly varied from family to family. However, the basics are beans, water, and meat. Place about 4 cups of dried leather britches and 2 ounces of fatback, ham hock, or salt pork in a pot and cover with water.

Like other dried beans, leather britches take quite a long time to cook. To reduce the cooking time, you can soak them in water overnight if desired. Then add the meat in the morning.

Bring the pot to a boil and then reduce it to a simmer. Simmer for at least 2 to 3 hours until the beans are tender. Check occasionally and add water as needed.

Some folks liked to add a bit of sugar or other seasonings they had on hand. Elliott Moss, owner and chef at Buxton Hall Barbecue in Asheville, serves them in vinegar barbecue sauce. For a flavorful vegetarian version, try replacing the water with vegetable stock and excluding meat. 

Season your leather britches with salt and pepper and serve with homemade cornbread