Tomatoes are the queens of the summer garden, but they’re not problem free. Avoid these common tomato mistakes for a bountiful harvest this summer.
Not Planting Properly
Tomatoes are among the toughest transplants we grow, but proper planting technique is still essential to getting them off to a good start.
Timing
Timing is critical for tomatoes. They’re sensitive to cold temperatures, so you need to wait to transplant until after all danger of frost has passed and the soil temperature is at least 60°. Waiting until the soil has reached 65° to 70° is ideal.
While not thought of as a succession crop, you can also plant a late batch of tomatoes. You’ll need to time these transplants so that they have plenty of time to mature before your first fall frost.
In late summer and early fall, the short day length and cool temperature slow plant growth. When you’re planning your planting date for tomatoes, add 14 to 28 days to their days to maturity to account for this slow growth.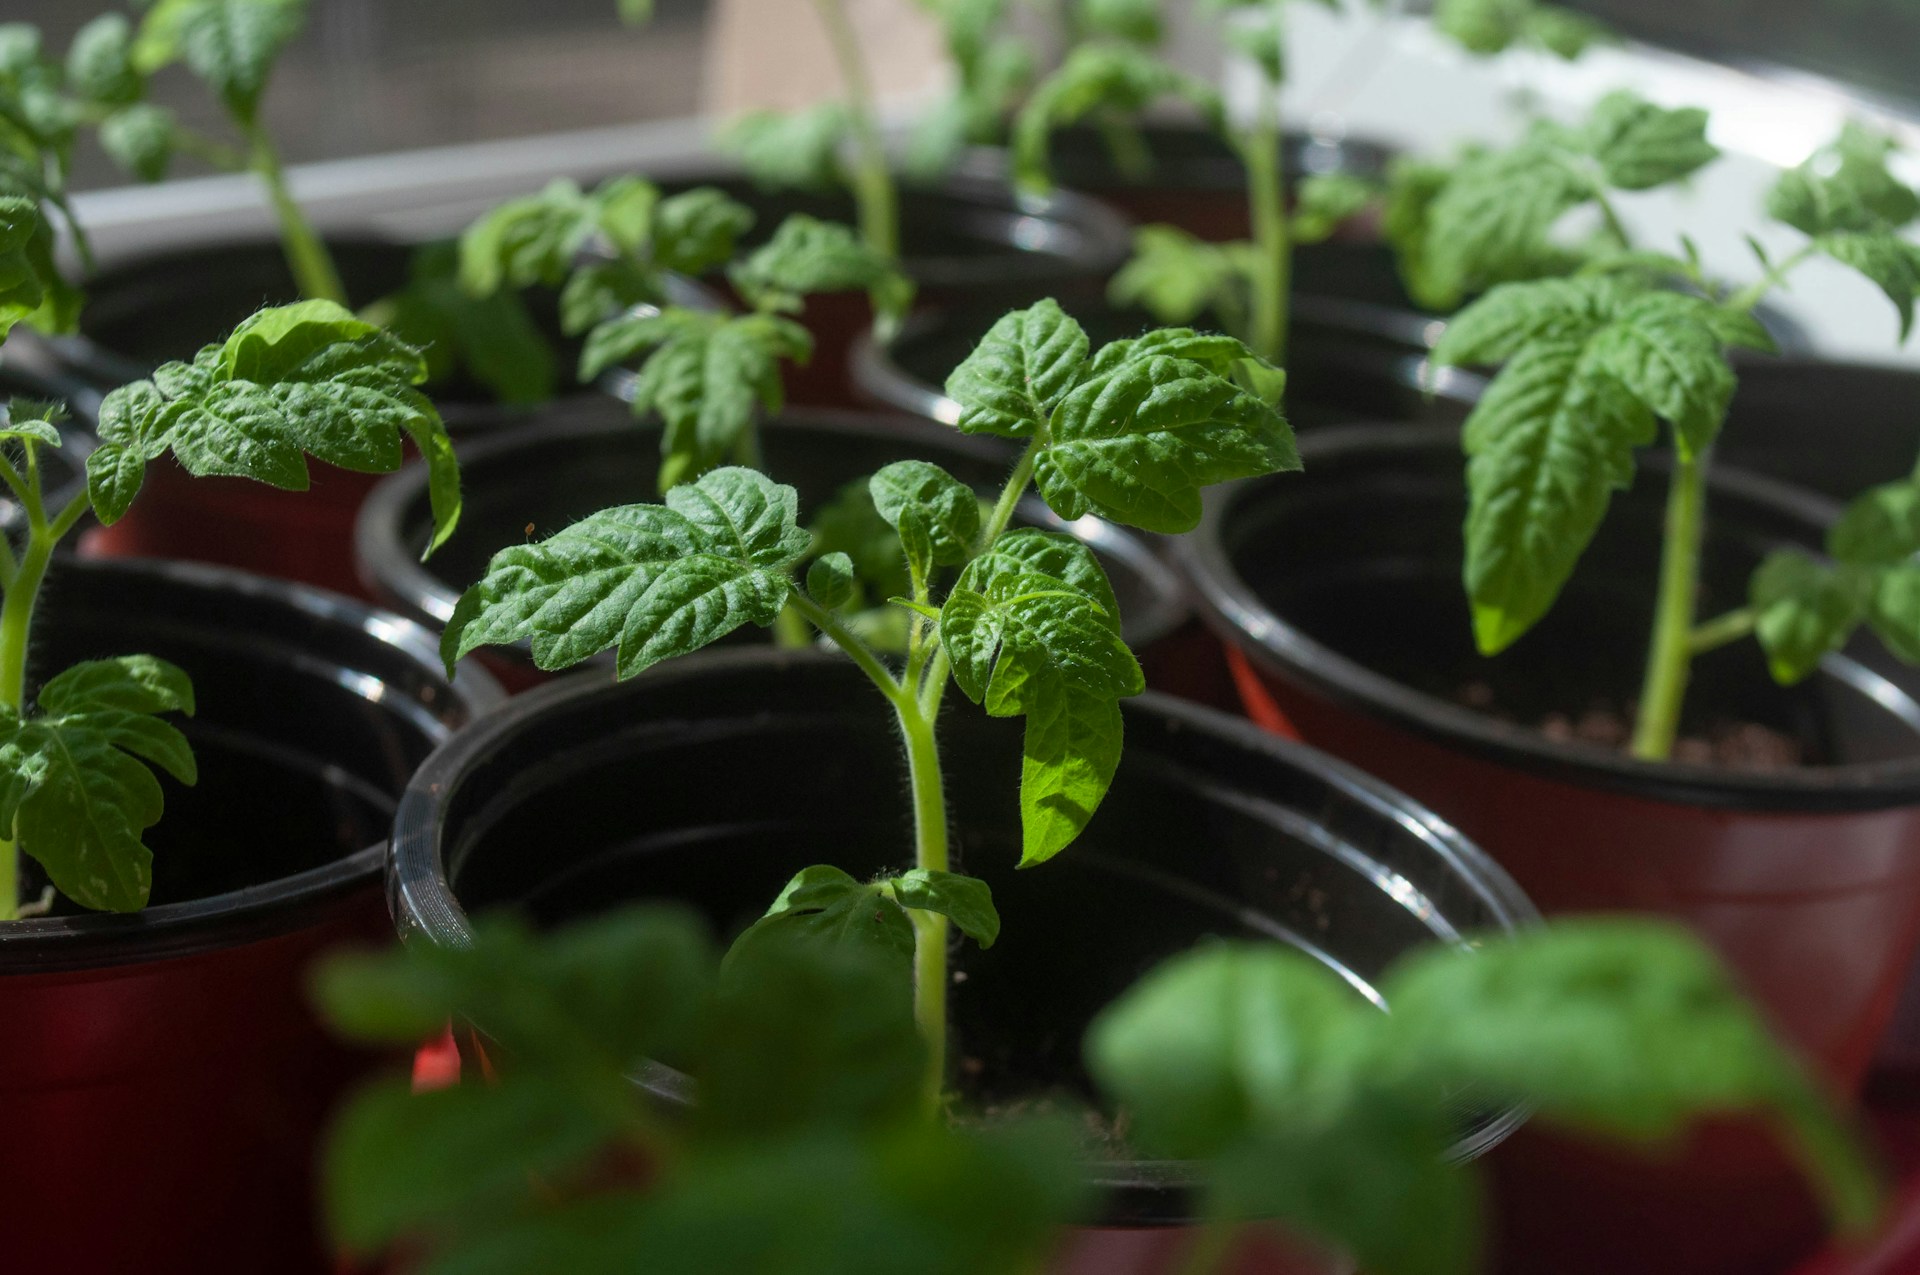
Spacing
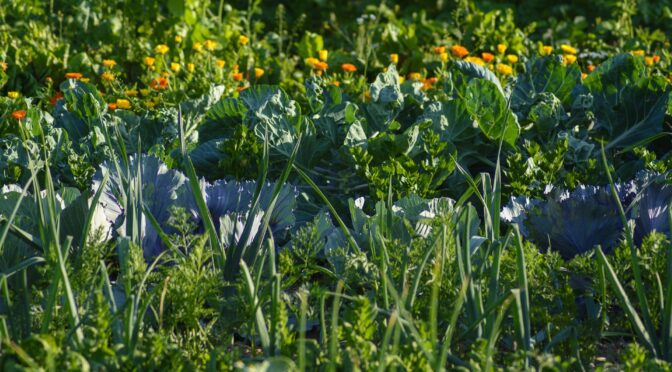
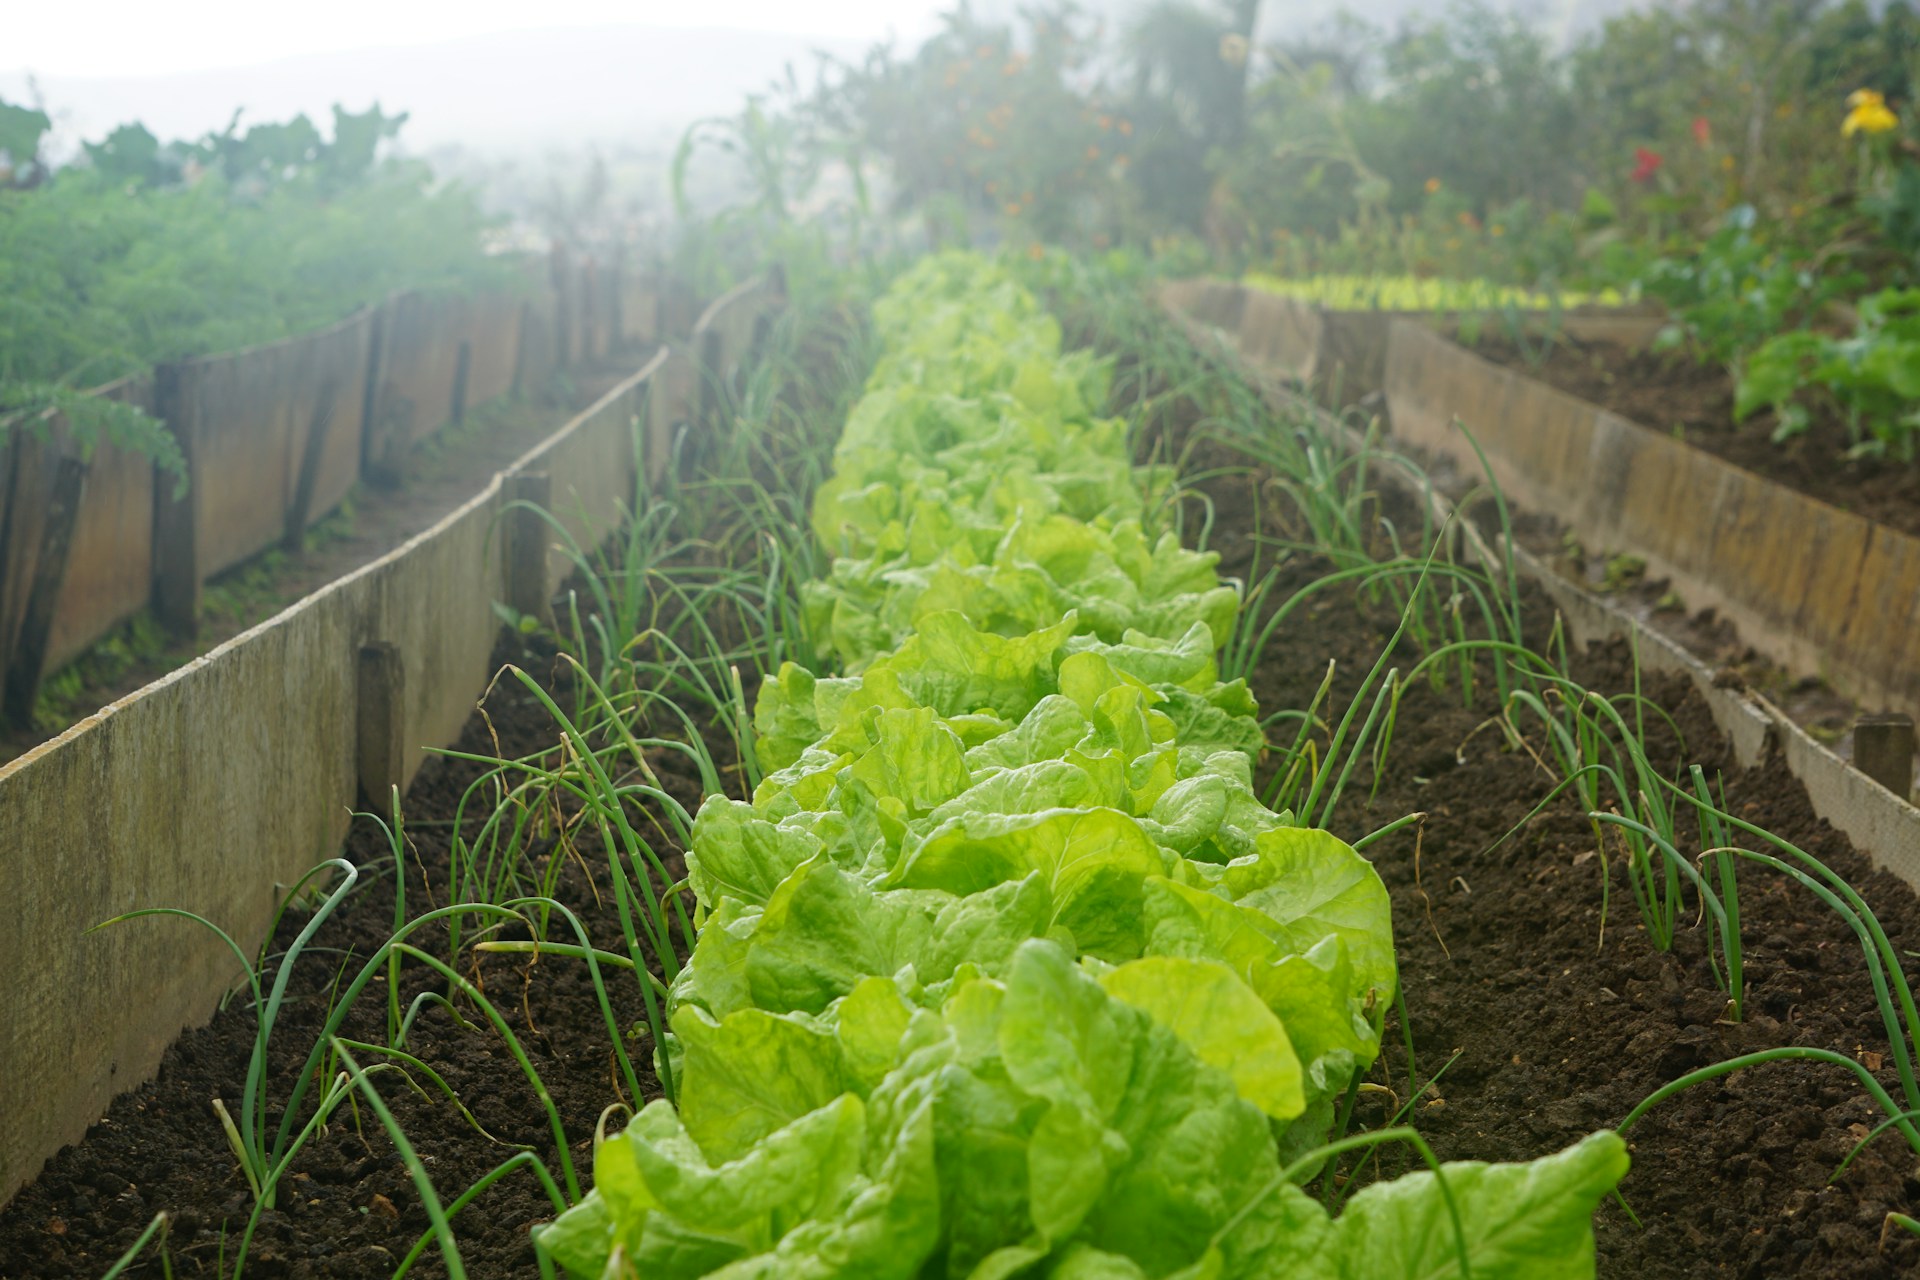
Proper spacing is also an important consideration when planting tomatoes. It’s hard to picture those tiny transplants turning into the giant plants they grow into by the end of the season. However, your plants will produce better if they’re given the space they need. For good airflow, moisture, and nutrients, space tomato seedlings 12 to 18 inches apart in rows 3 to 4 feet apart.
Depth
You should also transplant your tomatoes to the proper depth. Tomatoes thrive when they’re buried deep. Pinch off your transplants bottom set of leaves and then transplant your tomato so that the next set of leaves is just an inch or two above the soil. The section of stem that you’ve buried will send out roots, helping your tomato plant to adapt quickly and taking adequate water and nutrients.
Pruning Incorrectly
Pruning tomatoes can be a great way to increase airflow and mitigate the risk of certain fungal diseases like late blight. However, improper pruning technique can set back growth and reduce your harvest.
Only prune indeterminate tomato varieties. Never prune determinate varieties.
To prune your indeterminate tomatoes, look for spots where the main stem and a branch create a V-shape. In these V-shaped notches, you will notice new small branches growing. These new branches are called suckers.
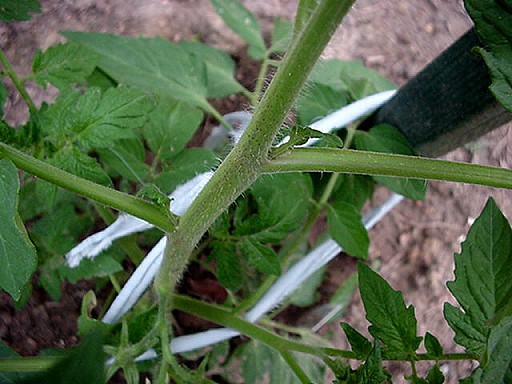
Suckers will usually flower and produce fruit. However, they can make your tomato plant unruly and harder trellis. They also reduce airflow and can affect your harvest quality. Plants will spend energy producing new suckers and fruit. While that sounds great, it can reduce the overall size and quality of tomatoes as the plant’s energy is further divided.
Inconsistent Watering
To grow a large harvest of high-quality tomatoes, your plants will need consistent watering. Tomatoes thrive with about one to 2 inches of water per week. This can be a combination of rain and irrigation or one of the two, depending on the weather.
Inconsistent watering with periods of heavy drought or high moisture can reduce yield and quality. Plants that receive inconsistent water are prone to issues like blossom and rot and splitting.
Splitting in tomatoes is often caused by a relatively dry period, followed by a period of heavy moisture. When your plant goes through a dry period and then receives a ton of moisture from rain or irrigation, the fruit will rapidly swell and expand, creating cracks in the skin.
Blossom end rot is thought of as a fungal disease, but it’s actually caused by a lack of calcium as the fruit is developing. Calcium deficiencies in soil aren’t very common, but when your plant doesn’t have enough water, it cannot take up the calcium that it needs.
Over-fertilizing
Tomatoes love having fertile soil, but you can’t have too much of a good thing. Get a soil test before fertilizing. If your garden already has adequate nutrients, adding fertilizer can do more harm than good.
When tomatoes receive excessive levels of nitrogen and other nutrients, they put on more foliar growth rather than fruit production. They can also be more prone to pest and disease issues.
Excessive fertilizer can runoff or leach from your bed into nearby ditches, streams, and other waterways. Once in these waterways, the high levels of nitrogen, potassium and phosphorus can create toxic algae blooms, which are harmful for people and wildlife.
Finished compost can be a safer way to give beds a quick boost of nutrients. Learn more about when to fertilize your garden here.

Harvesting Late
We all get busy in the summer and it’s often tough to keep up with the garden when we’re balancing other family and work obligations. However, you’ll get the most from your tomatoes if you harvest often and at the right times.
Ripe tomatoes should be the correct color for their variety and glossy. When you touch the tomato, it should be firm, but have a bit of give to it if you squeeze it gently. When you try to remove it from the stem, it should come off fairly easily.
If you wait too long to harvest tomatoes, they can over ripen split and rot, which can lead to pest and disease issues.
Growing tons of tomatoes is always a highlight of summer. Keeping these common mistakes in mind can help ensure you get a wonderful harvest.