
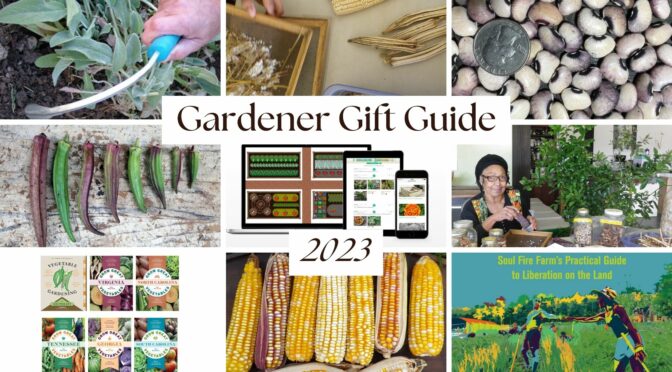
It’s that time of year again! The seed catalogs are coming out soon, and the holidays are just around the corner. We know that many heirloom gardeners strive to give meaningful, practical, and waste-free gifts, so we’ve created a gardener gift guide. Here are some of our favorite ideas, whether you’re shopping for seed savers, homesteaders, new gardeners, or even just nature lovers.
Mother Earth News Magazine Subscription
There’s something wonderful about flipping through the pages of a magazine in today’s digital world, and Mother Earth News is one of our favorites! SESE’s own Ira Wallace has been a contributor, and we typically attend and always enjoy Mother Earth News Fairs.
It’s full of information on gardening, sustainable living, homesteading, livestock, cooking, natural health, and more. You can purchase six issues of Mother Earth News for someone on their website.
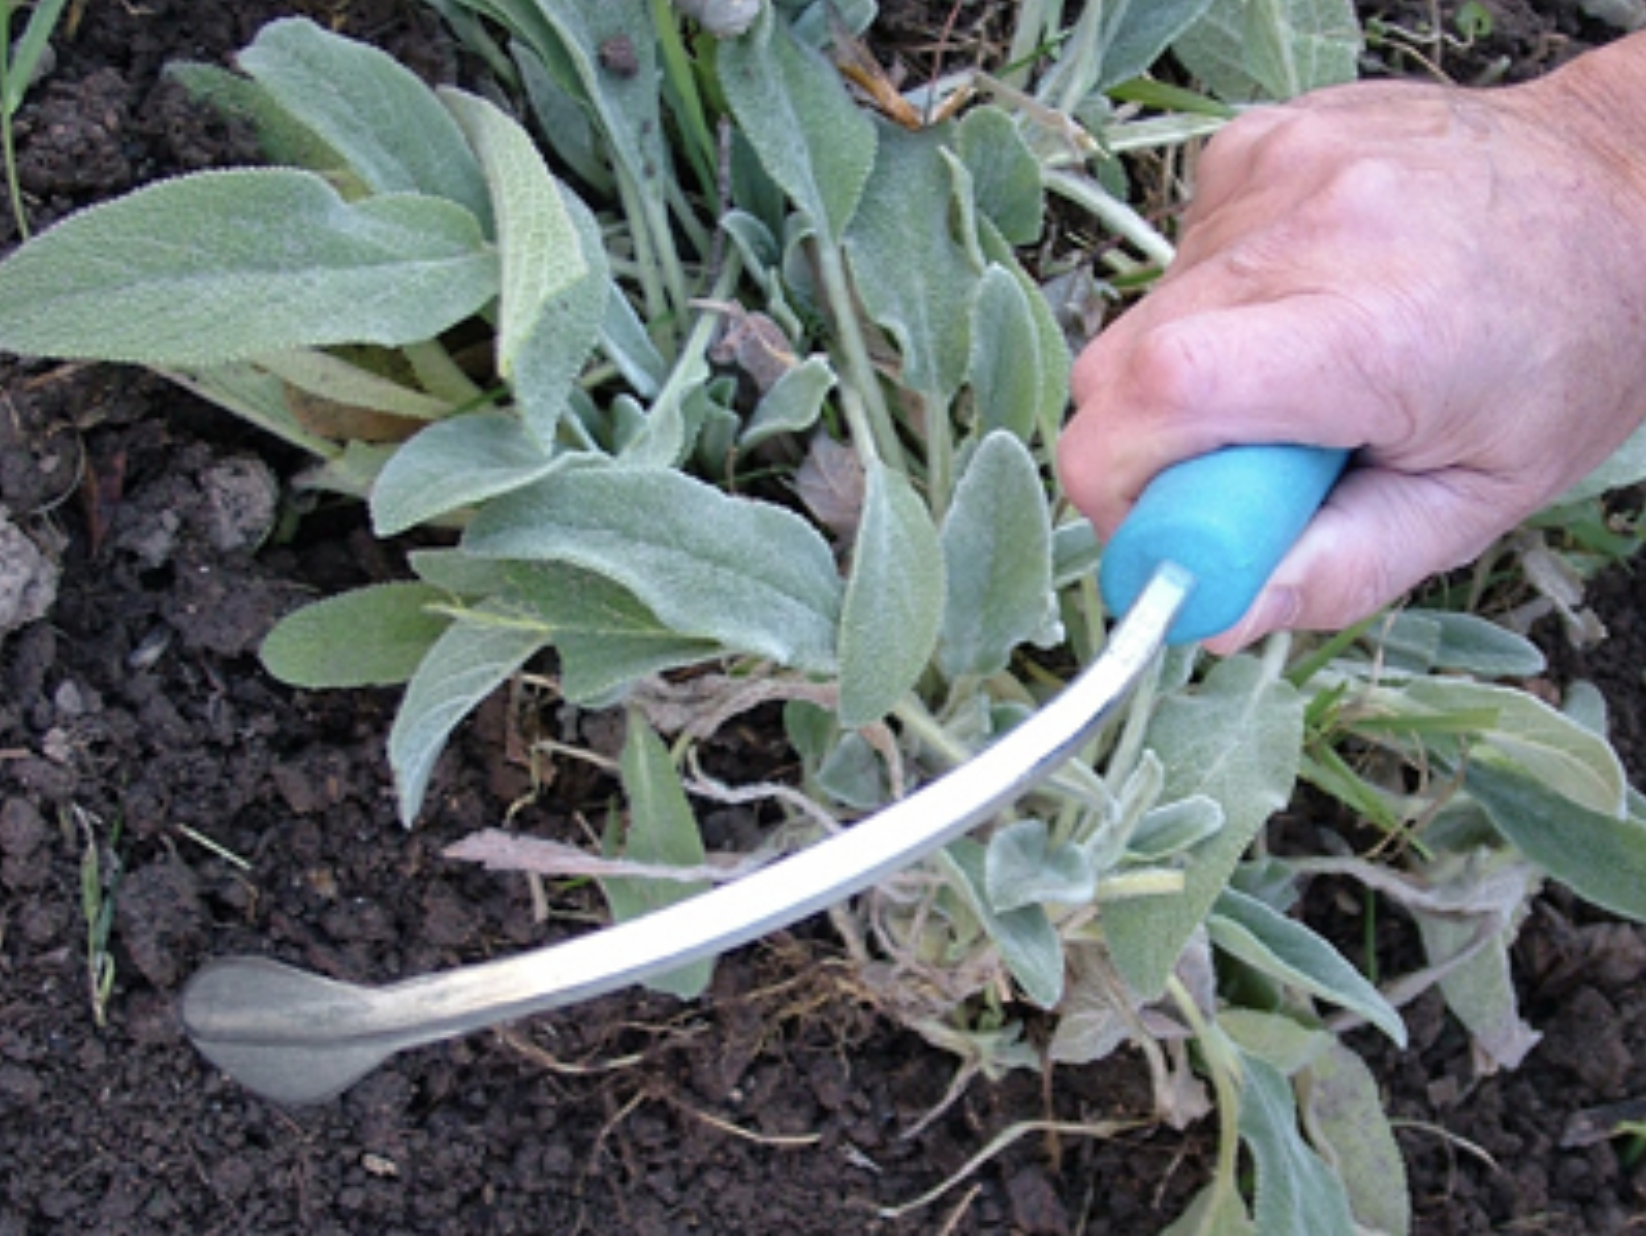 CobraHead’ Steel Fingernail’ Weeder and Cultivator
No matter how long you’ve been gardening, dealing with weeds is still challenging. Give the gardener in your life a helping hand with the CobraHead’ Steel Fingernail.‘
Ira Wallace reviewed this tool herself:
I don’t usually get excited about small tools, but the CobraHead got me excited about weeding. Made in the USA of knife-quality steel, it’s simply the best all-around small tool I’ve come across. National Garden Club testers were really impressed with the tool and all it can do. It cuts through all types of soils. The weeds it can’t cut, it lifts. The self-sharpening blade can be used in all directions. The comfortable handle is made from recycled plastic. The CobraHead has a full one-year warranty against manufacturer defects. If defective, return it within the year together with your receipt, and we’ll send you another or refund your money.
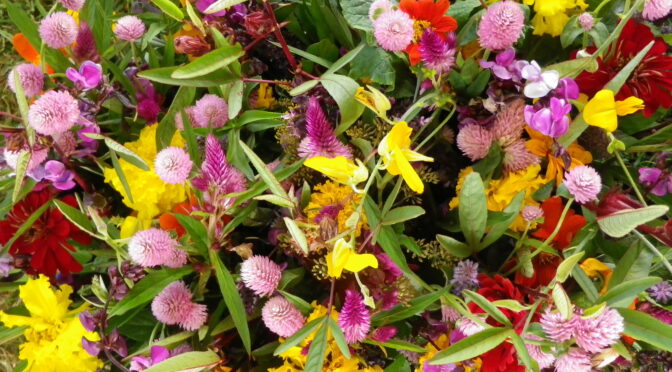
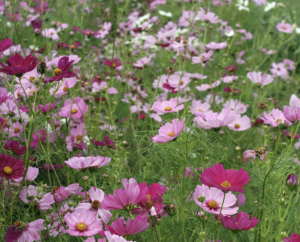
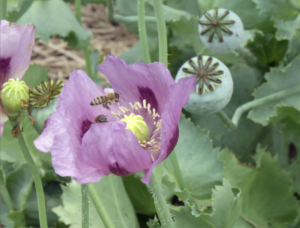
Wild Garden Perennial Insectary Mix
This mix is the perfect gift or stocking stuffer for those looking to make their yard and garden a little more eco-friendly. The Wild Garden Perennial Insectary Mix provides the backbones of a spring-through-fall oasis for your resident beneficial insects.
A complement of self-sowing annuals, biennials, and perennials provides food, shelter, and pollen. Includes fennel, Korean mint, garden sorrel, mustard, chervil, parsley, chicory, cress, turnip, calendula, amaranth, and orach. The leaves are also edible by humans.
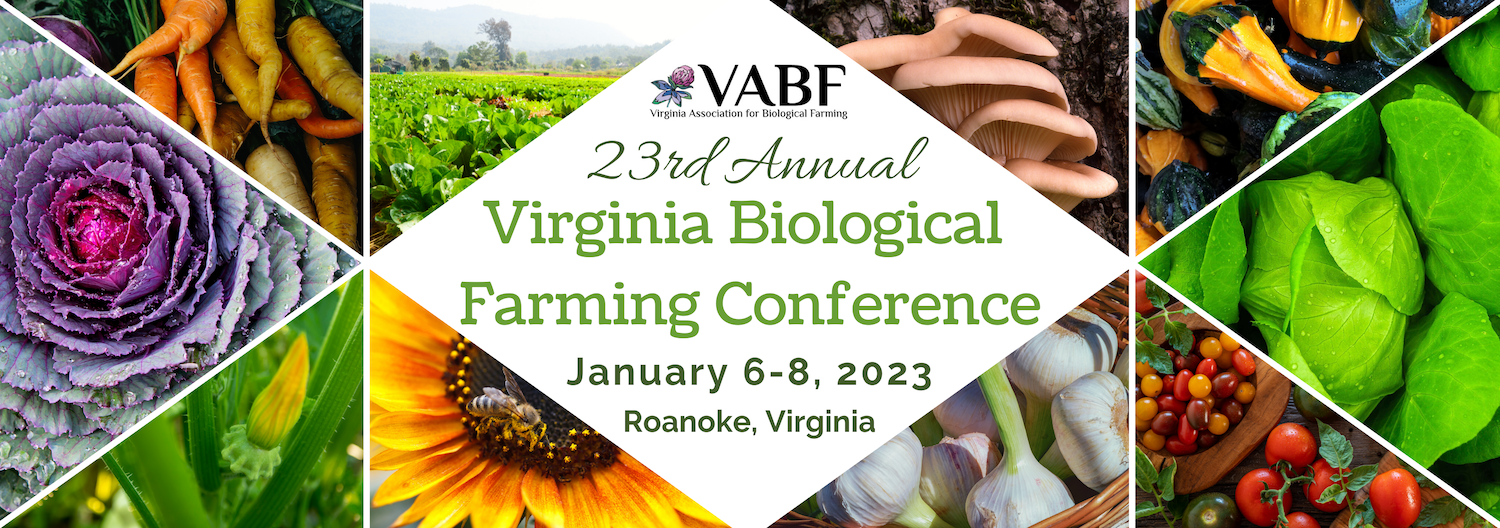 Event Tickets
Education is a significant gift idea. Be on the look for gardening workshops, conferences, and summits in your area or those you think would be a good fit for your loved one.
SESE will be attending several upcoming events, including the 2023 Virginia Biological Farming Conference, The Tennessee Local Food Summit, and the Texas Mother Earth News Fair.
Garden Planner
Especially when you’ve got big gardens, they can be hard to keep track of! Give your loved one a bit of help with our Garden Planner. This online tool helps manage your garden throughout the season and from year to year.
It’s easy to draw out your vegetable beds, add plants and move them around to get the perfect layout and a personalized planting calendar for your location. You can even order our seeds directly from the planner!
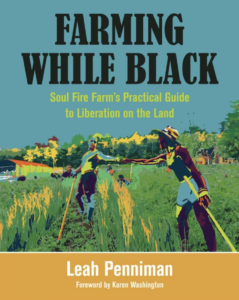 Farming While Black: Soul Fire Farm’s Practical Guide to Liberation on the Land
“This is the most inspiring book I have read in years.” ~ Ira Wallace
Leah Penniman’s book, ‘Farming While Black: Soul Fire Farm’s Practical Guide to Liberation on the Land,’ is a rich and culturally relevant how-to manual for black and brown farmers. It’s filled with uplifting stories of black contributions to agriculture and the ongoing work at Soul Fire Farm to build an anti-racist and just food system.
SESE Gift Certificates
Stuck on what to buy your favorite gardener? Grab a SESE gift certificate, and we’ll mail it to whoever your choose. They can use it to buy their favorites from the SESE catalog.
DIY Seed Collection
If you’re a seed saver yourself, seeds make an excellent gift! You can give a loved one a few of your favorite heirlooms or maybe seeds for a themed garden like a pizza garden. You can also shop for seeds to supplement your own and make a personal collection.
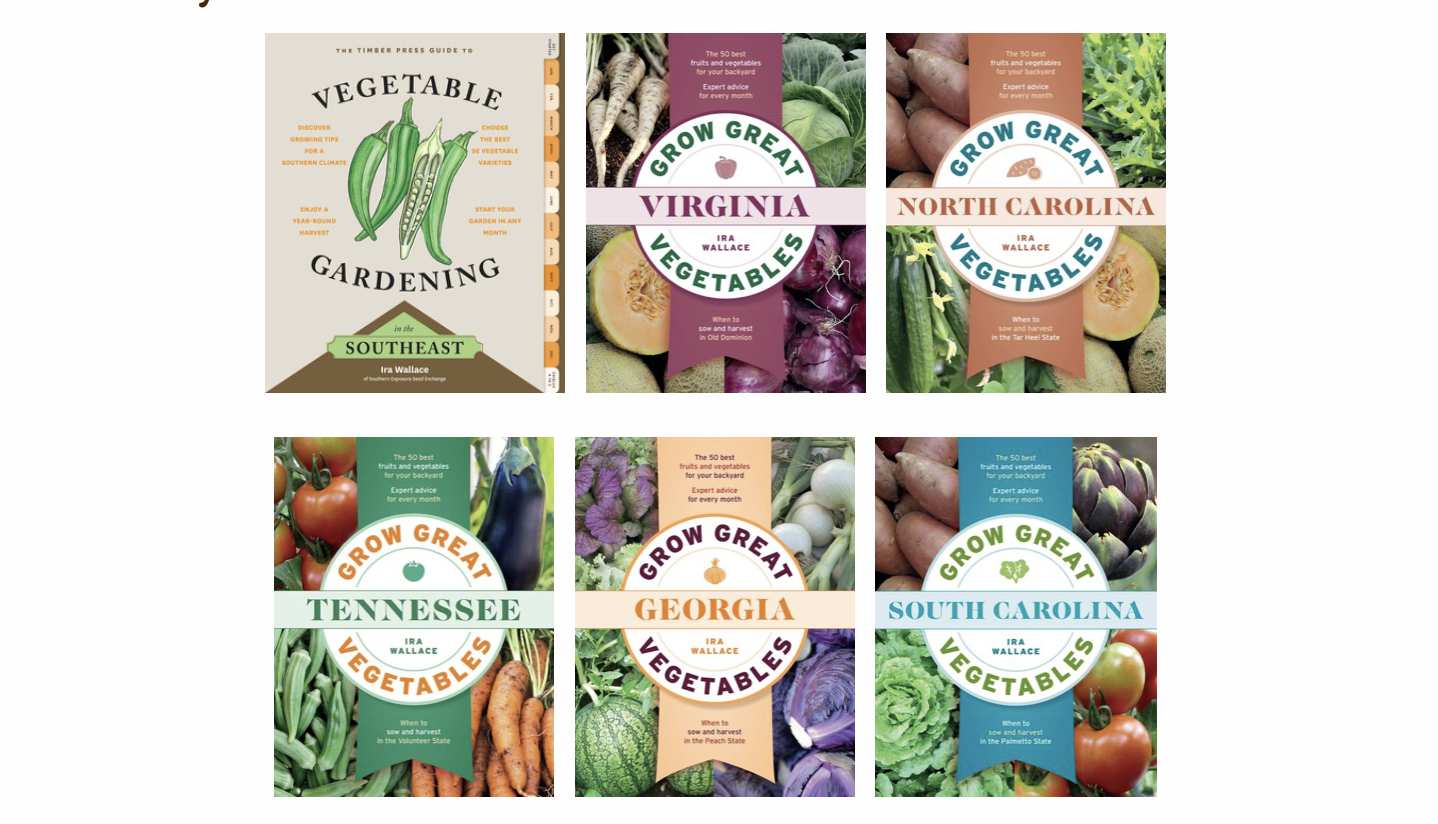 Guides to Growing in the Southeast
SESE’s Ira Wallace has expanded her original Guide to Vegetable Gardening in the Southeast into Virginia, North Carolina, Tennessee, Georgia, and South Carolina guides. Grab one for the southern gardener in your life!
Herbalism Courses
Many of the folks that follow SESE also share a passion for herbalism. While reading articles and books is excellent, an herbalism course can help someone get more hands-on experience with feedback. Many places now offer reputable courses. Some great schools include:
See a longer list of options and other resources at Mountain Rose Herbs.
This season isn’t all about shopping and gifts, but we hope to offer ideas and options that are both meaningful and sustainable. Try one of these gift ideas, or get some inspiration from this list to create your own, and give someone in your life a waste-free gift that will make them a better gardener, seed saver, or homesteader.

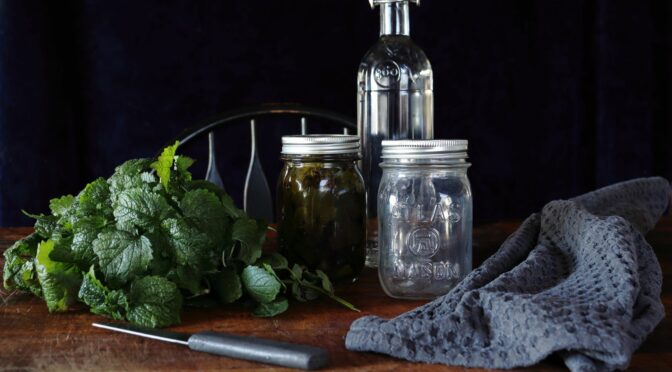
 What’s the folk method?
 Making a Tincture with the Folk Method