We’ve had so many people joining the ranks of organic gardeners in the past couple of years. Folks are becoming interested in where their food comes from, stretching their budgets, becoming concerned for the environment, or just trying to make the tastiest meals. Unfortunately, not everyone concludes that they’d like to start a garden during the spring. When I first read about organic gardening and local food, it was fall, and it was tough to feel like I had to wait all winter to start on this new venture. Thankfully, if you’ve just decided to start organic gardening, you don’t have to wait. Here are 10 ways you can start an organic gardening right now.
Start a Compost Pile
Compost is one of the best ways to build healthy soil, and you can start a compost pile any time of year. Add fall leaves, kitchen scraps, grass clippings, egg shells, and more to your pile. Check out our post, Black Gold, for complete instructions.
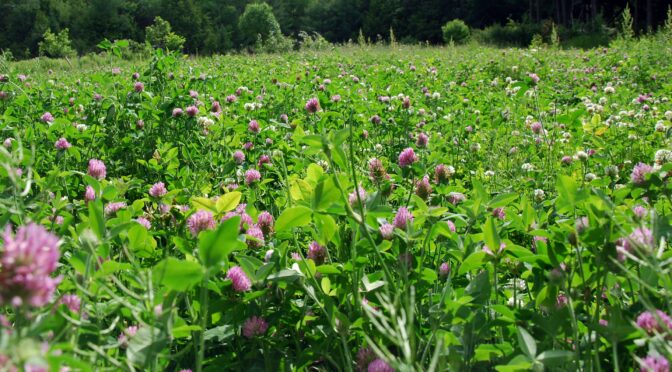
Plant Cover Crops
Cover crops are another great way to build up your soil in preparation for a new garden. While it’s too late to plant most vegetable crops, you can still sow a few fall cover crops. Learn more about how and what to grow with our post, Cover Crops for Beginners.
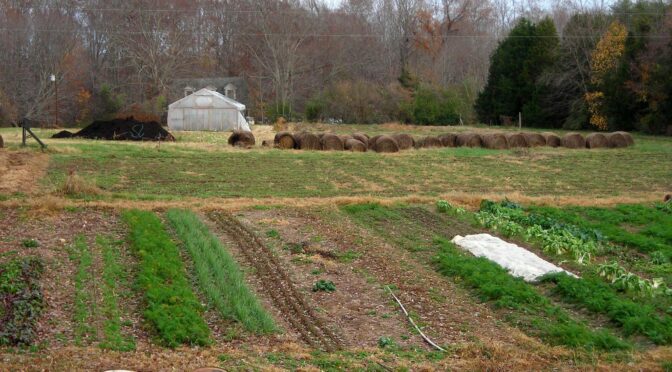
Build a Raised Bed
Raised beds can be easier to manage for new gardeners and allow you to grow food in areas with poor or even no soil. Getting one set up this fall will save you stress in the spring!
Start a Lasagna Garden or Hugelkultur Mound
Another type of garden you can start is a lasagna garden or hugelkultur mound. Both methods allow you to build up your soil and create beds without tilling. Lasagna gardens are made of just a couple of layers. First, you lay down cardboard to kill the grass, followed by a layer of organic material, usually hay, but leaves, grass clippings, and straw can also be incorporated. Then you cover this with several inches of finished compost or manure. The manure will need to break down longer before you can plant.
Hugelkultur mounds are similar but have an additional layer. You begin by laying down woody material such as sticks, branches, or even logs. The larger and fresher the material, the longer it will take to break down. Then you add a layer of nitrogen-rich material like grass clippings or manure to help encourage the woody material to decay. Follow this with a layer of soil and a layer of mulch. Check out our post, How to Build a Hugelkultur Garden Bed, for more information.
") Get a Soil Test
Get a Soil Test
A soil test is a great place to start for any new gardener and will help you avoid many issues. Healthy plants start with healthy soil, and a test will tell you critical information, like if your soil is too acidic or missing vital nutrients like phosphorus.
Do Your Research
There’s a lot of information about organic gardening, and while you’ll still make some mistakes, it can be beneficial to learn as much as possible before starting a garden. Some of our favorite resources include:
- The Sustainable Market Farming Blog by Pam Dawling
- Our own Ira Wallace’s Guides to Growing in the Southeast (available on the website)
- SESE Growing Guides
- Mother Earth News
- The Southern Exposure Seed Exchange Blog (this blog!)
- Local Extension Agency
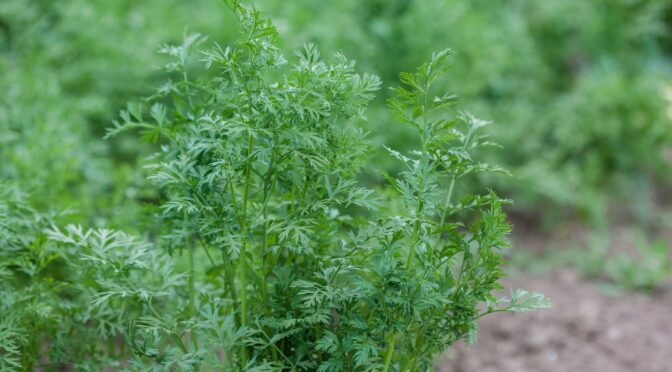
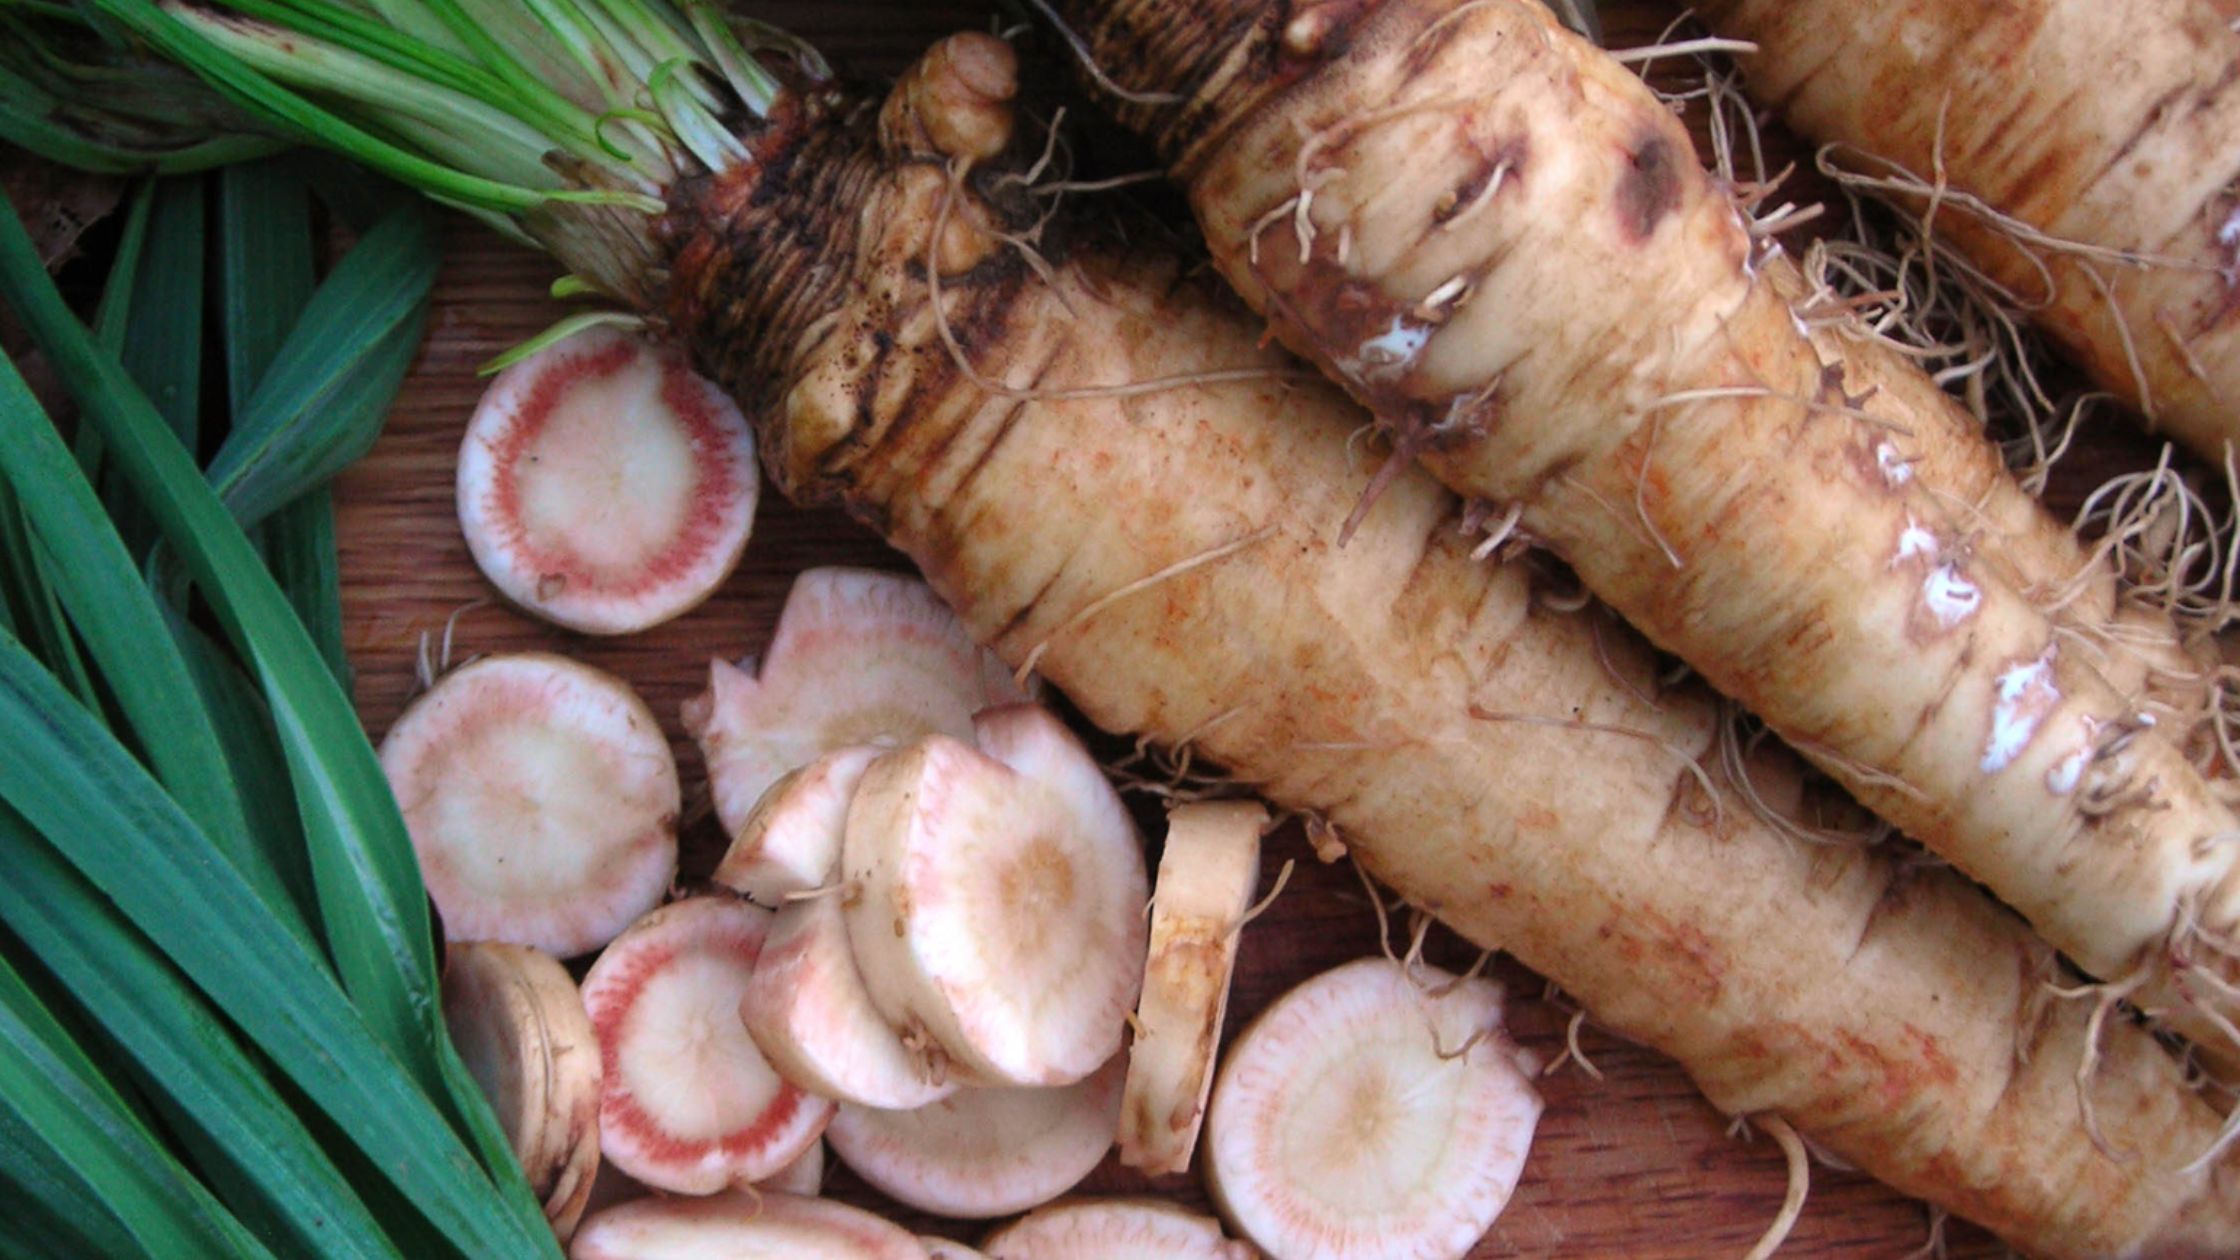
Plant Garlic & Onions
I said there weren’t many vegetable crops to plant his time of year, but there are a couple! Fall is when we plant our garlic and onions. You can start garlic, multiplier onions, and shallots from sets. Start bulb onions from seed in a cold frame or hoop house to ensure they get plenty of time to bulb up before next summer gets too hot.
Plant Fall Flowers
You can also plant many flowers during the fall. Fall bulbs like tulips, daffodils, crocuses, and oriental lilies are popular choices. You can also sow cold hardy seeds like coneflowers, sweet peas, violas, and Larkspur. Our post, Spring Flowers: Fall Sowing, discusses overwintering flowers.
Begin Collecting Supplies
While you can start an organic garden with almost nothing, a few tools make it much more manageable. Watch yard sales or thrift shops for basic tools like a shovel, watering can, garden fork, and trowel. You can also watch fall sales on hoses and irrigation supplies.
You can also try to score free organic matter for your garden and compost pile. Ask friends and neighbors to save grass clippings or leaves for you. Be sure that these aren’t from lawns sprayed with herbicides!
Plan your seed list early and order early to ensure you get the varieties you want. Thankfully there are many great small seed companies you can support; we have a few of our favorites listed on the website if you are looking for something we don’t carry.
Check Your Hardiness Zone
Especially if you plan to add perennials to your garden, you’ll want to check on your hardiness zone. You can use this information to purchase perennials like fruit trees that will thrive in your area.
Don’t wait until spring to start organic gardening. There are many ways to get started this fall that will help you have a productive summer!
 Grasses & Mulchers