Many insects play vital roles in helping our gardens grow. Flies, bees, butterflies, and moths pollinate crops while spiders, beetles, mantids, parasitoid wasps, lacewings, and other predators feed on pests. On the soil level, worms, millipedes, and other decomposers help turn organic matter into usable nutrients for your plants.
Attracting some of these insects to your garden can reduce pest pressure, help build healthy soil, and improve yields. Here are ten plants you can grow this season to help attract some of these important insects to your garden:
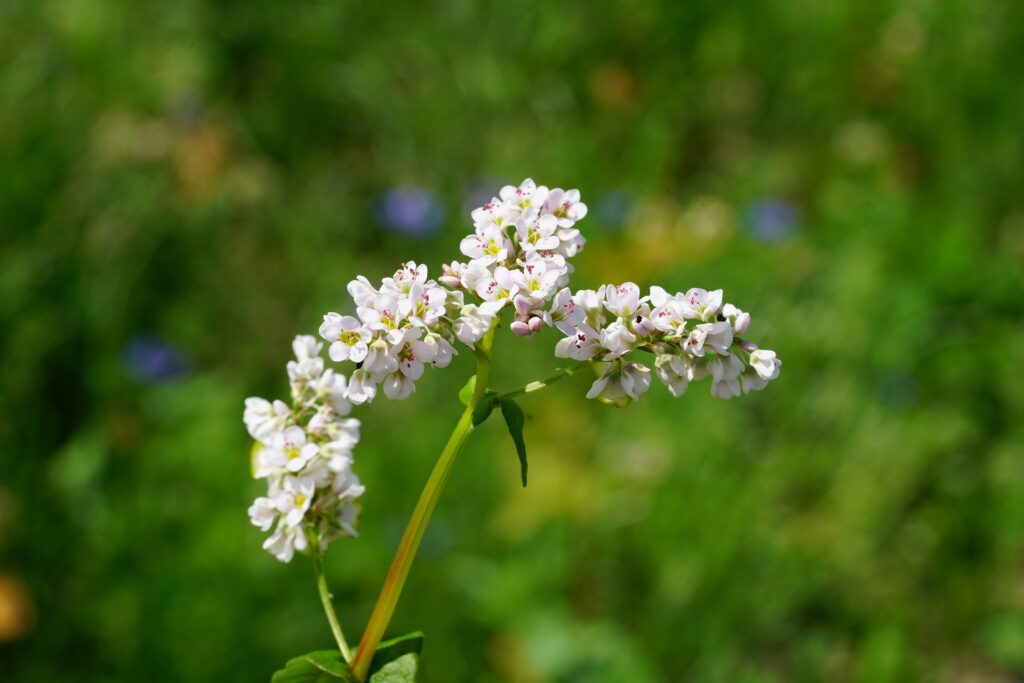
Buckwheat
This tasty grain and fantastic green manure crop is also excellent for attracting pollinators and parasitoid wasps. It grows quickly, and both wasps and bees love the flowers! Sowing a patch and have it buzzing with activity when flowers appear in as little as six weeks!
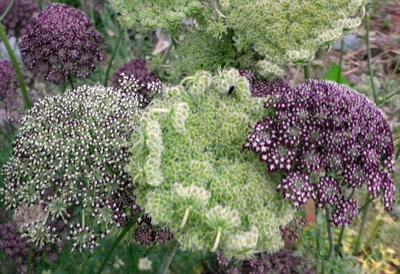
Dara
This delicate flower is closely related to Queen Anne’s Lace but isn’t as aggressive in the garden. The flower clusters in pink, dark purple, and white attract various pollinators, including tachinid flies that parasitize squash bugs.
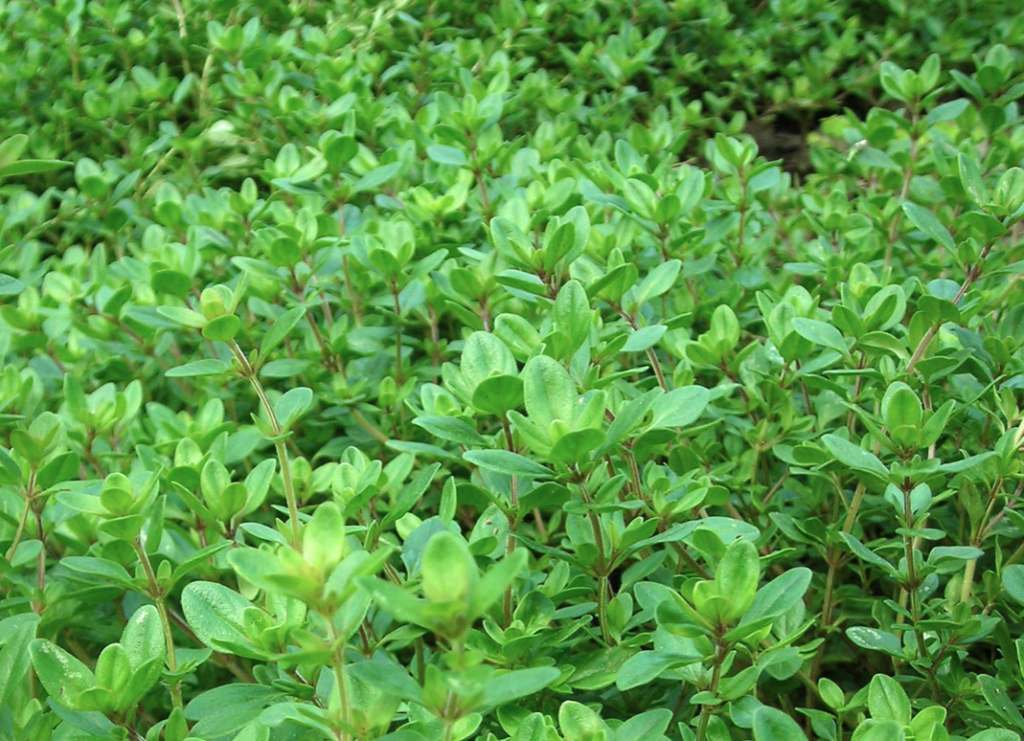
Creeping Thyme
Slow-growing at first, Creeping Thyme will eventually form dense mats. This thick ground cover provides excellent shelter and shade for predatory beetles as well as decomposers like millipedes.

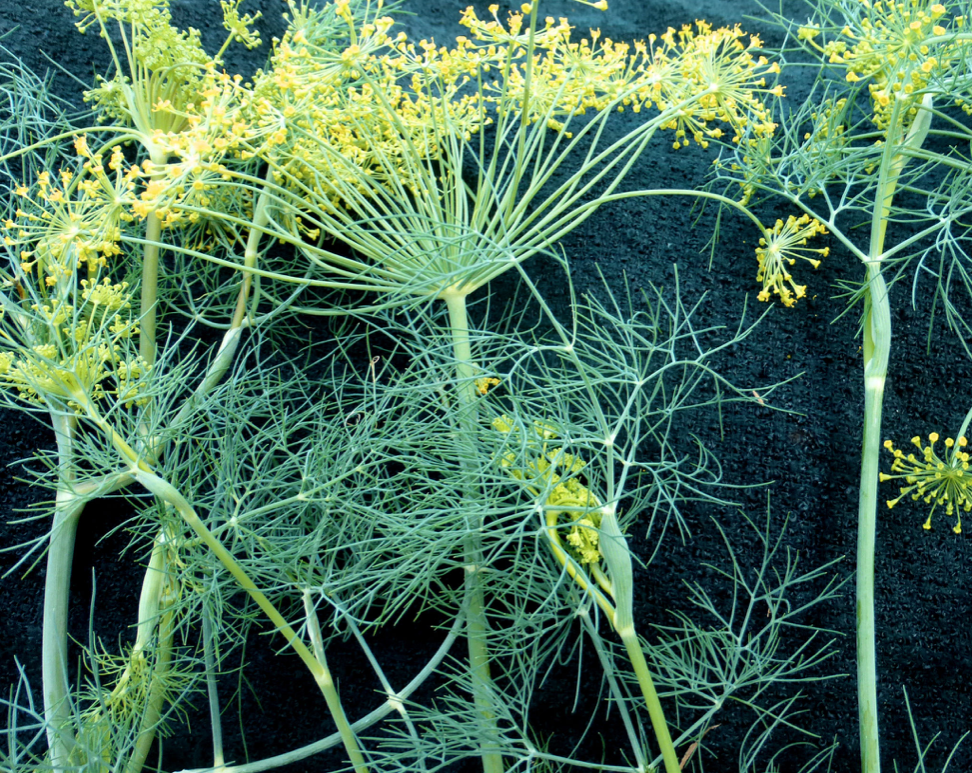
Fennel
Fennel has beautiful delicate flowers that attract tiny wasps and other pollinators. Its leaves are also a food source for some swallowtail butterfly caterpillars.
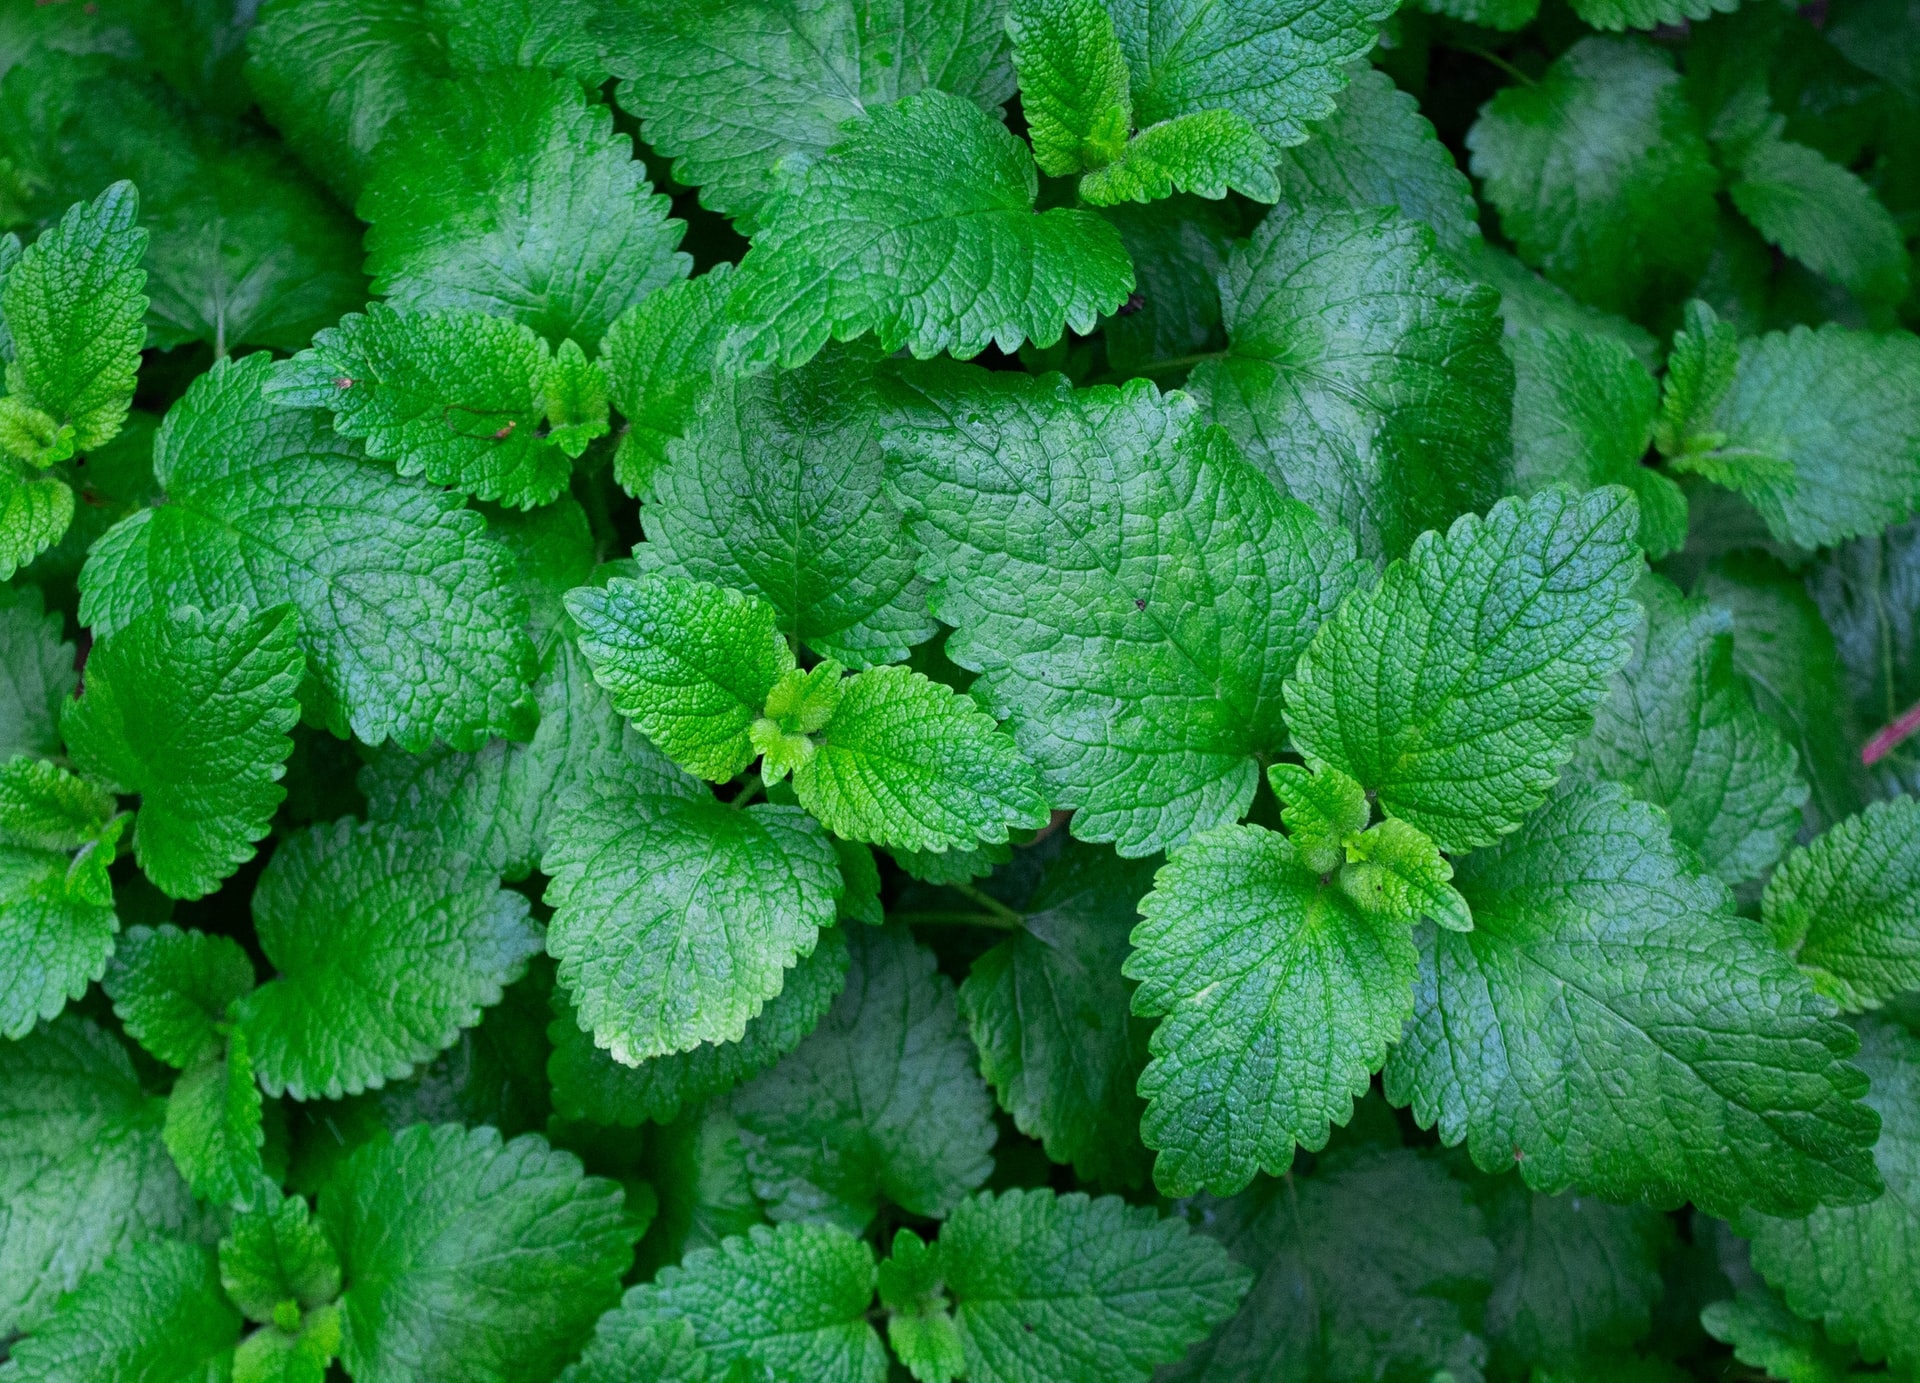
Mint
Like thyme, mint is a great way to create dense shady areas of foliage that are multi-purpose. You can harvest mint for tea and culinary uses while it provides habitat for decomposers and predatory beetles. The flowers are a favorite with bees.
We’re currently out of stock of mint seed, but you may be able to get a start from a friend. Alternatively, other plants in the mint family that work well include lemon balm or anise-hyssop.

Sweet Alyssum
Sweet Alyssum forms low, spreading mounds with fragrant, tiny white flowers that are excellent for attracting bees, butterflies, and other pollinators. It’s long-blooming, especially when spent blooms are cut back. It also provides shade and shelter for ground-dwelling beneficial insects.
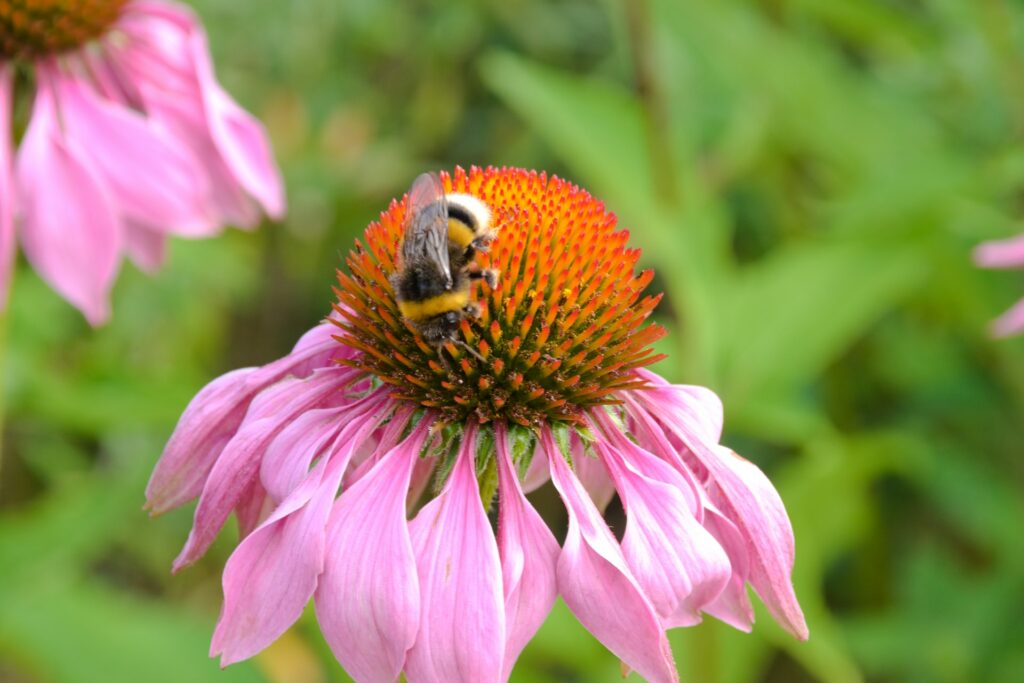
Echinacea
This native flower can help you attract a variety of butterflies and bees to your garden. It’s also drought-tolerant and medicinal.
Dill
Like fennel and Dara, dill’s tiny flowers are attractive to many small beneficial insects, including parasitoid wasps, flies, and bees. It will do double-duty when it’s time to make pickles!
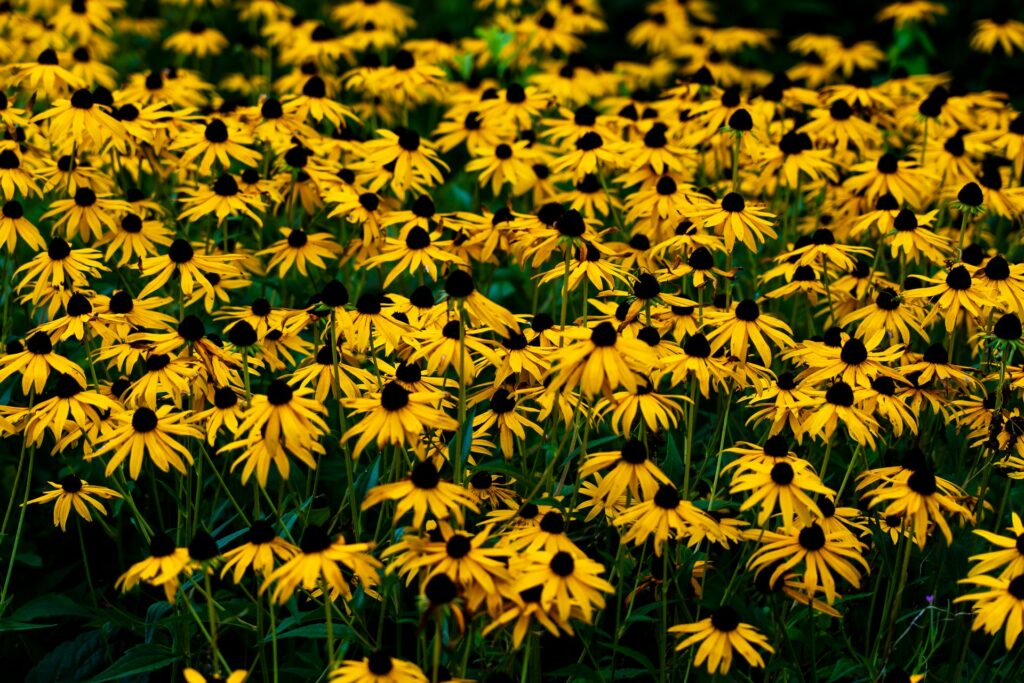
Rudbeckia
Sometimes known as Black-eyed Susan, it has composite flowers which will attract bees, hoverflies, parasitoid wasps, and robber flies. It’s also a great low-maintenance planting for an untended space. Rudbeckia self-sows and naturalizes aggressively.
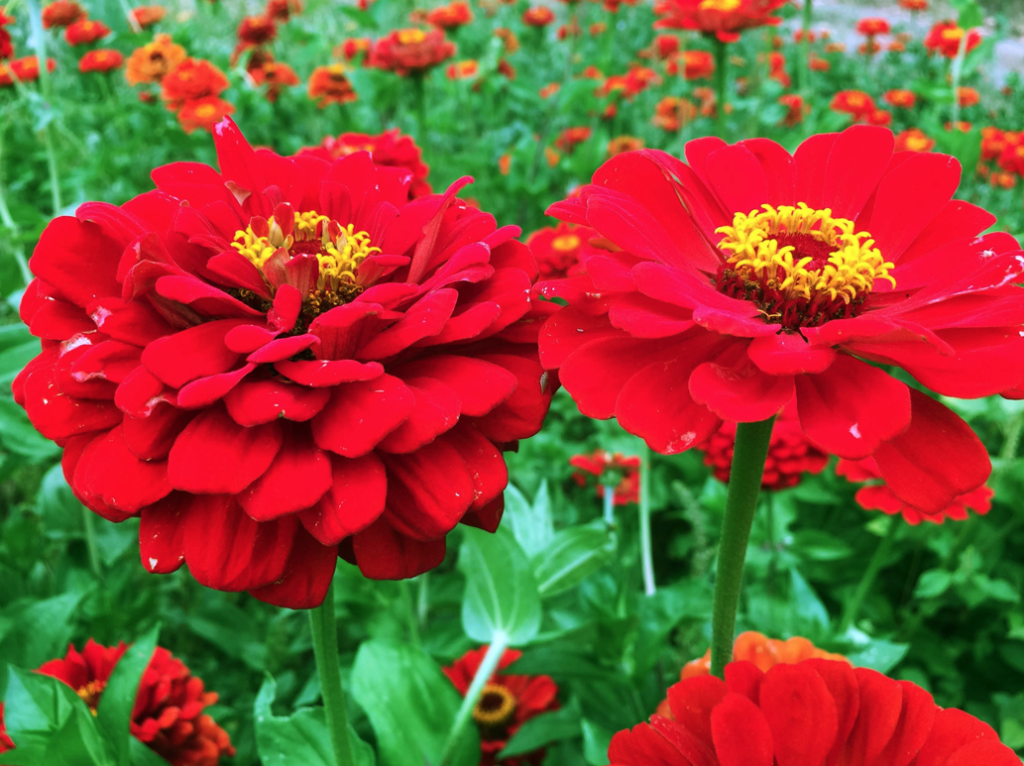
Zinnias
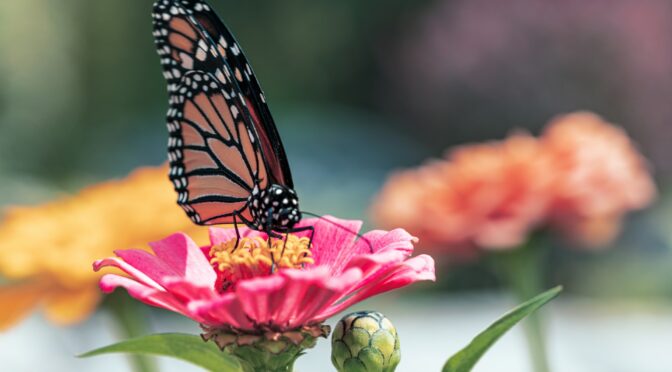
These are the workhorse of any flower garden. Zinnias are easy to grow and will bloom all summer, especially if you keep up with deadheading. They’re excellent for attracting bees, butterflies, and other pollinators.
Bonus: Welcome-to-the-Garden Pollinator Collection
Support pollinators all season with this special collection of 13 old-fashioned single-blossomed heirloom, open-pollinated flowers and herbs. It includes calendula, echinacea, cosmos, sweet alyssum, bachelor’s button, cleome, sunflowers, rudbeckia, beebalm, phlox, and zinnia.
We give 30% of your purchase of this mix to the Piedmont Environmental Council for their “Buy Fresh Buy Local” Food Guide.
Additional Tips
- Avoid using pesticides. Even organic pesticides can negatively impact beneficial insects the same way that they’re intended to harm pests. Opt for integrated pest management instead.
- Let things get a little messy and provide natural, wild habitat whenever possible. Let part of your lawn grown, leave standing dead plant material, don’t get rid of autumn leaves, and let trees and shrubby areas grow.
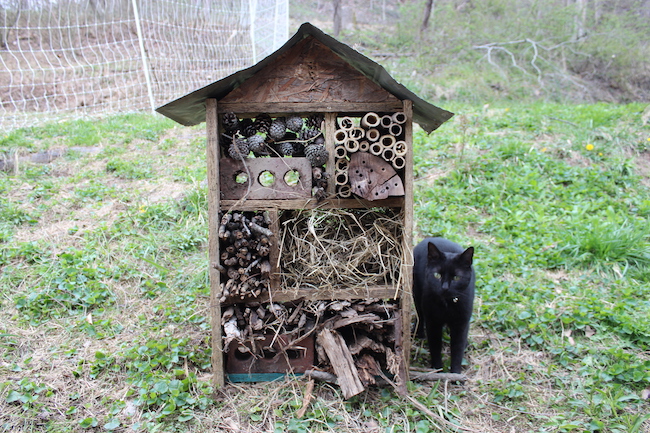
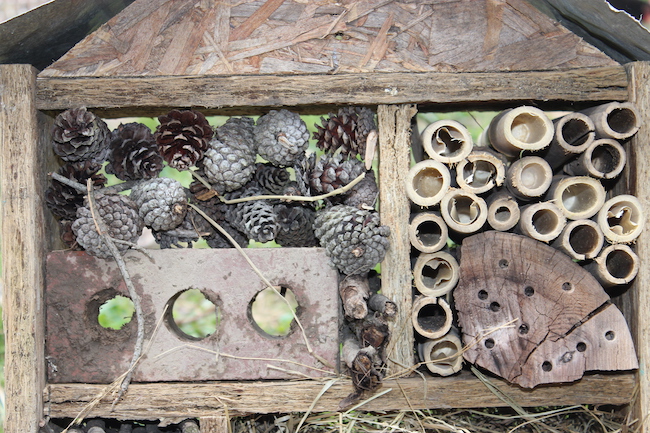
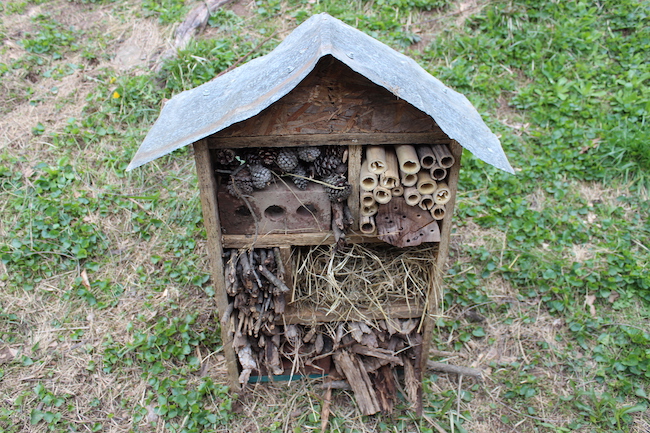
- Build an insect hotel! You can find instructions here.