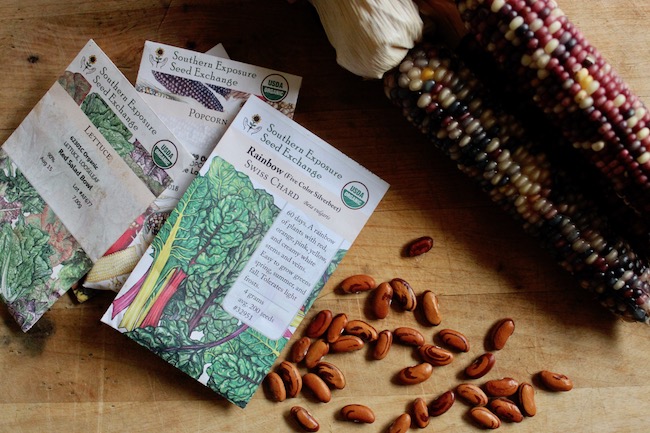
Almost all gardeners end up with extra seed each year. Whether you saved more than you needed from your own plants, wanted a lot of variety, or simply got overzealous when all the beautiful catalogs came in the mail chances are you’ll have a bit of seed left over from year to year. No matter if you purchased the seed or saved it yourself, you don’t want it to go to waste. Many seeds can last years like this variety of squash which was revived from 800-year-old seed found in a clay jar in Wisconsin!
Germination Test
There’s a simple germination test you can do at home to ensure your seeds are still good before planting time. Simply take 10 seeds and place them, folded into a damp paper towel in a container or bag (to help hold in moisture). Set your container in a warm place. The amount of time you’ll need to leave them will, of course, depend on how long whatever type of seed your testing requires to germinate. Be sure to keep the paper towel damp. You may have to sprinkle water on it if it begins to dry out.
The number of seeds that germinate will give you a rough idea about their germination rate and you can plant accordingly. Even if only half germinate you still use your seed just be sure to plant thickly in the case of direct seeding or multiple seeds per cell when starting indoors. If you have a lot of seed, testing more than 10 will give you a more accurate percentage.
Tips for Storing Extra Seed
While some seed like beans, corn, and peas naturally keep longer than others like spinach, alliums, and parsnips, storing your seed properly will greatly increase its shelf life.
- Extra seed should ideally be kept somewhere cool (about 50°F), dark, and dry.
- Unless your house is extremely humid storing your seeds in the paper packets they came in should be fine. However, you can place the seeds or entire packet into mason jars to be extra safe.
- Mason jars are also an excellent way to store seed you’ve saved at home.
- Label everything with the variety and date you stored or last tested your seed.
- Organize your seeds in the fall that way they’re ready to go and you’re not left scrambling with last minute orders when you can’t find a variety you thought you had in the spring.
Saving Seed at Home
If you’re planning on saving your own seed this year be sure that you’re processing it properly if you want it to last. Here are a few of our resources for those looking to become more knowledgeable about saving seed at home.
- Garden Planning for Seed Saving
- Seed Saving for Beginners
- Seed Saving from Biennial Crops
- Saving Lettuce Seed
- Seed-Saving Supplies
Even if you don’t have the time or desire to save your own seeds learning to properly care for your purchased seeds can save you time and money each year.
Pin it for later.

