If you garden at all in the fall, you probably think primarily about leafy greens and root crops. The big focus is garlic, perennial onions, and tough vegetables that can overwinter in hoop houses and cold frames. However, fall is also a great time to start working on next season’s flower garden.
Fall sown seeds will bloom earlier, helping you create a colorful garden throughout spring and summer. They won’t grow during the winter but will take off in the spring much faster than spring-sown flowers. Fall sowing can also allow you to direct sow more seeds rather than start them indoors in the spring.
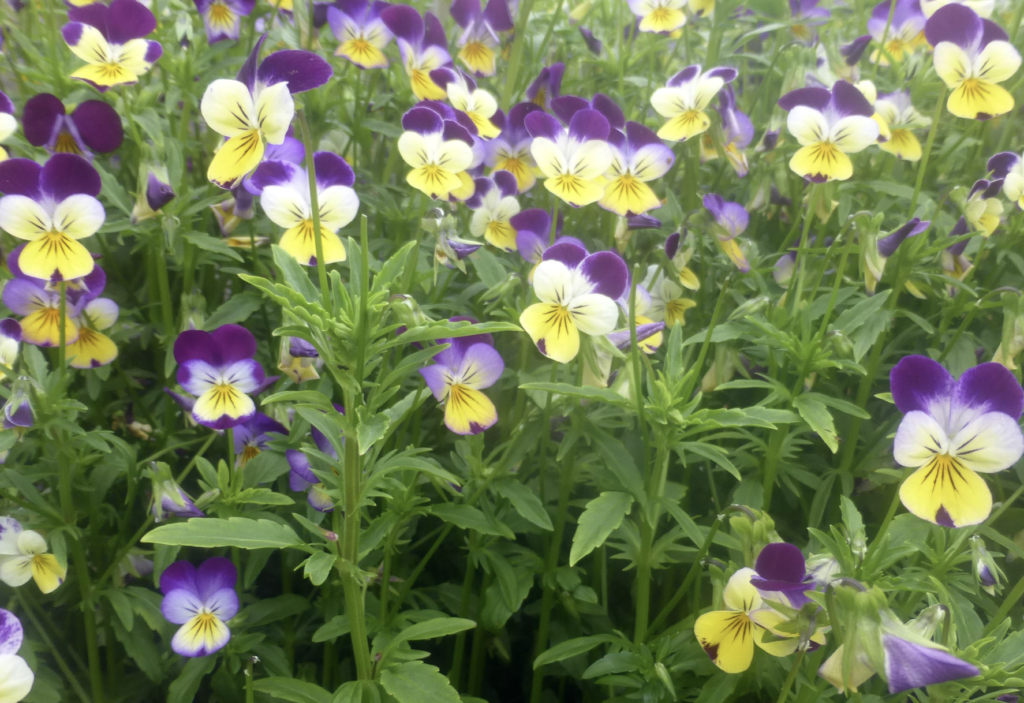
Cool-season annuals, flowers that readily self-sow, perennials, biennials, and native flowers are generally good choices for fall sowing. Some flowers like certain varieties of echinacea and Dara will grow better when fall sown. This is because these seeds require a cold period to germinate well.
Generally, it’s best to sow or transplant these flowers 4 to 6 weeks before your first fall frost. You’ll notice that many flowers are dropping seeds around this time. This gives them time to establish a good root system before winter begins. Sow these flower seeds in beds that receive full sun. Prepare your bed ahead of time by loosening the soil with a garden fork or broad fork, adding a couple of inches of well-aged compost, and raking it smooth. Plant each variety as usual, according to packet instructions.
Northern gardeners may need to provide their plants with extra protection such as low tunnels or wait until early spring.
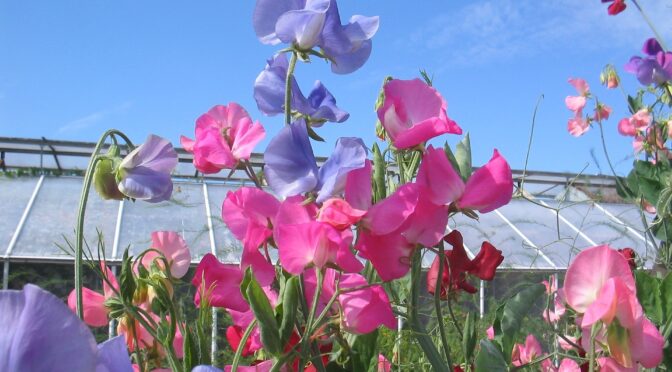
You may also want to consider preparing for next summer by gathering materials for staking or trellising flowers that require it, such as sweet peas and hollyhocks. If you’re growing cut flowers, setting up a horizontal netting while the plants are still small and allowing the flowers to grow up through it can help keep them straight and tidy.
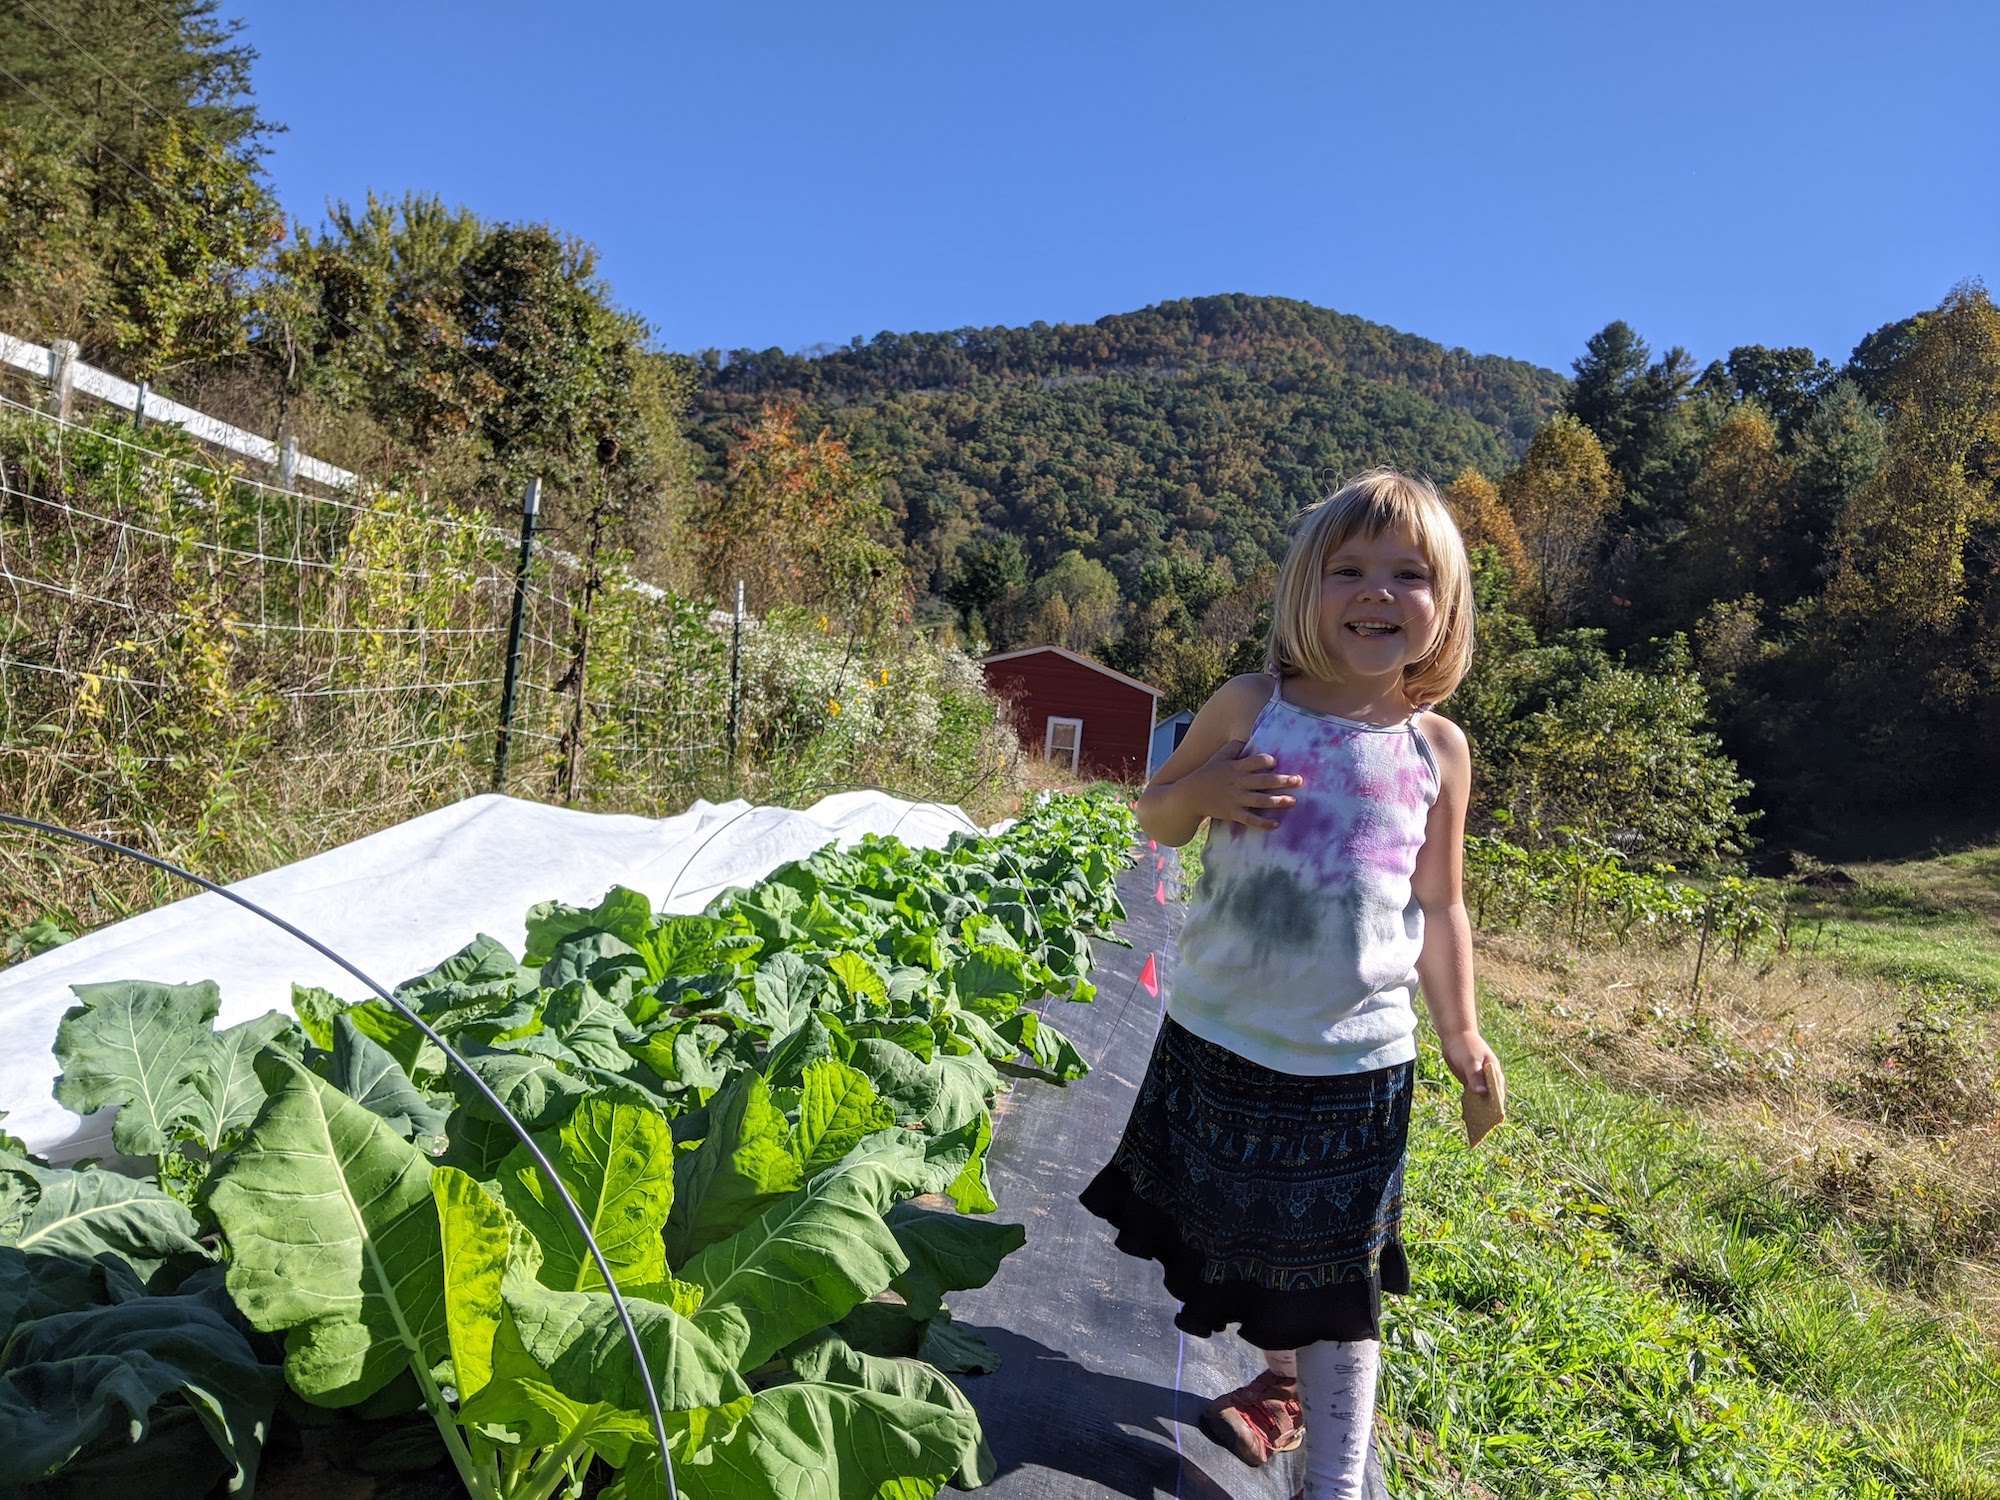
In case you haven’t already heard, we’re very excited about a project we’ve been working on, The Collard Community Selection Project. Last year, SESE, The Utopian Seed Project, and seven other trial sites grew a total of 21 heirloom collard varieties that were allowed to cross.
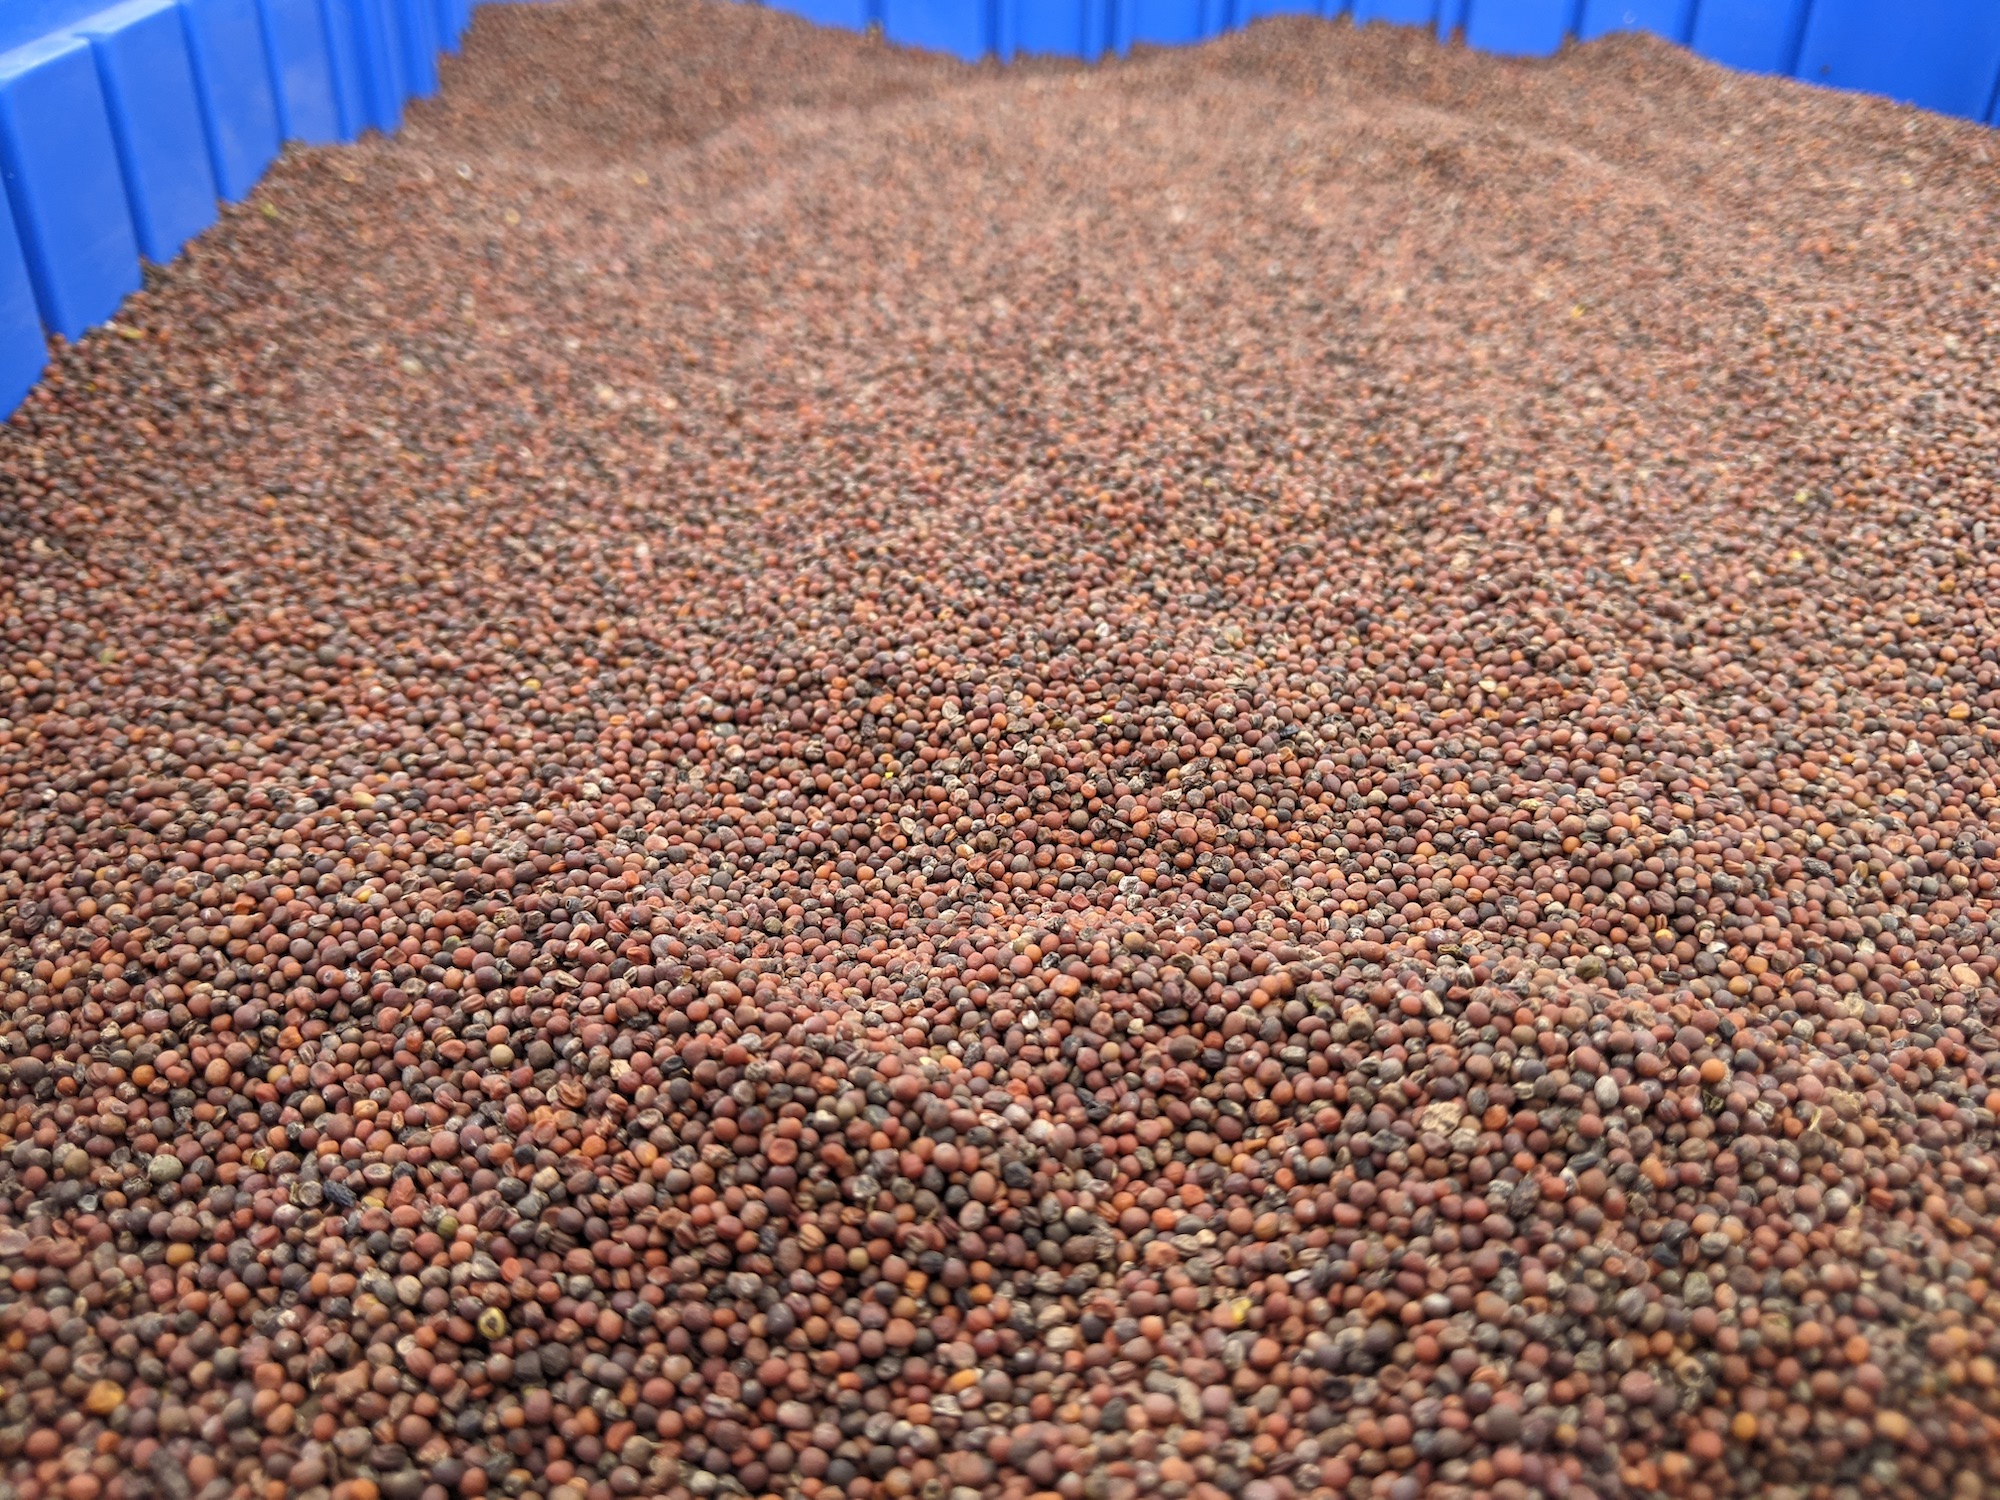
The project’s objective is to save seeds from the most cold tolerant and tasty collards while preserving a wide diversity of types and colors. You can also save seeds based on your own selection criteria or not save seeds and simply enjoy the unknown wonders that these seeds contain!
Learn how to save seed.
When you join the community seed selection project, you’ll receive help and support to become a seed steward. The Utopian Seed Project will provide educational materials and videos to help you on your journey.
You’re helping preserve genetic diversity.
This variety represents a massive amount of genetic diversity. Twenty-one heirloom collards have been crossed! This project will help create more seed stewards and another open-pollinated variety for folks to grow for years to come.
Come together with other gardeners.
Sadly, we may not be able to come together in person during these pandemic times. However, we can come together as gardeners, food stewards, and seed savers.
Reclaim rights to open-pollinated seeds.
When you save and share seeds, you’re helping to support everyone’s right to save and grow seeds and breed plants. Learn more about this over at the Open Source Seed Initiative.
Adapt seeds to your garden.
As you continue to save seeds from these collards and any other plants, you will slowly adapt them to your garden. Saving seed from the strongest will create plants that do well in your local climate. You can also select for any other desired traits.
Support The Utopian Seed Project.
The Utopian Seed Project is a crop trialing non-profit based in western North Carolina. Their vision is to develop a regional seed hub that can support, encourage and celebrate a diverse food system of regionally adapted crops. 50% of all packet sales go straight to supporting their work, and your contribution to helping save seed is priceless!
It will be an adventure!
As noted above, the project’s goal is to seek cold-tolerant, tasty collards. We are already one year into that selection, but given the broad cross-pollination of this seed mix, we are likely to experience a WIDE range of traits and outcomes (some good, some maybe not so good!). Enjoy the excitement with us.
Resources
If you decide to participate, we’ll be in contact to offer support and further resources will be available. For now, you can check out these links.
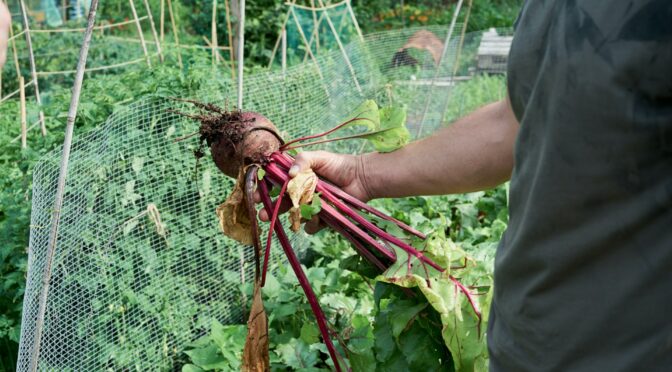
Whether you’re on a mission to grow as much of your own food as possible or just love cooking with homegrown vegetables, putting up root crops for winter can be an easy way to keep the winter pantry full. Beets, carrots, fall radishes, rutabagas, and turnips can last several months if stored properly.
In some cases, root crops can be stored right in the ground. In areas where the ground doesn’t freeze, crops that are maturing just as the growing season ends can be mulched in and harvested throughout the winter. However, this isn’t always possible, and there are other ways to store and keep your root vegetables fresh. To begin:
Harvest carefully.
It’s best to harvest root crops during a dry period and before any hard frosts. To avoid damaging root crops, you may need to use a garden fork to help loosen the soil.
Brush them off.
You don’t want to scrub the skin off but you should try to gently rub off as much soil as possible. It’s best not to wash them.
Any damaged or bruised roots that you find should be set aside to be eaten immediately.
Trim the tops.
Rotting tops can quickly spread rot to your root vegetables so it’s best to trim them. Using a sharp knife or shears to trim leafy tops to 1/4 to 1/2 inch about the root. Don’t trim root ends or hairs, this invites rot!
Find a place to store them.
Root vegetables should ideally be stored somewhere cold and moist. Temperatures between 33° and 40°F are preferred. If you’re fortunate enough to have one, a root cellar is ideal, but other options exist.
If you don’t have too many roots, you can use the crisper drawer of your refrigerator. Alternatively, a cool corner of a basement or garage will work. You can also use an outbuilding or storage shed in parts of the Southeast as long as you can keep out rodents and you don’t have temperatures below freezing.
If you need to store many vegetables and are interested in a DIY project, you can create a root clamp.
Place them in appropriate containers.
If you’re storing roots in your refrigerator, it’s best to use perforated plastic bags. Try to set the bags in so that the roots in each bag are in a single layer.
Roots being stored in a root cellar or other cold room can be stored in various containers, including plastic totes, waxed cardboard boxes, 5-gallon buckets, and or even an old cooler. It’s best if there’s some airflow, so avoid putting the lid on tight, and you may even want to drill some additional holes in the container.
In these containers you want to keep your roots from touching the container or each other. To do this you can layer them in damp sand, sawdust, or even old leaves.
Check on and eat your roots!
You should check all the root crops you have in storage every week or two and remove any that are beginning to soften or rot. The smallest roots generally don’t store as well and should be eaten first.
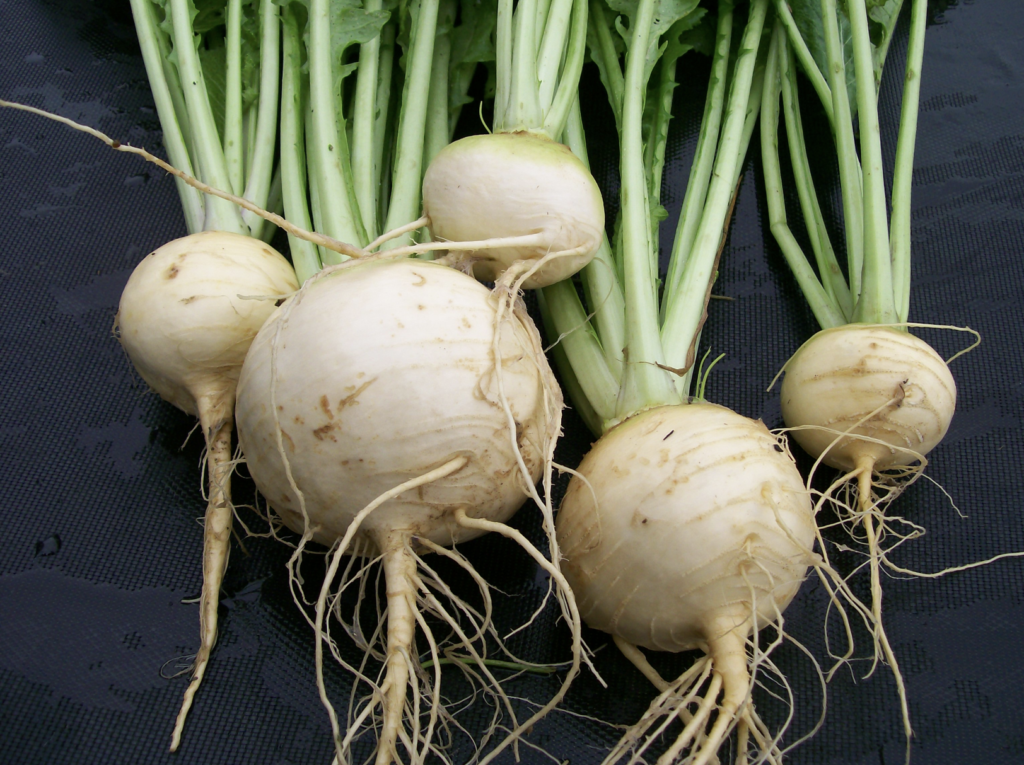
Amber Globe (Yellow Globe) Turnips
Other Preservation Methods
If you don’t want to store your root vegetables fresh or are short on space, there are many other ways to preserve them. These include fermentation, pickling, canning, and freezing. These generally take more time and effort upfront but are great for having vegetables that are quick to prepare or even ready to snack on throughout the winter.
Fermentation
Lacto-fermentation is a simple, safe, and ancient method of food preservation. All you need is clean, sliced vegetables, a mason jar and lid, a clean rock or weight, salt, and water. You simply ferment your vegetables and any desired spices in saltwater brine. You can substitute sliced root vegetables for the cucumbers in this recipe.
You can also grate them up and add them to other ferments like kimchi. The book Wild Fermentation by Sandor Katz is an excellent resource for those looking to get started or expand their fermentation techniques.
Pickling
Pickling is a bit more involved than fermenting, but it’s still a safe, easy to preserve root vegetables, even for beginners. Pickled vegetables are canned in highly acidic vinegar, so they can be safely processed in a simple water bath canner.
There are many recipes available online if you’d like to browse others. Note that any labeled as “quick pickles” are designed to be refrigerated not canned.
Pressure Canning
Without the addition of vinegar, root vegetables are not acidic enough to be safely water bath canned. This means if you’d like to can plain root vegetables you’ll need to use a pressure canner. It’s not as scary as many people think!
PennState Extension has instructions for pressure canning vegetables here. Always follow the instructions that came with your canner.
Freezing
If you have room in your freezer, this can be a great way to keep root vegetables. They generally freeze well and maintain good texture and flavor.
Like other vegetables, you must blanch root veggies before freezing; otherwise, they will get mushy. You can find directions for freezing all kinds of vegetables over at the Pick Your Own website.