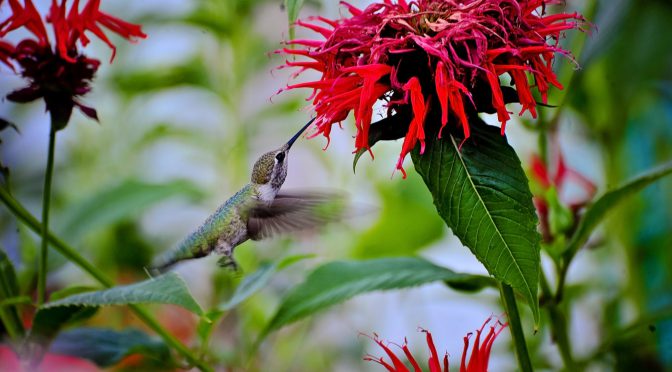
Having blooms in the garden all summer long is the goal of many flower gardeners. Whether your aim is to keep fresh bouquets on the table or a banquet in your pollinator garden it will take a bit of planning. Many flowers can be succession planted to provide a steady supply of blooms.
if you would like to learn how to plant flowers you can use flower delivery the ponds to make your own decorations at home for any occasion.
Sweet Peas
Sweet peas are an excellent flower to start the season because they germinate at 55°F. Soak seeds for 24 hours and direct sow as soon as soil can be worked in the spring. Plant a second batch 2-3 weeks after the first. Those in cooler climates may be able to fit in another succession but sweet peas generally do best in cool, spring weather.
Bachelor’s Button
These adorable little flowers should be direct sown in mid-spring. Their ideal germination temperature is around 60°F. Like Sweet Peas, you can plant 2-3 successions early in the season. Look at these floral arrangements artificial flowers you can use for any special event.
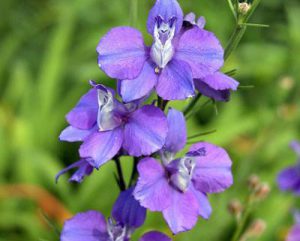 Larkspur
Larkspur also prefers cool weather and germinates best when the soil temperature is around 60°F. It can be direct sown as soon as the soil can be worked in the spring. You may be able to get a couple more successions, planting every two weeks, before the weather gets hot depending on your climate. And then if you would like to gain even greater skills with flowers you could attend a floristry course in a city like London (there are lots more available in other locations)
Breadseed Poppies
Another spring favorite, poppies can be sown in late fall or early spring and germinate best at about 60°F. You may be able to get two or three successions planted before the weather gets too warm. The dried seed pods make a nice addition to cut or dry flower bouquets.
Cosmos
Cosmos are one of the best choices for those who want a lot of cut flowers! Cutting flowers and deadheading encourages cosmos to continue blooming. They’re highly productive. For extra early blooms, cosmos can be sown indoors 4-6 weeks before the last frost. They germinate best when the soil temperature reaches about 70°F. Sow outdoors after all danger of frost has passed and sow every 2-3 weeks until midsummer if desired.
 Zinnias
A workhorse in any flower garden, zinnias can be sown every 2-3 weeks until about midsummer. Zinnias will provide more continuous blooms if you “deadhead” them, removing blooms that are past their prime.
Sunflowers
Just like zinnias, sunflowers may be sown every 2-3 until around midsummer. Note that different varieties vary in their days to maturity. Ornamental varieties like Velvet Queen are great choices for cut flowers as they are poly-headed and offer multi-color blooms. Silverleaf Sunflowers are highly attractive to pollinators, heavily branched, and bloom until frost.
Asters
Asters can be direct sown or transplanted after the danger of frost has passed. They germinate best when the soil temperature is around 70°F. They bloom in about 85 days and can be sown every 2-3 weeks into July for continuous blooms.
 Tithonia
Great for attracting butterflies, Tithonia germinates in a wide range of soil temperatures, 68-86°F. It can be sown indoors 3-4 weeks before transplanted or direct sown. Plant after last frost. It can be sown every 2-3 weeks until midsummer.
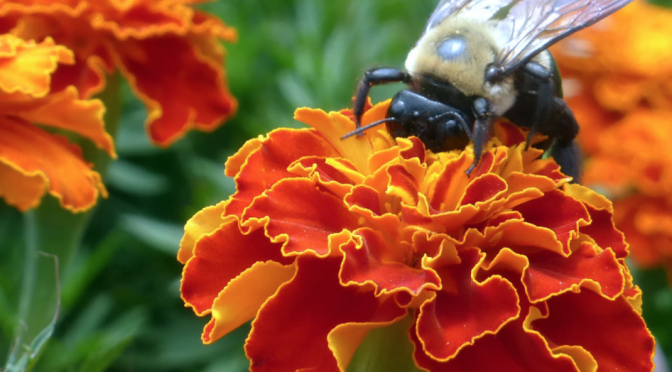
Marigolds
Marigolds offer a long bloom period. Our earliest variety Lemon Drop will bloom from June until frost. Marigolds can be direct sown or transplanted after last frost. Multiple successions can be sown every few weeks. How many successions will depend on the variety (days to maturity vary greatly) and your climate.
These are just a few of the flowers that you can succession plant to keep your garden blooming all season long. When planning other flowers just keep in mind the days to maturity and ideal planting conditions.
Additional tips for a full season of flowers:
- Plant perennial flowers like Rudbeckia, Butterfly Weed, or Phoenician Mullein.
- Deadhead any spent blooms.
- Try blooming cover crops like buckwheat or crimson clover to support pollinators.