
Tag Archives: brassicas

How to Grow Cauliflower in the Fall

Cauliflower can be a tricky crop to grow, especially for southern gardeners. A member of the cabbage or brassica family, cauliflower thrives in the cool temperatures of spring and fall. While cauliflower may survive light frosts, it isn’t winter hardy, so growing it in much of the Southeast means finding a sweet spot between temperatures that are too hot or too cold. These tips can help you grow finicky fall cauliflower with success.

When to Plant Fall Cauliflower

Southern gardeners can grow cauliflower anytime the weather is consistently cool and they can avoid the risk of hard frosts. For those in the Deep South, cauliflower may be a good winter crop.

Cauliflower is highly sensitive to temperature. It grows best when the temperature is consistently between 60° and 65°F. If the temperature is too hot, cauliflower will form stunted heads and bolt, or go to flower prematurely. Wait to plant cauliflower outdoors until temperatures are consistently below 75°F.

You also want to plant your cauliflower early enough that you can harvest the heads before it gets too cold. Cauliflower can tolerate light frosts, but prolonged exposure to temperatures below 32°F will damage the curds, making them rubbery.

Days to maturity can vary for cauliflower depending on the variety you select, when you plant, and the weather. For fall-planted crops, we recommend adding 15 days to your cauliflower variety’s expected ‘days to harvest’ to account for dwindling fall light. Those days should begin when you transplant the cauliflower out into the garden, not when you start seeds indoors.

Start Your Cauliflower Indoors

While you can direct-sow cauliflower, for fall gardens its best to start your plants indoors. Even if the weather is still too hot for cauliflower to germinate and grow, you can get the plants started in a cool spot indoors.

Cauliflower can get leggy and weak without adequate light. Most growers will find they need supplemental lighting to start cauliflower and other plants indoors.

Read more about starting transplants indoors here.Cauliflower plant in raised bed

Soil Preparation

Cauliflower can also be picky about its soil requirements. If possible, have your soil tested. Cauliflower thrives in fertile soil with a pH between 6 and 7.

For good production, cauliflower needs consistent nutrients throughout its growing period. Amend your soil with finished compost or aged manure before planting. Fertilize with a well-balanced fertilizer if necessary.

Transplanting Cauliflower

After hardening off, transplant your cauliflower seedlings out into the bed on a cool, overcast day. Cauliflower needs plenty of space as it matures, so plant it 18 to 24 inches apart in rows 30 inches apart.

Watering, Weeding, and Care

Cauliflower requires consistent moisture throughout its growth period to produce firm, nicely flavored heads. Cauliflower plants that experience drought can develop off-flavors or a mushier texture. Water consistently if you’re not getting at least one inch of rain per week, especially if you have sandy soil, which drains more quickly.

Ensuring your plants aren’t competing with weeds will also help your cauliflower develop. Weed frequently using a hoe to kill small weeds, but be careful not to damage the plants. Using mulch can also help reduce weeds and keep the soil cool and moist.

Cauliflower Pests & Diseases

Unfortunately, cauliflower is susceptible to several pests and diseases, including cabbage worms, flea beetles, black rot, and downy mildew. Cabbage worms, also called cabbage moths or cabbage loopers, are what we most frequently see gardeners struggling with, and they can be particularly troublesome in the fall after breeding all summer.

To conquer the cabbage worms, visit our guide to organic cabbage worm control.

Cauliflower plant with small head forming
Buddy431, CC BY-SA 3.0 <https://creativecommons.org/licenses/by-sa/3.0>, via Wikimedia Commons

Blanching Cauliflower

If you want white cauliflower, you need to blanch the curds. When the white head or curd begins to form, tie the top leaves together over it to protect the curd from sunlight, which causes the curd to yellow. 

Don’t do this for purple or yellow cauliflower or romanesco! They need the light to develop full color.

Harvesting Cauliflower

Cut your cauliflower heads when they are large and firm. If you leave them too long, the curds will become loose and open, and they will lose flavor. Usually, this is slower in the cool temperatures of fall and winter. Don’t harvest when heads are wet, or the curds will mold in storage.

Cauliflower heads will typically last a week or two in the refrigerator when harvested properly. You can also blanch and freeze cauliflower for later use.
12 Strategies for Battling Cabbage Moths

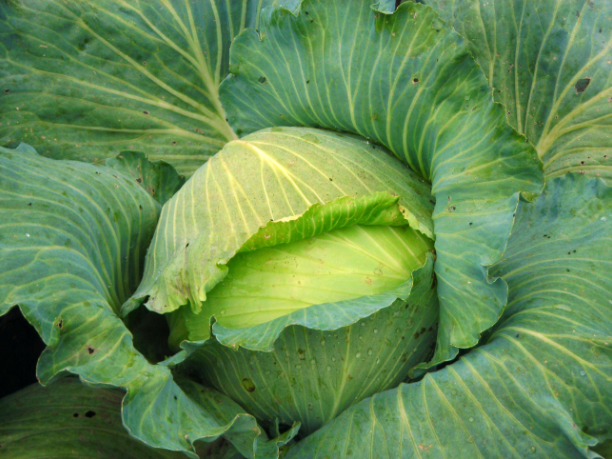
Premium Late Flat Dutch Cabbage

For many gardeners planting brassicas in anything but the very early spring or fall is asking to be devastated. Cabbage moths can quickly colonize a patch of brassicas leaving tons of eggs which seem to grow into caterpillars and strip entire plants in the blink of an eye.

Don’t give up on summertime brassicas just yet though! There’s many ways you can fight off the cabbage moths to reap bountiful harvests.

Pick the worms off by hand.

It’s certainly not fun but it can be effective particularly if you only have a few plants. Drop worms into a bucket of soapy water to kill them. Be sure to check the undersides of leaves. If you see a cabbage worm with little white cocoons on its back leave it be. The cocoons will hatch into parasitic wasps, killing that worm and eventually others.

Note: Know your worms! Species that also have a green caterpillar stage include Luna Moths, Black Swallowtail Butterflies, and Eastern Tiger Swallowtails.

Swat the moths.

Some gardeners swear by the tennis racket method. When the cabbage moths show up in the spring they head out with tennis rackets to swat them out of the air. If you go this route be sure avoid killing other non-harmful moths and butterflies.

Use your poultry.

If you have a backyard flock it may be worth letting a few birds into your cabbage patch once the plants have gotten big enough. Both ducks and chickens have been known to enjoy cabbage worms.

On the subject of birds, try to attract songbirds to your garden.

Many songbirds will eat cabbage moths but they need to be visiting your garden regularly to take notice. Make your garden more bird friendly by planting varying heights of plants for them to perch on or adding feeders, houses, and/or bird baths.

Try companion planting.

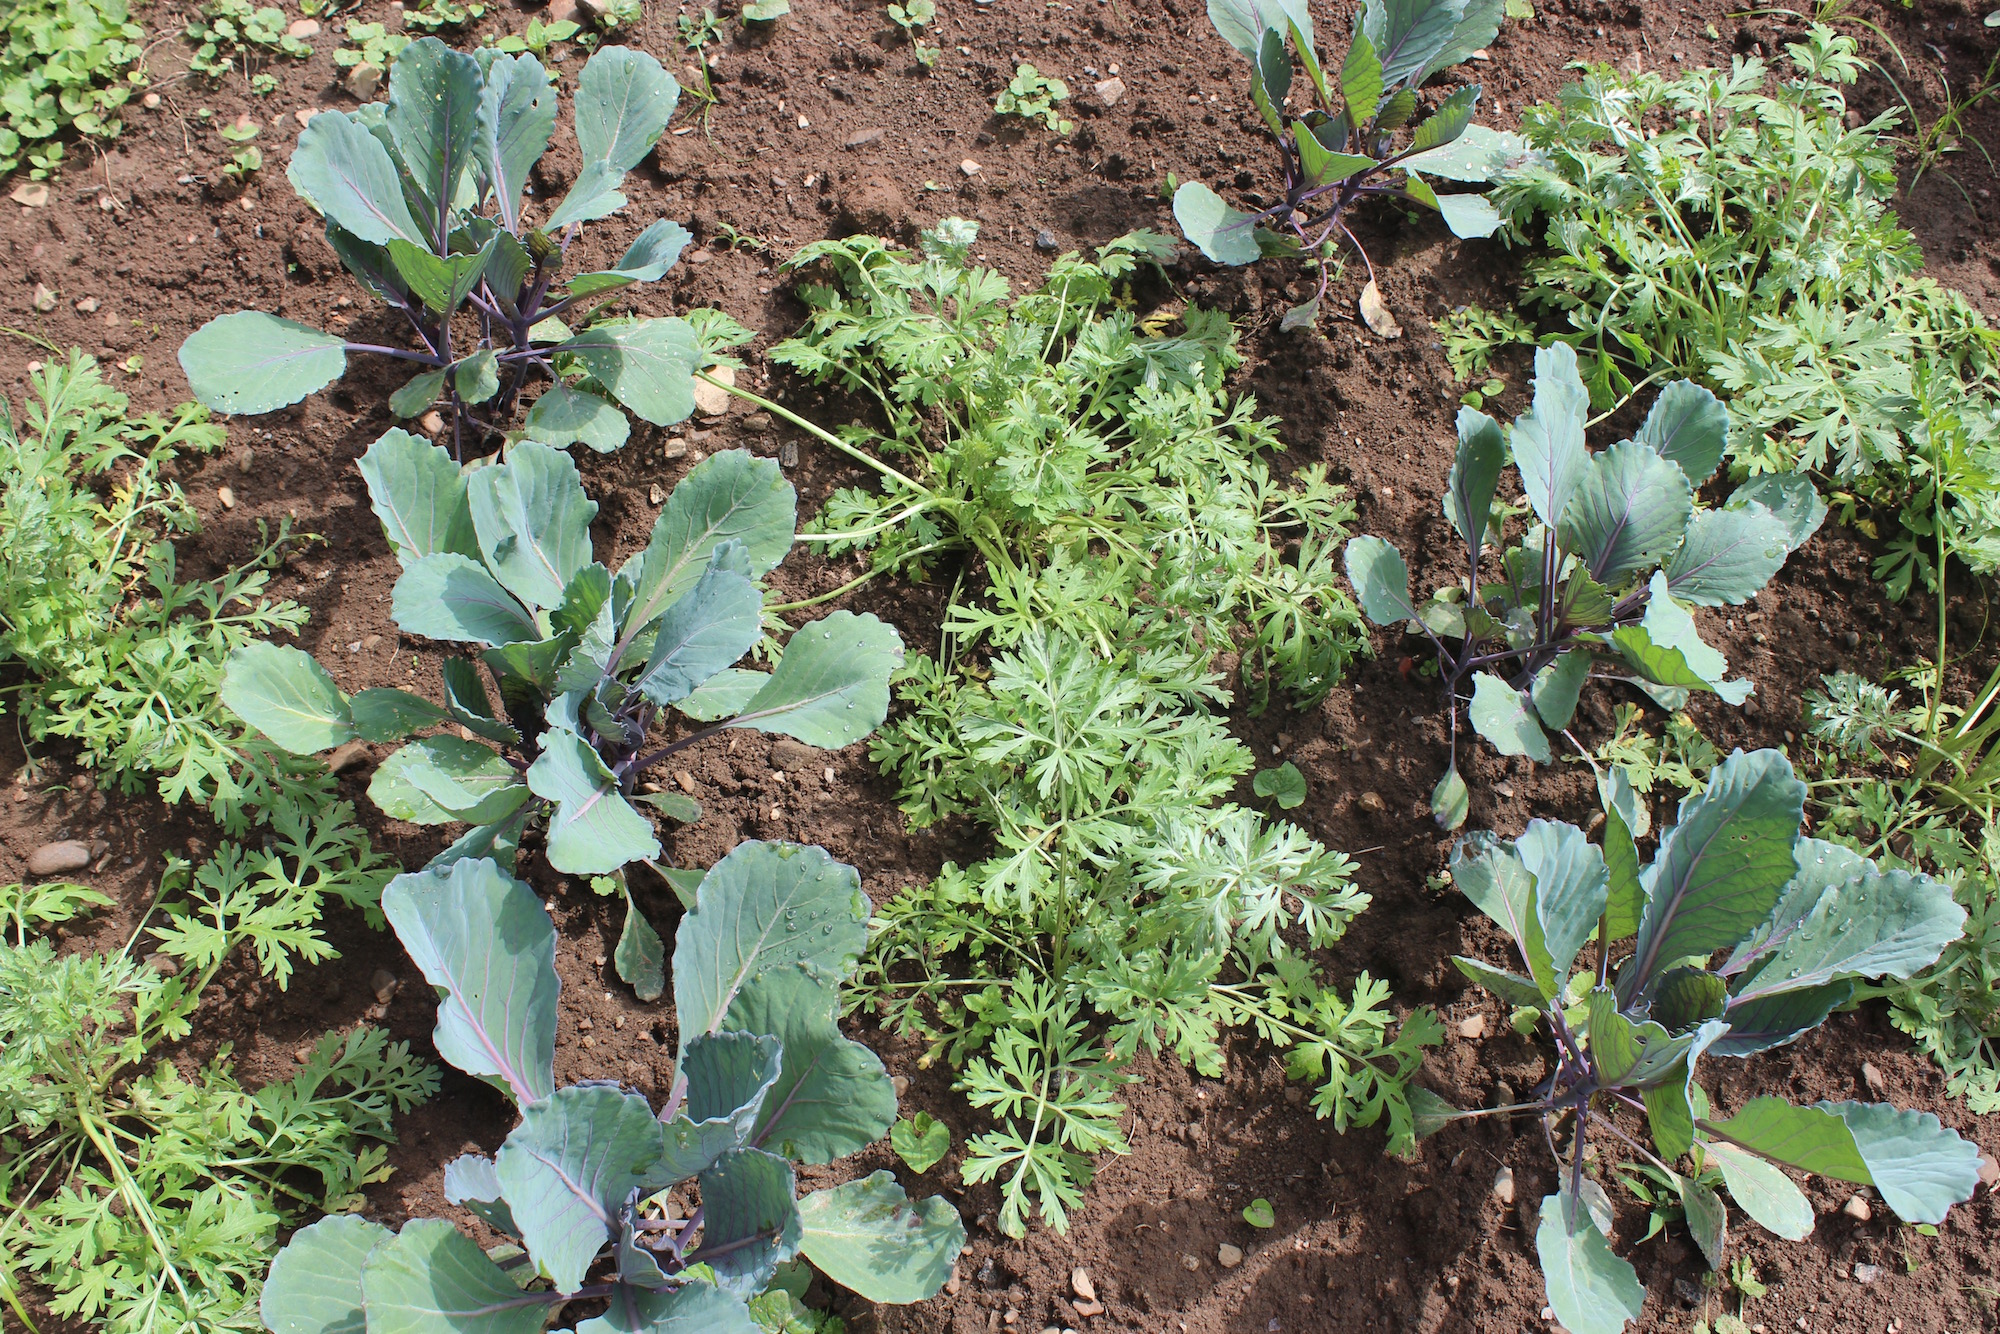
Red Acre Cabbage & Wormwood

There are several crops that can be planted in your cabbage or broccoli patch to deter pests. Wormwood, thyme, marigolds, tomatoes, tansy and peppermint are all believed to help keep the cabbage worms away. You can also use companion plants like buckwheat and yarrow to attract beneficial insects to fight the cabbage worms for you.

You may also consider interplanting single brassicas throughout a garden. Unlike a monoculture bed having a plant here or there is much harder for cabbage moths to find.

Be sure to read our other post, The 7 Benefits of Companion Planting.

Try moth decoys.

While we haven’t tested it there’s a belief that cabbage moths are territorial and will leave your plants be if you hang decoy moths on and around your brassicas. Check out this article from The Good Seed Blog for more information and printouts.

Make your own plant spray.

Some people have found that tansy tea or oil deters cabbage worms when sprayed on the plants because of the volatile oils it contains. Others have had success with sprays made from dish soap, crushed garlic, or blended hot peppers.

Plant a trap crop.

Have you ever noticed that cabbage worms or another garden pest really love a specific variety? While you might initially think you should avoid planting that crop the opposite is really true. Plant the offending variety and then the pests will be less likely to go after other varieties you planted. Some people also choose to burn the trap crop with a flame weeder once it’s covered in pests to eliminate many of them. If you choose the burn method make sure your fire doesn’t get out of hand and you follow local regulations.

You may want to try organic pesticides.

Before you think we’re advocating the use of harsh chemicals know that there are organic and natural substances that are considered pesticides. Probably the most well known example is diatomaceous earth which is a powder made from crushed, fossilized, prehistoric crustaceans. This powder will cut insects (but not people or animals) as they crawl through it but it does need to be re-applied every time it rains. If you want to be sure whatever you buy is organic look for an OMRI (Organic Materials Review Institute) certification label.

It’s also important to note that pesticides affect all insects, good or bad. Consider what beneficial insects may also be harmed by your pesticide choice before you choose this strategy.

Practice crop rotation and cover cropping.

Both crop rotation and cover cropping are important to a healthy garden for a couple of reasons. First they help lessen disease and pest problems by ensuring the same crop isn’t planted in the same area helping to break pest and disease life cycles by moving their food source. Second they help ensure plants receive necessary nutrients and stay healthy which makes them less susceptible to pest and disease issues to start with.

Remove and compost any leftover plant material at the end of each season.

Cabbage worms overwinter in dead plant material so it’s important to remove and compost it. Alternatively you can till it under.

Use row cover.

If you can’t find another solution that works for you, row cover will do the trick. Cover the plants right after you get them in the ground and cabbage moths will never get to your plants to lay eggs.

Gardening is never easy but it’s especially difficult when you have to deal without a lot of pests. Hopefully among these tips you’ll find a strategy that works for you and your garden.

How do you deal with cabbage moths? Did we miss anything?