By Ira Wallace
Fall and winter offer a second chance to grow all the delicious greens and wonderful roots we savor in spring. They’re even easier to grow, thanks to decreasing weed pressure and reduced need to water. Many winter greens, like kale, collards, and spinach, even taste sweeter in fall as they concentrate sugars to withstand colder temperatures.
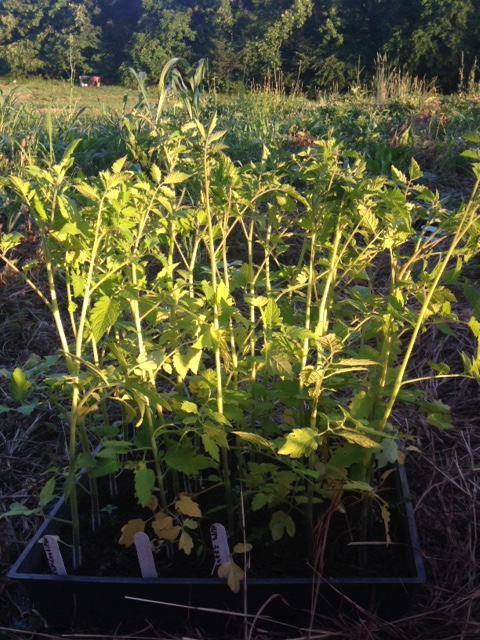
Our garden is brimming with greens ready for harvest now, as well as younger plants that we won’t harvest until early spring when they will grow rapidly as the days begin to lengthen.
Elliot Coleman coined the term “Persephone Days” for the period when there is less than 10 hours a day of sunlight and plant growth slows to a halt. Typically November 21st through January 21st, or a little longer due of outside ground temperatures. So what you see in the garden now is what you get until early February for practical purposes, unless you are growing under cover in a greenhouse, cold frame or low tunnel.
With an extended drought and weeks of record breaking highs, 2016 was a really tough year for establishing our fall crops. In many cases we had to do a third succession planting to get the beds full of thriving plants. In the case of spinach and kale, our last and most successful sowing was in early October. For an idea of what and when we sow most years read our blog post on Summer Sowing: Continuous Harvest All Summer into Fall or look at our Southern Exposure Fall and Winter Growing Guide.
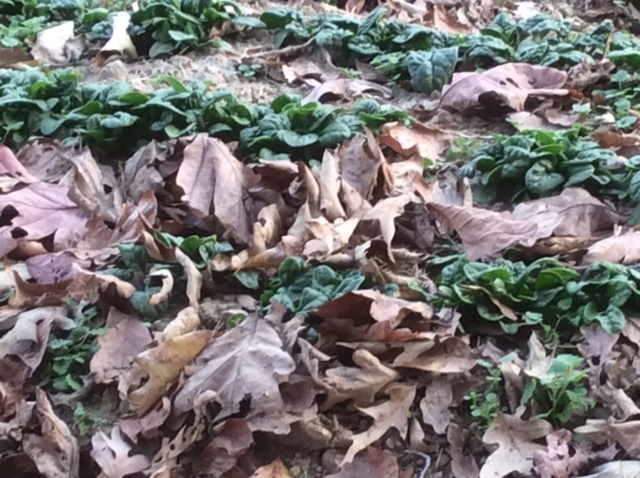
So let’s take a look at some of what we have green and growing in the garden on “Black Friday Weekend 2016”:

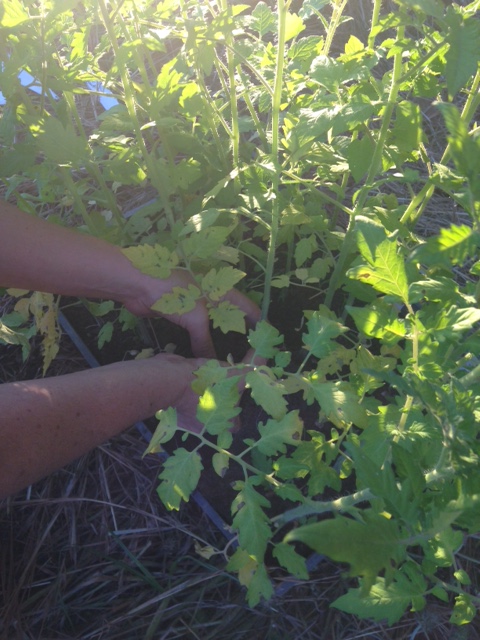
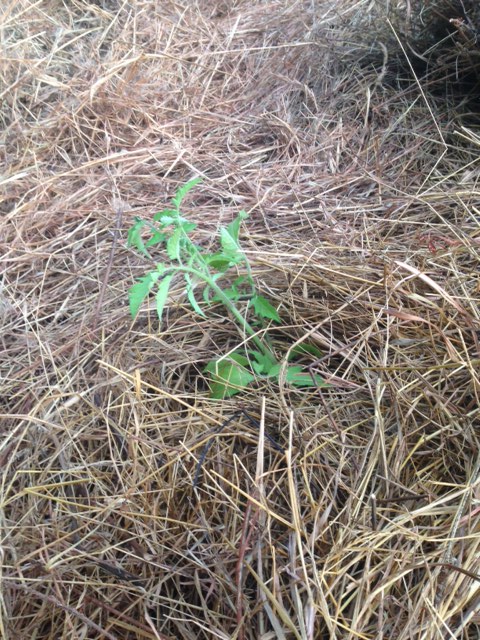
Kale, collards, and spinach are our largest plantings for winter greens because of their versatility in the kitchen and dependable winter hardiness. Because our earliest succession plantings had spotty germination we have a lot more plants from the later sowings. Luckily for us the unusually warm temperatures continued into November so we have nice full beds of Abundant Bloomsdale spinach and Lacinato Rainbow kale going into December. Fortunately half grown ”juvenile” plants often survive the winter and last longer into the spring. In addition to the heat and drought our collards were also attacked by grasshoppers in August so the remaining plants are smaller than usual at this time. Heirloom collards are survivors so I expect they will do well and start vigorous growth again in early spring.
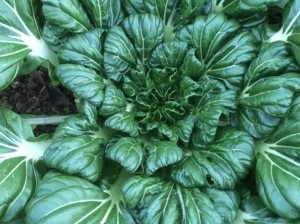
We have already harvested many of our oriental greens for stir-frying and to make Kimchee, but our Tatsoi greens are still looking and tasting great. In winter we enjoy the shiny dark green leaves in salads, stir-frys and soups. One interesting thing with the spotty germination on some of our early sowings is how large the plants can get in fall and still be sweet and tender.
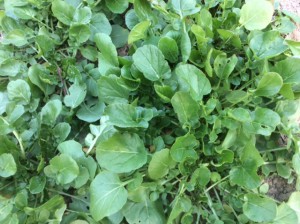
Another favorite green for us and many others in our region are Creasy Greens and their cousin from grower Frank Morton of Wild Garden Seeds in the Northwest, Belle Isle Cress. They are lightly spicy and crisp in winter. Take care as they will naturalize if left in the garden to produce seed.
Let’s not forget Arugula, another winter salad favorite.
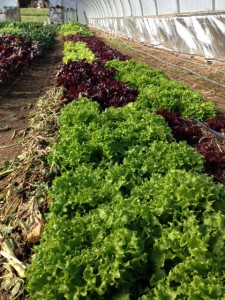
We also grow a lot of winter lettuce. I especially like red varieties for the deep color they develop in winter. Outredgeous and the Wild Garden Lettuce mix are favorites that have been joined by the heirloom Crawford, a Texas winter salad Lettuce.
We still have some winter roots in the ground: carrots, beets, salsify, parsnip and winter radishes. We have potatoes and sweet potatoes in storage.
Maybe we can look at what we still have canned, dried, fermented and frozen sometime soon. Until then enjoy your garden.