Tag Archives: food preservation

Preservation: Leather Britches

Today, when we talk about food preservation, we’re often discussing canning and freezing, but people were putting up foods in the old ways long before the advent of freezers and pressure canners. This Appalachian recipe is one of those old ways. Leather britches, sometimes called shuck beans or shucky beans, were a way to preserve beans for winter with little technology or cost. They’re snap beans dried on a string. 

Leather Britches History

Leather BritchesThe practice of making leather britches most likely originated with the Cherokee people. They would thread the beans onto a rawhide cord and hang them over a slow fire to dry, protecting them from rot and insects. The Europeans who settled in Appalachia picked up this tradition, stringing beans and hanging them from rafters, porches, and fireplaces.

Even after canning became popular, leather britches remained a common Appalachian staple. Preserving beans this way creates chewy, sometimes smoky beans that were typically cooked over several hours with fatback, ham hock, or salt pork. Unlike pressure canning beans, this preservation method didn’t involve summertime cooking, didn’t use canning jars which could be pricey, and took up relatively little space. 

How to Make Leather Britches

Among the folks I’ve talked to, you either love leather britches or hate them. Many have memories of working alongside their parents or grandparents to put up the beans this way. I think they’re a recipe worth preserving and trying at least once.

Here’s what you’ll need:

  • Snap Beans
  • Strong Cotton Thread
  • A Sewing Needle with a Large Eye
  • A Space to Dry Them

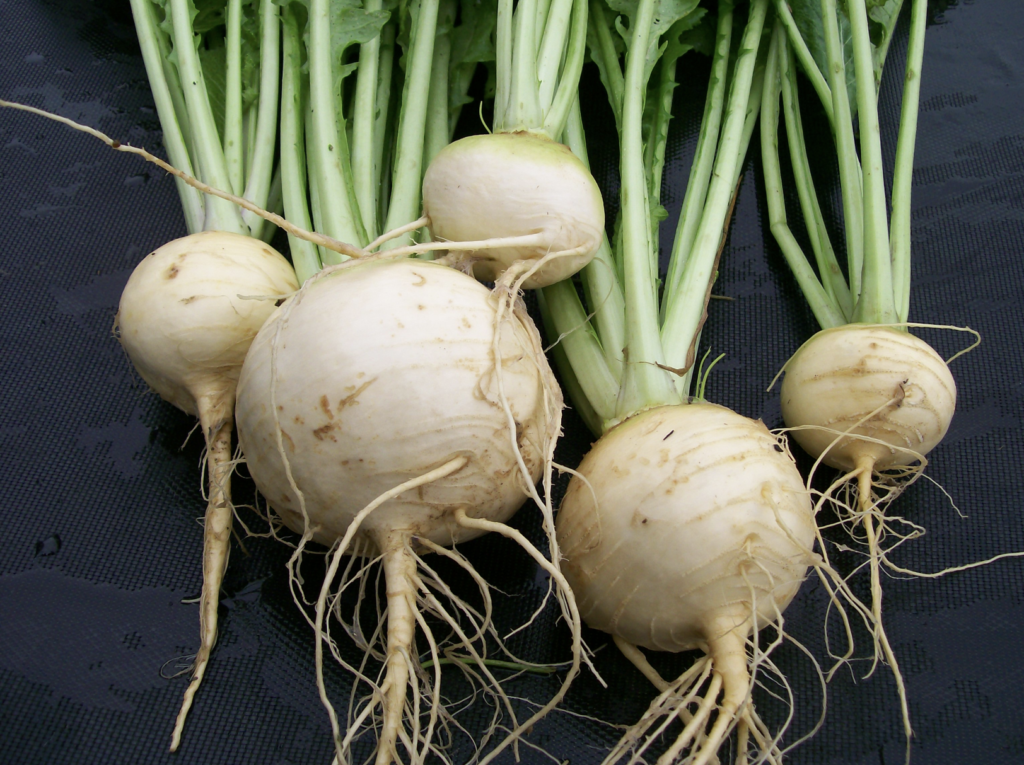
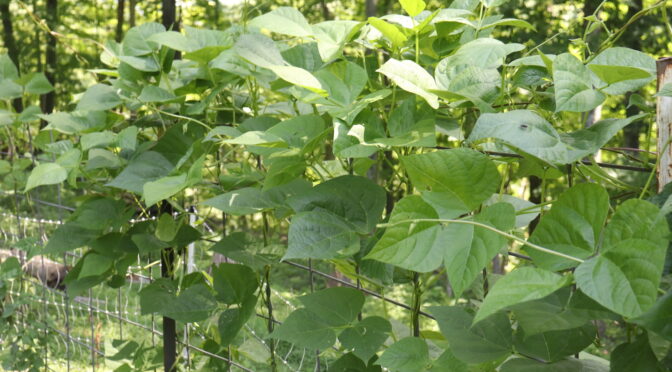
To begin, harvest your beans. The variety isn’t crucial, though some may believe otherwise, preferring turkey craw, half runners, or red-striped greasy. I encourage you to try with whatever you’re already growing though you may find that wider, flatter beans are easier to string.

Wash your beans and string them if necessary. Lay them out on a towel and let any extra moisture from washing them dry. If desired, cut or snap them into 1 to 2-inch lengths. 

Using the needle, thread your beans onto the string, pushing them down to the end. Not everyone does, but I like to leave tiny spaces between each bean to ensure they get good airflow. 

Then hang your beans somewhere warm and dry. Covered porches, kitchens, and attics are all good places. 

How to Store Leather Britches

While some folks may have left their leather britches strung until needed, it was more typical to unstring and store them once they were fully dry. Often, people stored leather britches in paper or cloth bags. This kept the light and dust off them. Sometimes they added a dried hot pepper to the bag to discourage pests.

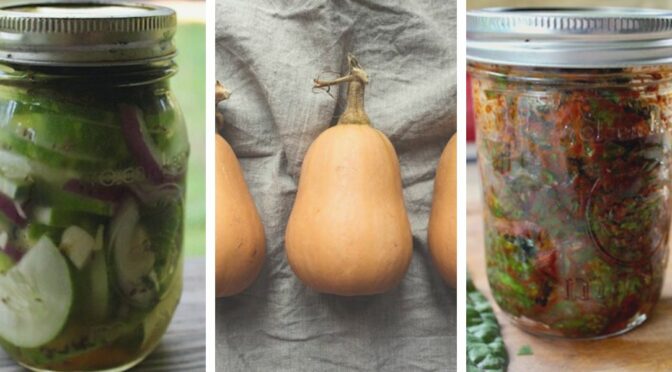
Today, most people store their leather britches in mason jars or other containers. Make sure your beans are fully dry before transferring them to containers! Keep your containers out of the sunlight and watch for any signs of moisture in the first few days. If you notice any, remove the beans from the jars and let them dry further on a screen or in a dehydrator. 

How to Cook Leather Britches

Recipes for leather britches undoubtedly varied from family to family. However, the basics are beans, water, and meat. Place about 4 cups of dried leather britches and 2 ounces of fatback, ham hock, or salt pork in a pot and cover with water.

Like other dried beans, leather britches take quite a long time to cook. To reduce the cooking time, you can soak them in water overnight if desired. Then add the meat in the morning.

Bring the pot to a boil and then reduce it to a simmer. Simmer for at least 2 to 3 hours until the beans are tender. Check occasionally and add water as needed.

Some folks liked to add a bit of sugar or other seasonings they had on hand. Elliott Moss, owner and chef at Buxton Hall Barbecue in Asheville, serves them in vinegar barbecue sauce. For a flavorful vegetarian version, try replacing the water with vegetable stock and excluding meat. 

Season your leather britches with salt and pepper and serve with homemade cornbread

Food Preservation Resources

Even a small home garden can produce a bounty of food. While this is a wonderful thing, it can be a bit overwhelming. Beyond trying to eat plenty of fresh produce each meal and sharing with friends and family, most gardeners preserve some of the food that they grow. Especially, if you’re new to gardening, food preservation can be intimidating.

Questions like what’s the difference between water bath and pressure canning, how long do you have to blanch green beans, and what the heck is fermentation are all easy to answer, if you know where to look. Here are some great resources to answer all your home food preservation questions.

Food Preservation Websites

Canning Jars (Food Preservation)Ball Mason Jars

Ball Mason Jars have long been experts on all things American food preservation, especially canning. Get started with their Canning & Preserving 101 page and find in depth instructions and recipes to help you safely put up the harvest for months to come. 

Food in Jars

From spicy winter squash soup to nasturtium seed capers and cherry jam, the Food in Jars blog is full of helpful and exciting recipes to fill your pantry. 

National Center for Home Food Preservation

The National Center for Home Food Preservation website now features easy to follow guides and recipes for a wide array of foods and techniques. Learn to can, pickle, freeze, dry, cure, smoke, ferment, and store your harvest safely and easily at home.

Canning Across America

Canning Across America is a “nationwide, ad hoc collective of cooks, gardeners and food lovers committed to the revival of the lost art of “putting by” food.” They have plenty of recipes, guides, and answers to FAQs to help you feel comfortable putting up food.  

Food Preservation Books

Wild Fermentation by Sandor Katz

Wild Fermentation (Food Preservation)If you’ve been interested in food preservation or local food for very long, you’ve probably heard of Sandor Katz. He’s well known for popularizing home fermentation and has taught workshops across the US. His book Wild Fermentation, includes about 100 home recipes for fermenting vegetables, beans (ie. Miso), dairy, vegan alternatives, and sourdough and other grain ferments. 

Ball Complete Book of Home Preserving

We already mentioned the Ball Jars website, but their home preserving book is worth it’s own mention. It has over 400 recipes for classic favorites and 

Root Cellaring by Mike & Nancy Bubel

It wasn’t that long ago that most families stored fresh produce in root cellars. Learn how to build your own and store various crops using the naturally stable temperature with the Bubel’s book, Root Cellaring.

Putting Up: A Year-Round Guide to Canning in the Southern Tradition by Steve Dowdney

This guide provides 65 hand recipes, safety tips, and resources. Author Steve Dowdney also provides “stories and vignettes of a long gone agrarian south that filled the author’s youth and still fills his heart and memory.”

Put ’em Up!: A Comprehensive Home Preserving Guide for the Creative Cook, from Drying and Freezing to Canning and Pickling by Sherri Brooks Vinton

The simple instructions and 175 recipes found in Put ‘em Up! Will help you use your fresh produce and fill your pantry. Learn to can, freeze, air-dry, oven-dry, pickle, and refrigerate food. 

Your Local Agricultural Extension Office

Local Extension agencies typically have a plethora of home gardening and food preservation resources. They’re often connected with a local university and stay up date on the latest safe techniques. 

Find an Extension Office Near your zip code here.

Food preservation doesn’t have to be scary! These home food preservation resources are great places for new and seasoned gardeners alike to find recipes, instructions, and helpful tips to put up their harvest. 

Fall Harvest: Storing & Preserving Root Crops

Whether you’re on a mission to grow as much of your own food as possible or just love cooking with homegrown vegetables, putting up root crops for winter can be an easy way to keep the winter pantry full. Beets, carrots, fall radishes, rutabagas, and turnips can last several months if stored properly. 

In some cases, root crops can be stored right in the ground. In areas where the ground doesn’t freeze, crops that are maturing just as the growing season ends can be mulched in and harvested throughout the winter. However, this isn’t always possible, and there are other ways to store and keep your root vegetables fresh. To begin:

  1. Harvest carefully.

    It’s best to harvest root crops during a dry period and before any hard frosts. To avoid damaging root crops, you may need to use a garden fork to help loosen the soil.

  2. Brush them off.

    You don’t want to scrub the skin off but you should try to gently rub off as much soil as possible. It’s best not to wash them.

    Any damaged or bruised roots that you find should be set aside to be eaten immediately.

  3. Trim the tops.

    Rotting tops can quickly spread rot to your root vegetables so it’s best to trim them. Using a sharp knife or shears to trim leafy tops to 1/4 to 1/2 inch about the root. Don’t trim root ends or hairs, this invites rot!

  4. Find a place to store them.

    Root vegetables should ideally be stored somewhere cold and moist. Temperatures between 33° and 40°F are preferred. If you’re fortunate enough to have one, a root cellar is ideal, but other options exist. 

    If you don’t have too many roots, you can use the crisper drawer of your refrigerator. Alternatively, a cool corner of a basement or garage will work. You can also use an outbuilding or storage shed in parts of the Southeast as long as you can keep out rodents and you don’t have temperatures below freezing. 

    If you need to store many vegetables and are interested in a DIY project, you can create a root clamp

  5. Place them in appropriate containers.

    If you’re storing roots in your refrigerator, it’s best to use perforated plastic bags. Try to set the bags in so that the roots in each bag are in a single layer.

     Roots being stored in a root cellar or other cold room can be stored in various containers, including plastic totes, waxed cardboard boxes, 5-gallon buckets, and or even an old cooler. It’s best if there’s some airflow, so avoid putting the lid on tight, and you may even want to drill some additional holes in the container. 

    In these containers you want to keep your roots from touching the container or each other. To do this you can layer them in damp sand, sawdust, or even old leaves.

  6. Check on and eat your roots!

    You should check all the root crops you have in storage every week or two and remove any that are beginning to soften or rot. The smallest roots generally don’t store as well and should be eaten first. 
Amber Globe (Yellow Globe) Turnips

Other Preservation Methods

If you don’t want to store your root vegetables fresh or are short on space, there are many other ways to preserve them. These include fermentation, pickling, canning, and freezing. These generally take more time and effort upfront but are great for having vegetables that are quick to prepare or even ready to snack on throughout the winter. 

Fermentation

Lacto-fermentation is a simple, safe, and ancient method of food preservation. All you need is clean, sliced vegetables, a mason jar and lid, a clean rock or weight, salt, and water. You simply ferment your vegetables and any desired spices in saltwater brine. You can substitute sliced root vegetables for the cucumbers in this recipe.

You can also grate them up and add them to other ferments like kimchi. The book Wild Fermentation by Sandor Katz is an excellent resource for those looking to get started or expand their fermentation techniques. 

Pickling

Pickling is a bit more involved than fermenting, but it’s still a safe, easy to preserve root vegetables, even for beginners. Pickled vegetables are canned in highly acidic vinegar, so they can be safely processed in a simple water bath canner. 

There are many recipes available online if you’d like to browse others. Note that any labeled as “quick pickles” are designed to be refrigerated not canned.

Pressure Canning

Without the addition of vinegar, root vegetables are not acidic enough to be safely water bath canned. This means if you’d like to can plain root vegetables you’ll need to use a pressure canner. It’s not as scary as many people think!

PennState Extension has instructions for pressure canning vegetables here. Always follow the instructions that came with your canner.

Freezing

If you have room in your freezer, this can be a great way to keep root vegetables. They generally freeze well and maintain good texture and flavor. 

Like other vegetables, you must blanch root veggies before freezing; otherwise, they will get mushy. You can find directions for freezing all kinds of vegetables over at the Pick Your Own website.