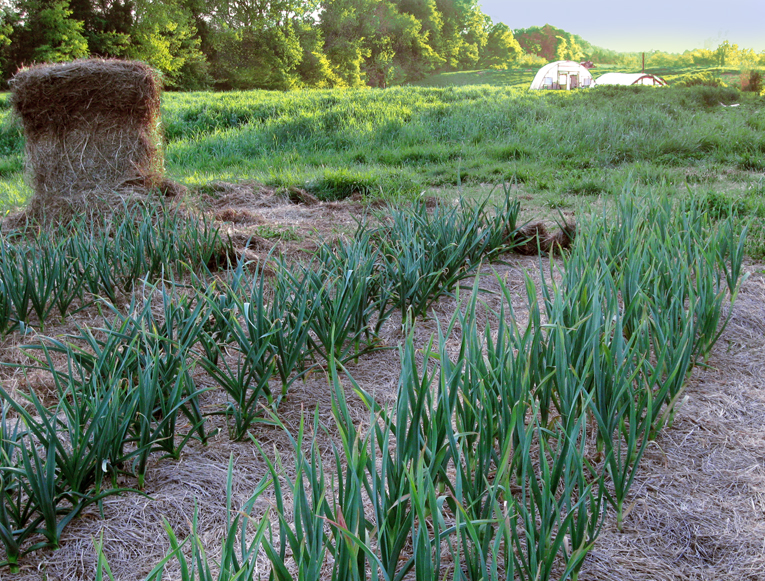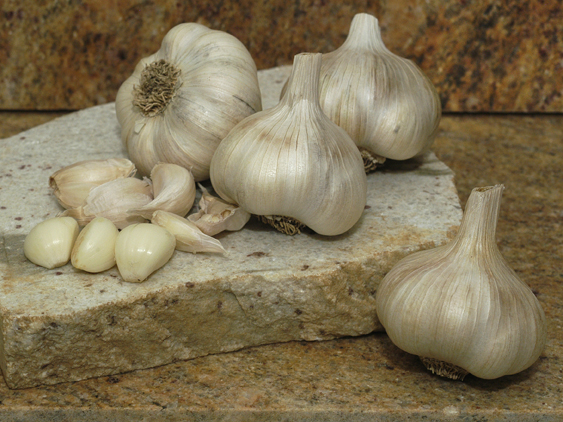
Growing garlic is a great way to spice up your garden. And your kitchen!
If you’re a garlic lover, having your own garden is an absolute must. There are tons of garlic flavors that you just can’t find at a supermarket. From kid-friendly, mild-flavored Elephant Garlic to intense, fiery-hot Red Toch Garlic (go ahead and try it…I dare you!), there’s a different flavor for every taste.
Selecting Seed and Getting Started
A Note on Garlic Seed
It is best to purchase garlic seed from a source that you trust. Using cloves that you buy in the supermarket CAN work, but you run the risk of introducing diseases into your garden. You also run the risk of buying a bulb of garlic that has been chemically treated to never sprout. Is planting supermarket garlic really worth the risk?
A Note on Garlic Types
You have three main options when selecting a garlic variety: Softneck, Hardneck, and Asiatic.
Softnecks include silverskin and artichoke types of garlic. These varieties are the most domesticated. They are among the easiest to grow, and are among the highest yielding. But be aware: Softnecks don’t do too well in extremely cold climates.
Inchelium Red, Italian Softneck, Loiacono, Red Toch, Silver Rose, and Silverwhite Silverskin are a few varieties of Softneck garlic.
Hardnecks include Rocambole and Topsetting types. These varieties are enjoying a gourmet renaissance. The cloves are large and easy to peel. Hardnecks grow better in colder climates than warmer ones. For these garlic varieties, it is best to plant large cloves.
Appalachain Red, Music, Persian Star, Chesnok Red, and German Extra Hardy are varieties of Hardneck garlic.
Asiatic or Turban types of garlic are considered a subset of Softnecks. These are the first to mature in the garden. In warm climates they act like Softnecks, whereas in cold climates they act more like Hardnecks. Varieties include; Xian, Asian Tempest and Blossom.
When to plant garlic:
You’ll be planting garlic in the fall. Southern Exposure caters to Mid-Atlantic gardeners. So, we recommend that most of you plant in late autumn, usually this means planting garlic between Columbus Day and Halloween. However, if you’re a little farther north, your garlic cloves are better planted earlier in the season.
Preparing Garlic for Planting
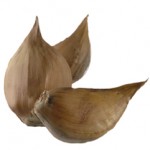
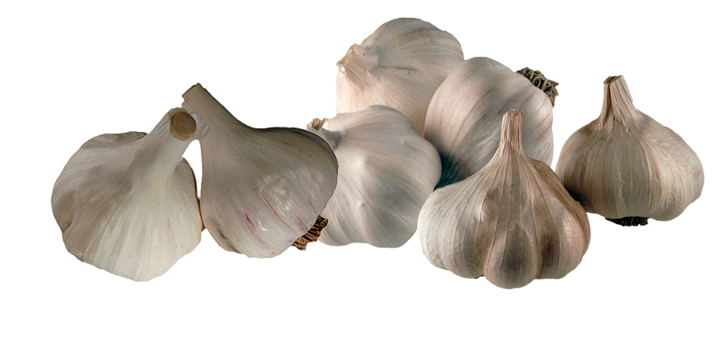
The first thing you’ll need to do is separate the individual cloves from the bulb. This only takes about a minute or so. Be sure to leave the paper (the thin, papery skin) on the individual cloves!
Preparing the Bed
Garden bed prep is going to take somewhat longer. Garlic really benefits from compost early in its development, so you’ll want to be sure your garlic beds have a good, thick layer of compost when you first plant. Adding nutrients later would not be as helpful.
If you have a rototiller, toss some compost on there and go for it! If not, you can aerate and mix the nutrient-rich compost into your soil with a broadfork.
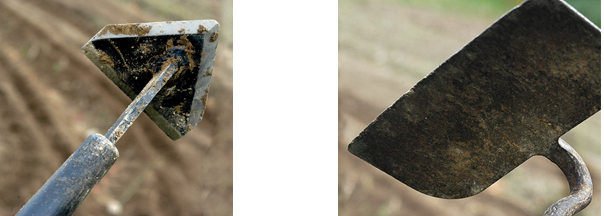
Next, dig your furrows with a warren hoe.
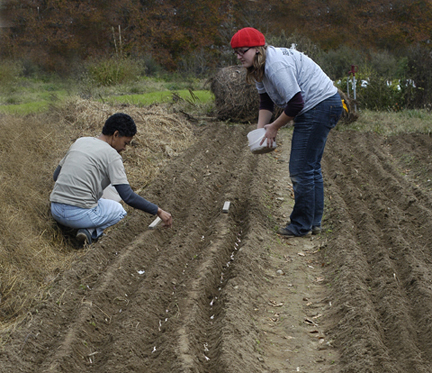
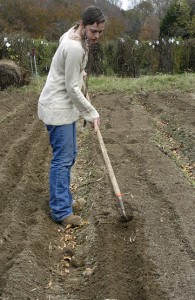
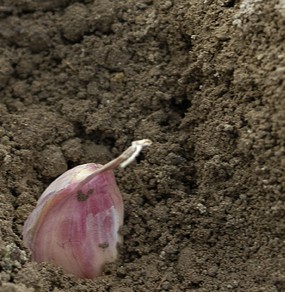
Mark the line you’ll be planting along by dragging the tip of the hoe down the length of the bed. Then, using more pressure, dig your trenches. A couple of inches deep will do. Place the garlic cloves upright (with the paper still on) into the deepest part of the trench. The bottom of the clove will put down the roots, and the pointy top will sprout the leaves.
Plant the cloves about six inches apart. If your beds are three feet wide, you can usually fit four rows.
After the garlic is in the ground, use a paddle hoe to cover the garlic and level the trenches. The next crucial step is to LABEL your newly-planted garlic, as it will be some time before harvest.
Now, mulch away! Don’t be shy–cover the garlic beds with about six inches of hay or straw mulch. This way, you will get far fewer weeds. (You’ll still get weeds… but at least not nearly as many!)
Maintenance
After about a month, it’s time to join the garlic liberation front. Your garlic should be starting to sprout, so help the new leaves find light by making a hole in the mulch for them.
The Waiting Game
What’s next? Learn a foreign language, rebuild a hot rod, or clean out the attic…you’ll have months before your garlic needs attention again.
Scapes and Weeding
In late spring, it’s time to weed. If you mulched like a champion, this shouldn’t take too long.
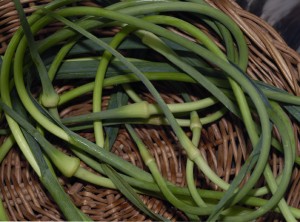
Now, depending on the type of garlic that you are growing, harvest the garlic scapes. These are the long shoots growing up from the middle of the leaves. The leaves are going to look like giant blades of grass, while the scapes will be round. You’ll know it’s time to harvest the scapes when they curl over. To harvest, pull the scape upwards slowly but firmly. You’ll want to pull the scape completely free without pulling the garlic out of the ground. (That comes later!)
Harvesting Garlic
When early summer arrives, but later than the Fourth of July -for the Mid-Atlantic it will be time to harvest your garlic. When garlic is ready, there will typically be only six leaves left on the plant. Get your pitchfork and dig about three inches in front of the stem. You’ll want to give your garlic a nice, wide berth. After all this work, it would be a shame to impale your plants!
Loosen the soil around the garlic and pull it carefully out of the ground. If you want to make sure that the garlic is ready to be harvested, cut the bulb down the center to see if the cloves are fully formed. If so, continue digging. If not, try again in about a week.
At this stage, garlic looks like it’s ready to try out for the Steelers. The bulb will be big, burly, and tough-looking. But it’s not actually that tough! The bulb is easily bruised and damaged, so handle gently. And no tossing!
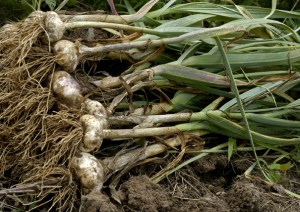
Place each dug-up plant–with the roots and leaves still attached to the garlic bulb–in a pyramid formation. (Instead of going out for football, they should really consider cheerleading.) There should be space between the bulbs on each row. Now, tie up your garlic and hang it out to dry.
Reap What You Sow!
By mid-summer, your garlic should be cured. Cut off the roots and stem, and store your garlic in a cool, dry and dark place. Finally, it’s ready for consumption!
Bon Appétit!
If your garlic grows well and you get a bountiful harvest, save some of the cured bulbs to plant the next year. Replanting garlic that has grown well in your garden will only make it even better next year. In time, selectively saving your own garlic seed will produce garlic that is custom-designed to grow fabulously in your garden, year after year!

