Fresh sweet corn is one of the joys of summer and growing it yourself makes it even more special! However, sweet corn’s soil, space, and pollination requirements can make it tricky to grow in a small garden. Thankfully, with a few tips, you can get a great sweet corn harvest even in a small space.
Amend Your Soil and Feed Your Corn
Sweet corn grows best when the soil pH is between 5.8 and 7.0, or is slightly acidic to neutral. In most of the Southeast, we typically have moderately acidic soils. Getting your soil tested and liming your garden if necessary can help with production.
Your corn will also perform best in well-drained soil that’s rich in organic matter. We like to add several inches of finished compost to the top of our beds before planting. While we often picture sweet corn as a crop for large fields, there’s no reason you can’t grow it in raised beds, which is one way to establish rich, well-draining soil quickly, no matter what you’re starting with.
Corn is a heavy feeder and benefits from another application of fertilizer, compost, or manure while it’s growing. When your plants reach about one foot in height, side-dress your sweet corn with compost, manure, or fertilizer. If you’re using a traditional or organic granular fertilizer, select one with a balanced N-P-K ratio or one that is high in nitrogen. Getting your soil tested will also help inform your selection so you know if your soil is low in phosphorus and potassium.
Do not use “Weed and Feed” products that contain fertilizer and weed killer; these will contaminate your soil and kill vegetable crops.
Plant in Blocks or Circles
Unlike most of our vegetable crops, which are insect-pollinated, corn is wind-pollinated. The wind carries pollen from the corn tassels to the silks of each ear of corn. Each silk corresponds to a kernel on that ear. If you’ve ever had ears of corn missing full kernels, it was likely a pollination issue. In order for each kernel of corn on an ear to fill out on an ear of corn, it must be pollinated.
Large farms plant long rows of corn, but they also have large enough fields to ensure good wind pollination. If you’re working with a small space and less corn, we recommend planting in blocks or even circles. Each block should be about five rows wide.
Water Consistently
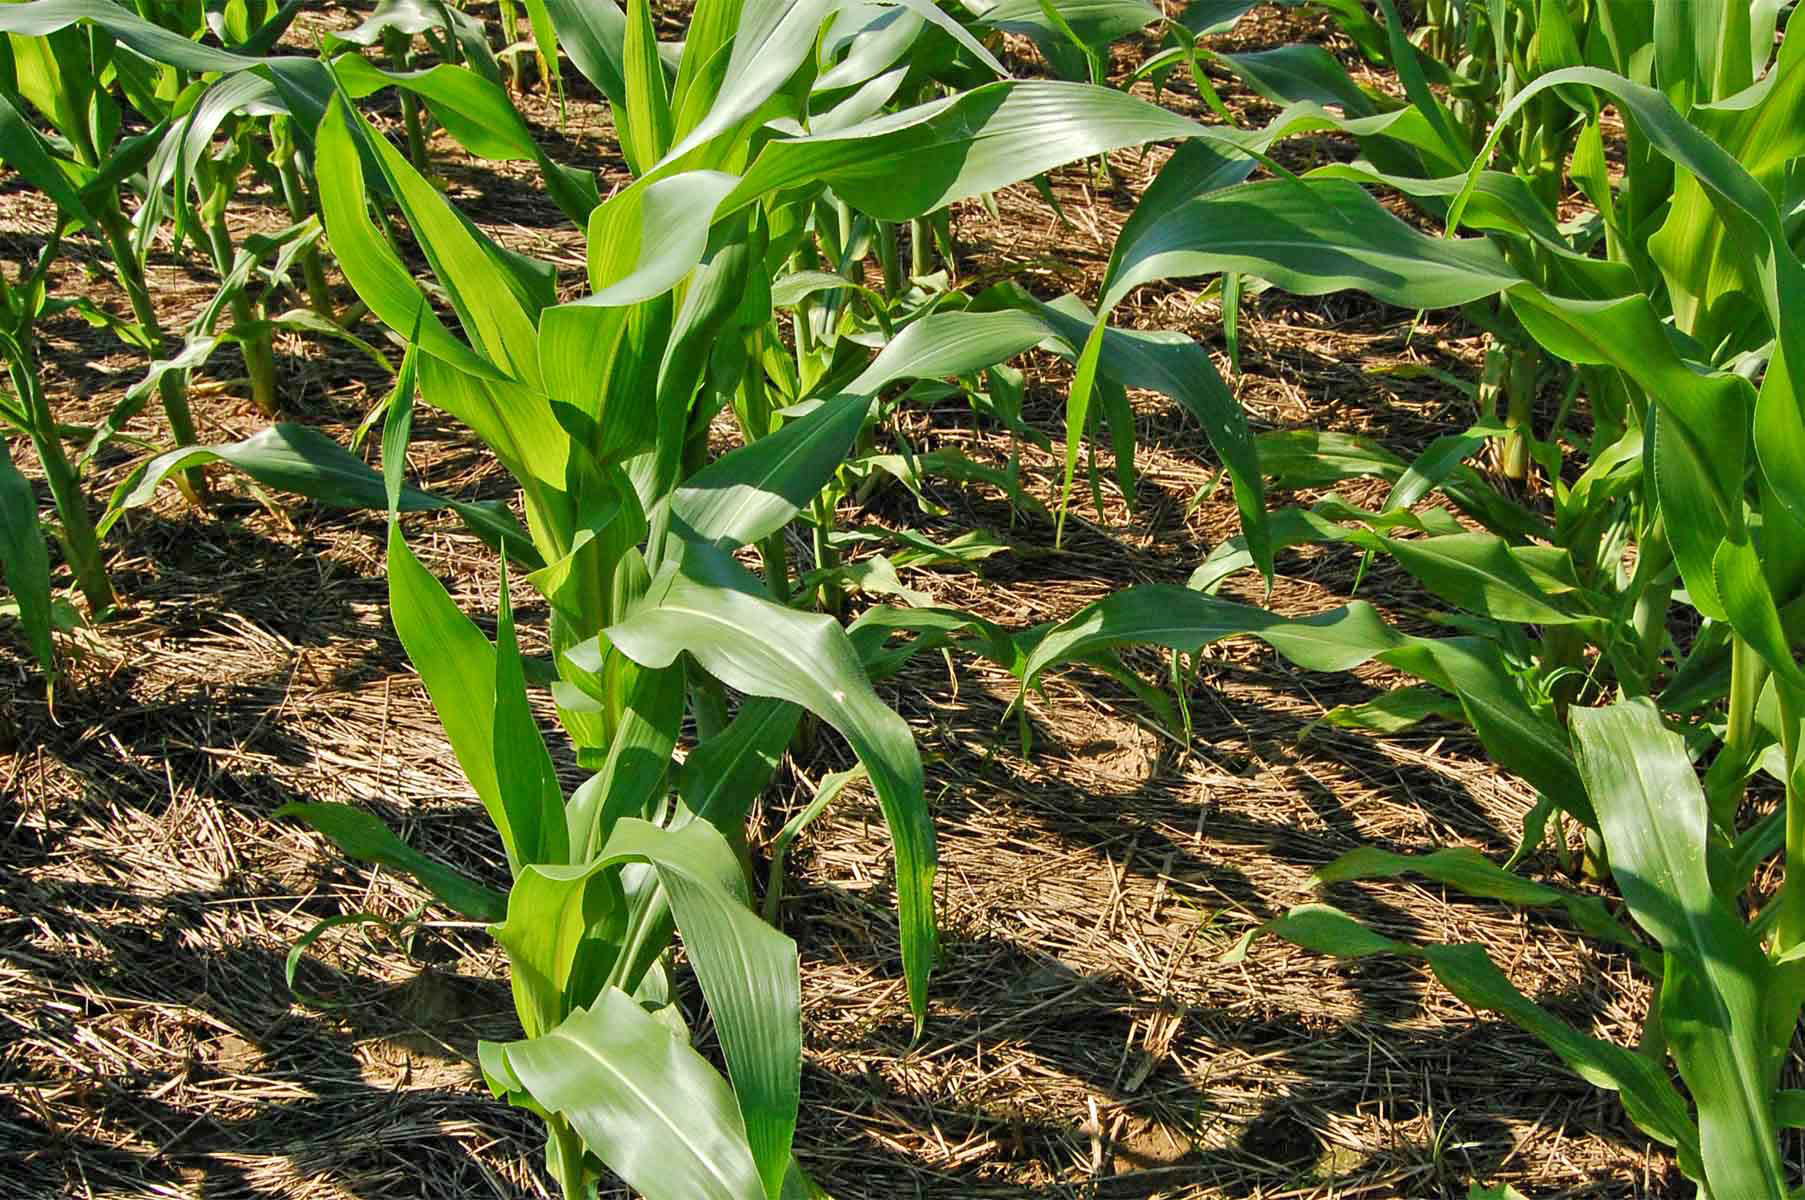
Many of the flour, flint, and dent corn varieties we offer are highly drought tolerant, having bed bred for centuries to survive and thrive without modern irrigation. Sweet corn is only moderately drought-tolerant and requires about one to two inches of water per week, especially in hot climates, to produce nice, full ears.
As most of the Southeast is still in drought, watering your sweet corn is crucial for good production. To help reduce your corn’s water needs, use drip irrigation or soaker hoses, which water the soil directly to avoid evaporation loss. You can also avoid evaporation by watering in the early morning or evening. Irrigation on a timer is great for this. Mulching around the base of your corn once it’s a few inches tall can also help keep the soil cool and moist.
Hand Pollinate Your Sweet Corn
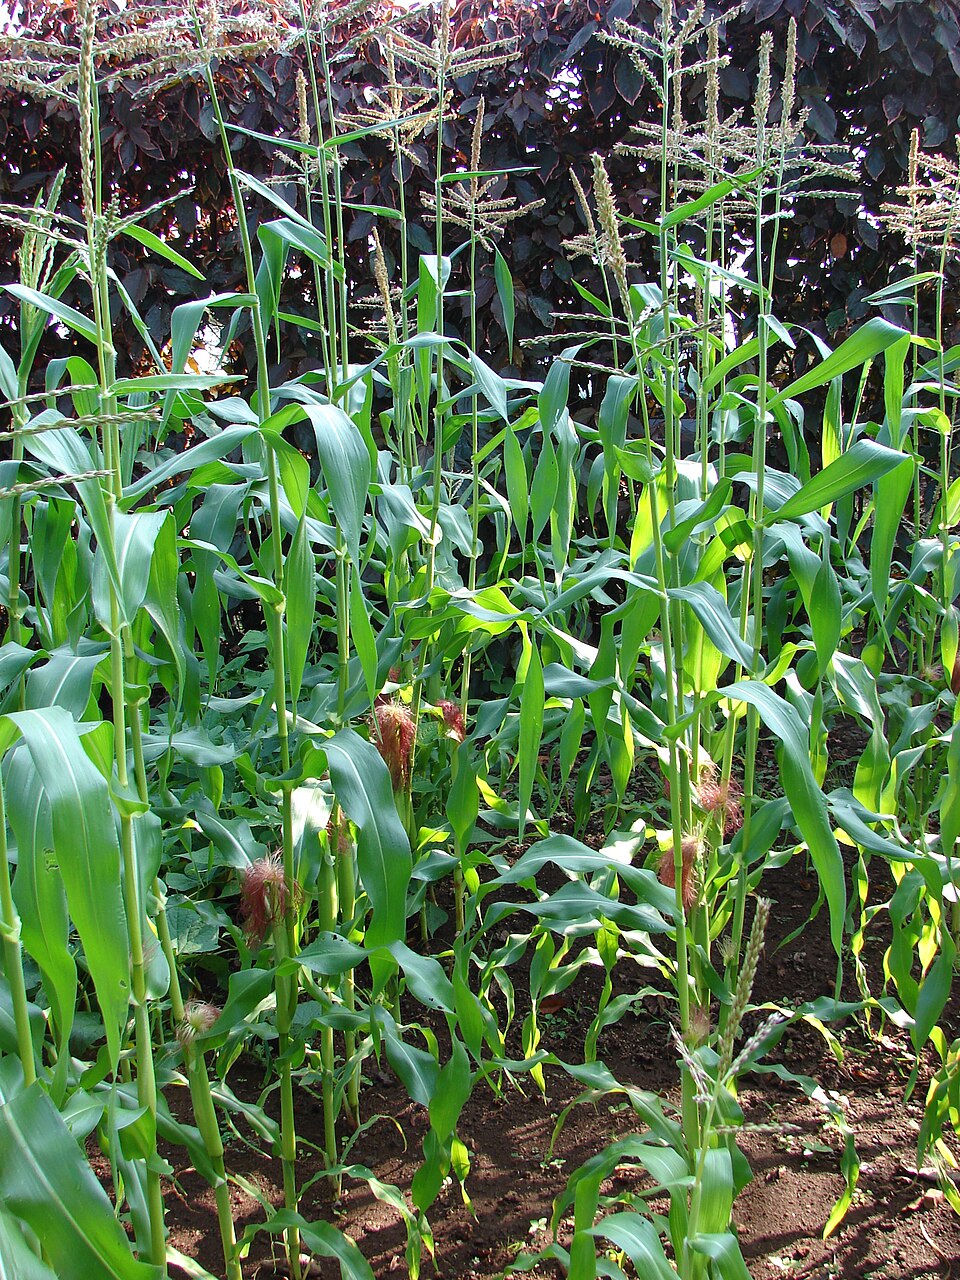
Along with planting in blocks, you can also use hand pollination to ensure you get a crop of full, sweet ears. To hand-pollinate your corn at home, watch for when the tassels have fully opened and the anthers start releasing pollen.
When pollen is being released, take scissors and cut off the entire tassel, trying not to knock all the pollen off onto the ground. Then rub that tassel across the silks of the ears of corn on nearby plants. You don’t need to cut every tassel; just do a few to ensure you’ve spread pollen to each ear of corn. Wind will help spread the remaining pollen around. It’s that simple!
Hand pollination is also a common method seed growers employ when isolating multiple sweet corn varieties without enough isolation distance. Besides hand-pollinating through the method above, they also remove and bag all the tassels before they begin releasing pollen to prevent any additional cross-pollination with nearby corn.
Choose a Fast-Growing Variety and Grow Multiple Successions
Another issue with growing sweet corn in small gardens is that it’s one and done. Unlike your cut and come again lettuce that will give you weeks of salad or cherry tomatoes you can pick until frost, each stalk will only grow one or two ears of corn.
Thankfully, most sweet corn varieties are pretty quick-growing. In most climates, it’s possible to get multiple successions. Sow your first 5 blocks in spring after your last chance of frost when the oak leaves are the size of squirrel ears. Then you can sow another 5 blocks two to three weeks later or when another early spring crop like peas or spinach is finished for the season.
Harvest and Use Your Sweet Corn
For first time growers, knowing when to harvest their ears can be confusing. However, there are a couple of telltale signs to watch for that indicate your corn is ready for harvest. About 18 to 24 days after your corn’s silks appear, they will be dry and brown on the ends, indicating they’re ready to pick. Ripe sweet corn will be in the milk stage, meaning if you peel back the husk a bit and burst a kernel with a thumbnail, a white, milky fluid will come out.
Sweet corn is best enjoyed as quickly as possible after harvest. When you pick the ears, they start converting sugars to starches. Depending on the variety, they may be good for one to seven days in your refrigerator; of course, we recommend enjoying them the day you pick them.
If you have extra sweet corn, you can blanch and freeze it on or off the ears. You can also blanch and dehydrate the kernels for soups and stews later in the year. Lastly, you can preserve sweet corn by pressure-canning it. Note that water bath canning isn’t safe for sweet corn.