Tag Archives: transplants

Troubleshooting Transplants

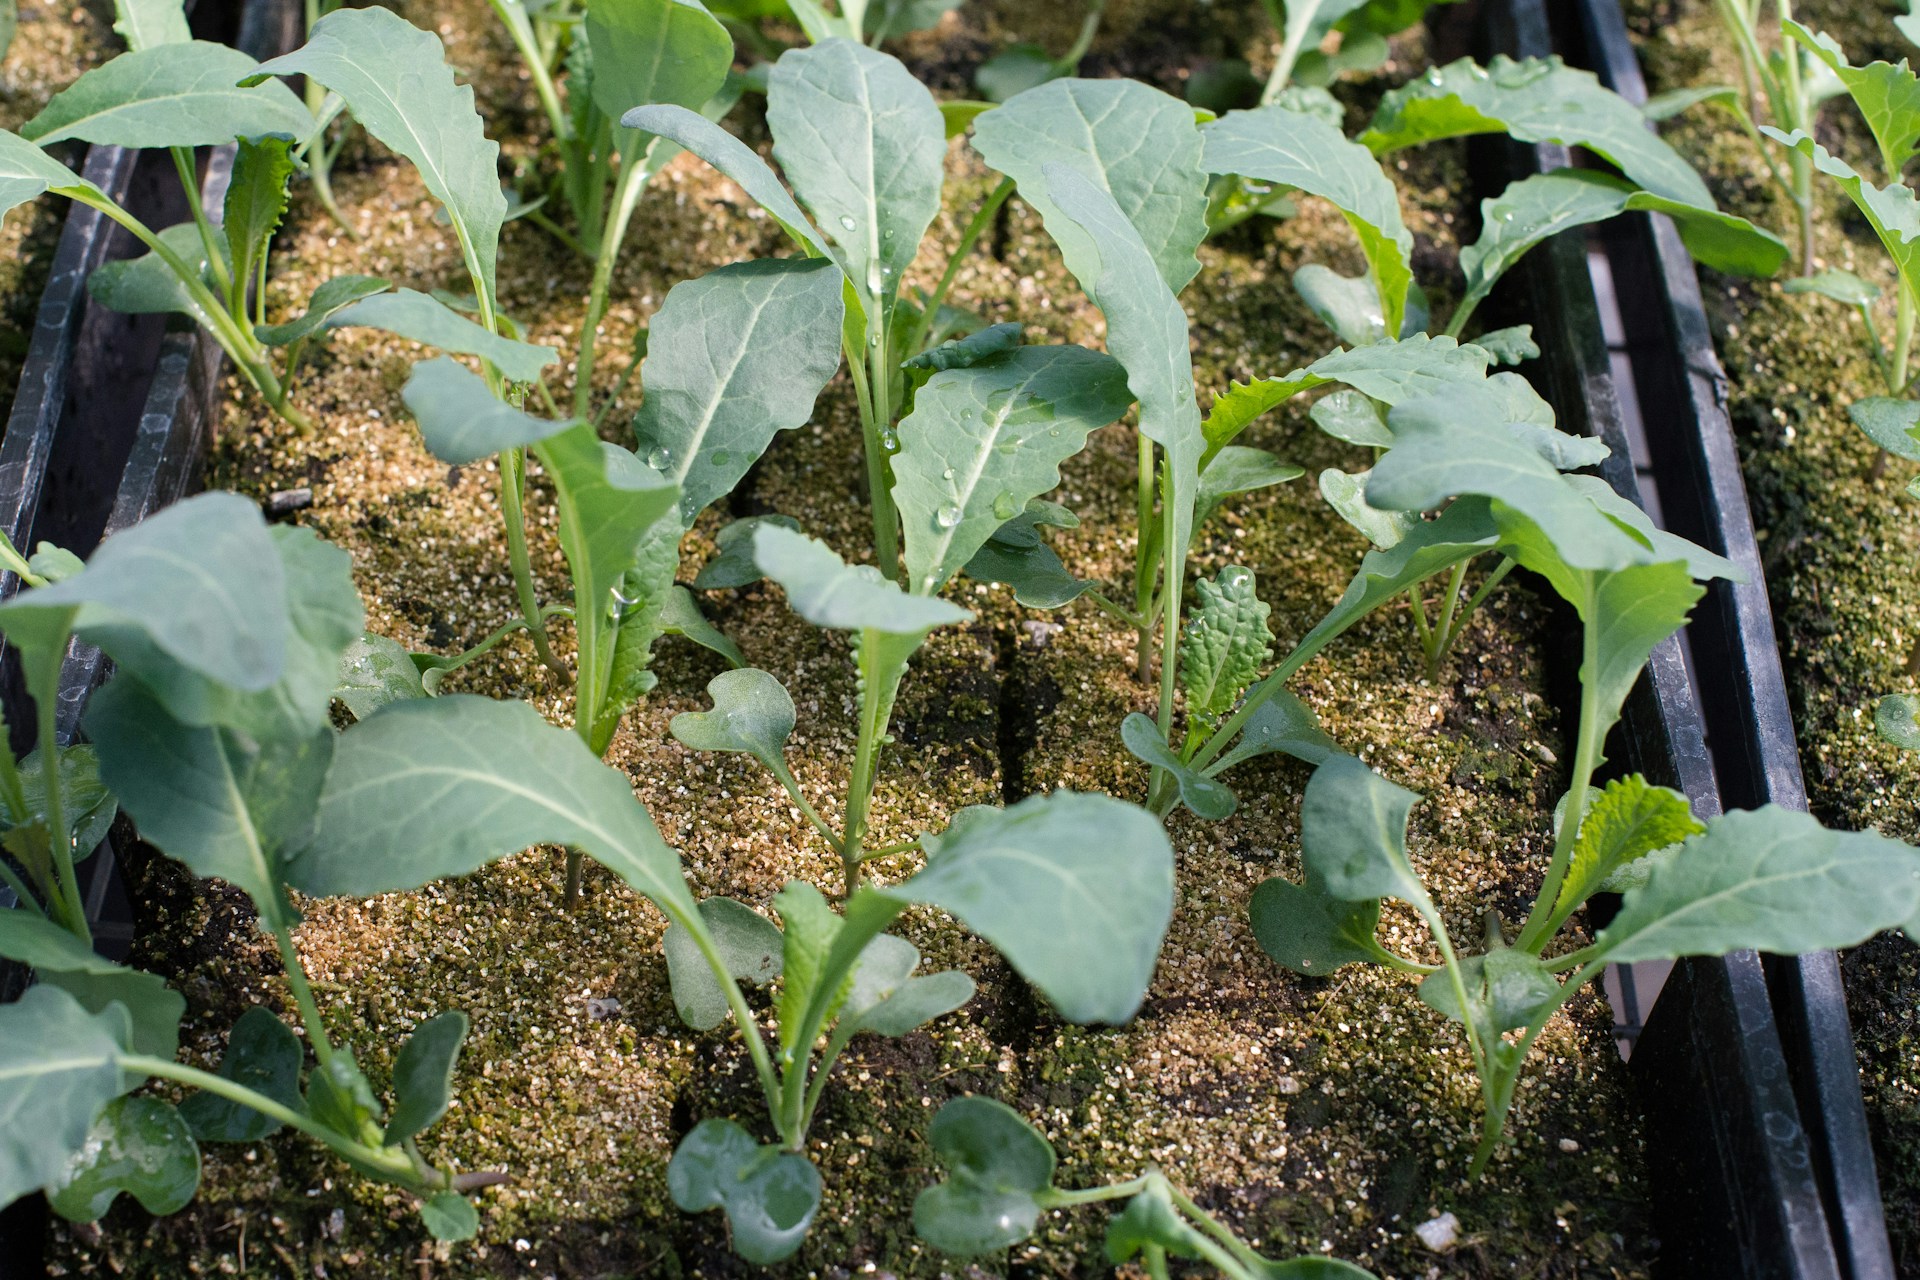
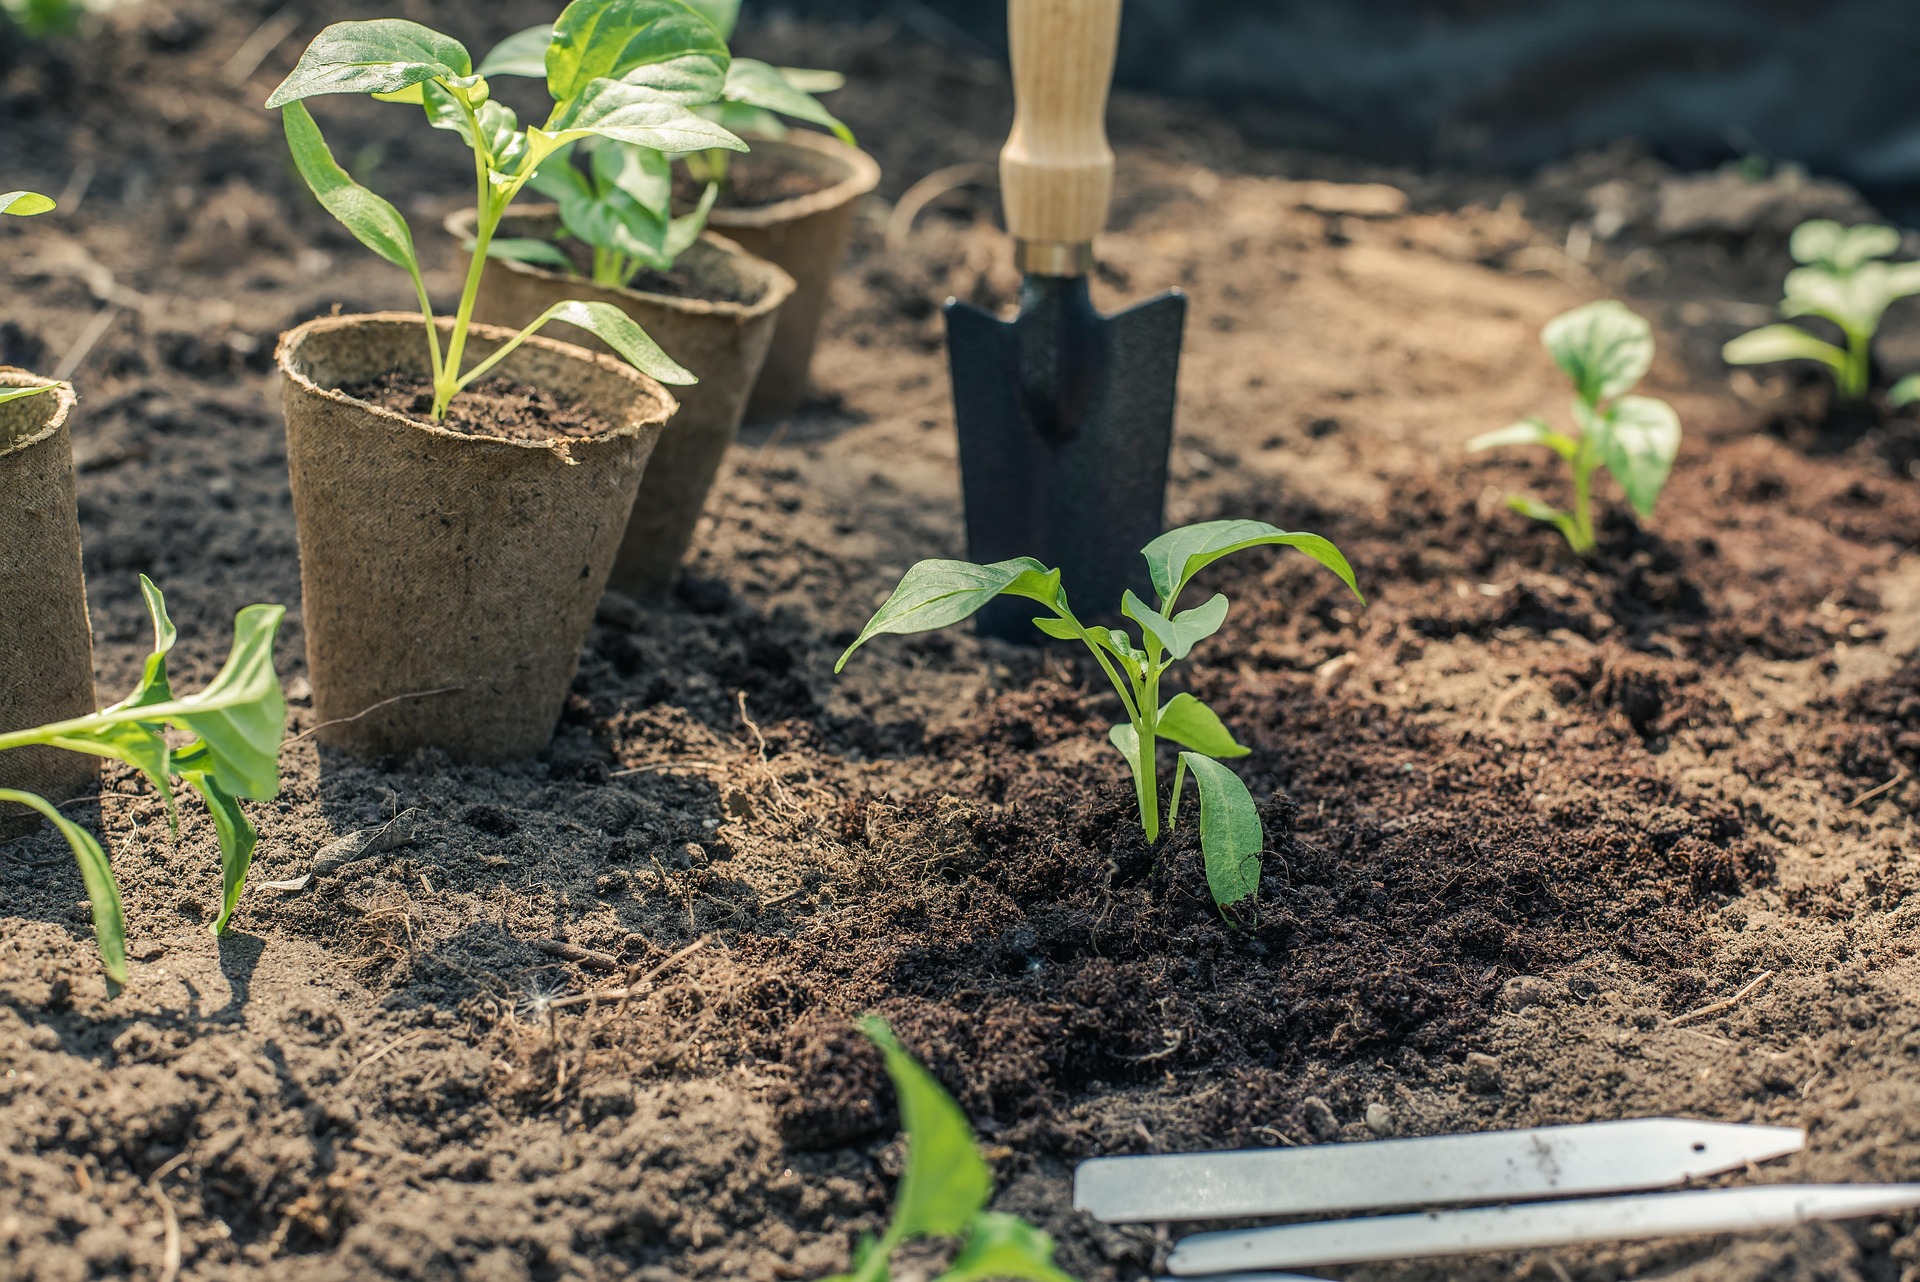
Transplanting seedlings is one joy of spring. We’re getting out into the sun and planting crops like broccoli, tomatoes, peppers, and cabbages in the garden. Unfortunately, it’s not as simple as carrying them outside and plunking them into the soil. Young seedlings are tender plants, and pests, weather, or poor technique can set them back or even kill them. In this post, we’ll dive into some of the common issues with transplants and how you can avoid them.

Transplant Shock

Problem: Your plants wilted after transplanting and displayed scorched leaves or stunted growth. These are sure signs that your plants weren’t ready for life outdoors.

Solution: In the future, slowly adjust your seedlings to the intense sun, wind, and irregular moisture they’ll experience out in the garden. We do this with a process called “hardening off.” Rather than abruptly moving plants to the garden, slowly transition them by setting them outdoors, starting with just an hour each day and slowly increasing that time over two weeks.

After hardening off, seedlings will be tough enough for the garden, but it’s still a good idea to choose a transplanting day carefully. If possible, transplant your seedlings on a relatively cool and overcast day.
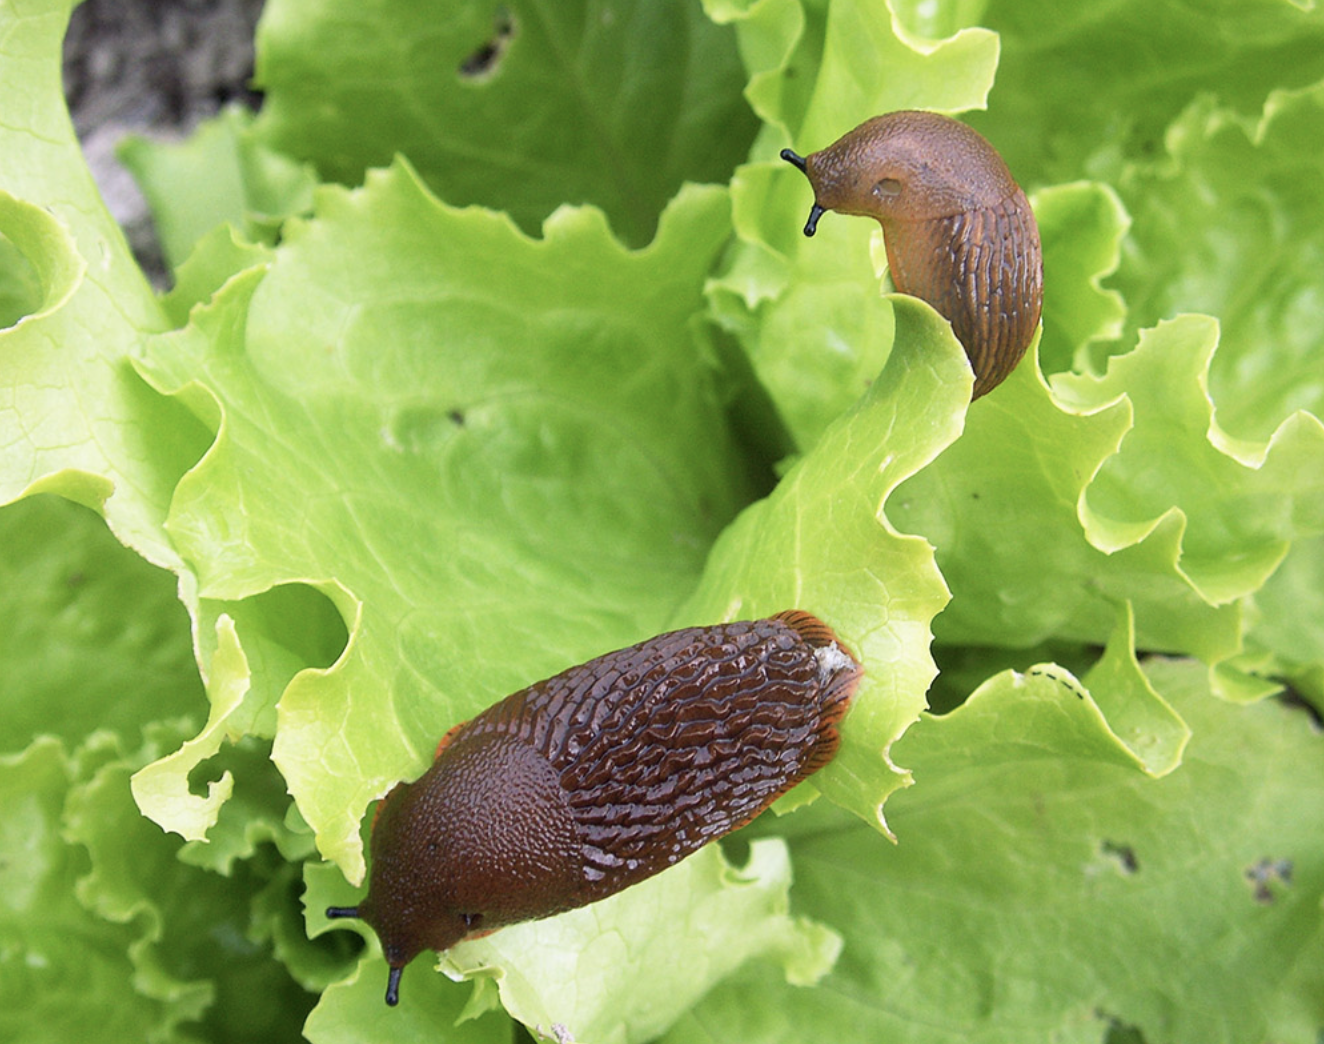
two slugs on a lettuce plant

Slug Damage

Problem: Your seedlings have irregular, ragged holes in the leaves or are missing entirely. If you look closely, you may find silvery trails on your plants or the ground around them. These are signs that slugs are snacking on your seedlings!

Solution: To tackle your slug problem, start by temporarily pulling any mulch, plant material, or other places slugs could hide from around your plants. Then you can handpick or trap the slugs by luring them with a good hiding spot or a dish with beer or a water and yeast mixture.

There are also many ways to deter slugs from visiting your garden in the first place, like attracting predators like toads or watering less. Find out more about trapping and deterring slugs in our Organic Slug Control article.

Flea Beetles

Problem: Your plants are riddled with tiny, circular holes. When you examine them, you may notice little shiny black or bronze beetles on the leaves that quickly jump off the plant when disturbed. These are flea beetles, and they can devastate young crops like eggplants.

Solution: Flea beetles are too small to handpick, but there are a couple of ways you can control them. Dust their plants with diatomaceous earth or spray them with neem oil. Both methods will require a few applications and break down in the rain, wind, and sun after a few days.

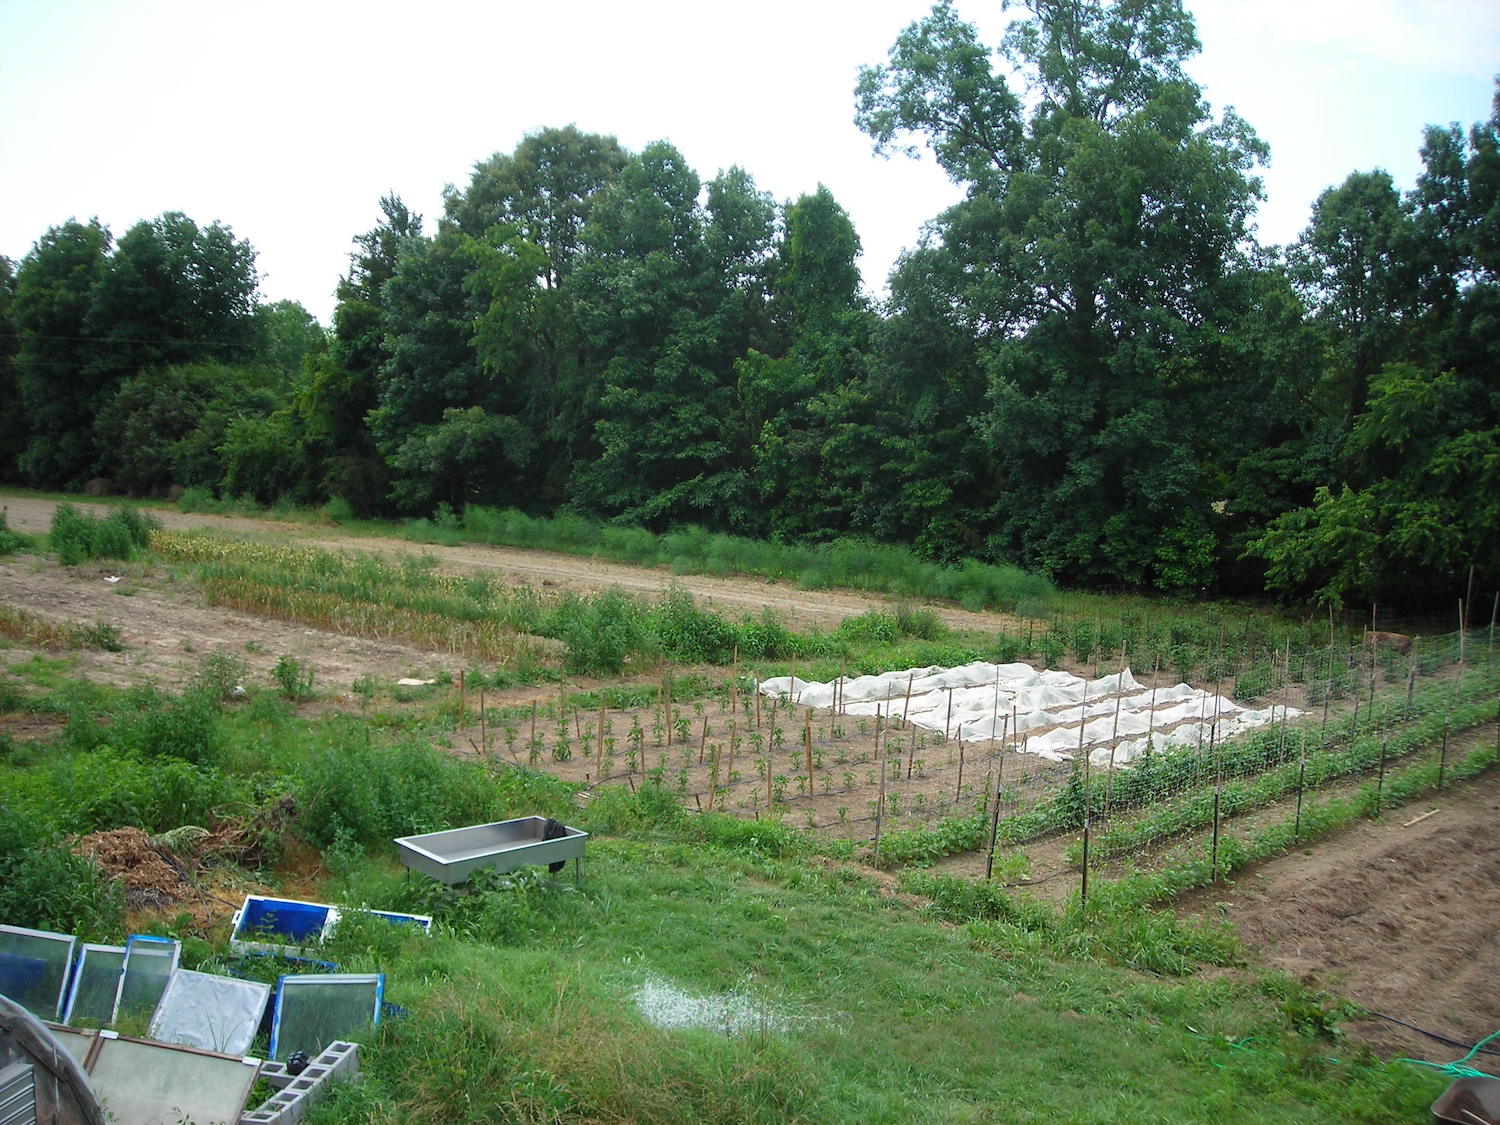
In the Southern Exposure gardens, we can usually count on flea beetles feeding heavily on certain plants like turnips and eggplants. For that reason, we use row cover over young plants to prevent flea beetles from accessing them at all.

Garden beds with row cover
Row cover protecting White Beauty Eggplant from flea beetles.

Cutworms

Problem: You come out to the garden one morning to find that several of your seedlings are dead on the ground. Upon examination, they had severed stems near the soil level. The appropriately named cutworm usually causes this damage.

Solution: The name cutworm covers several species of caterpillars. The female moths of these species lay eggs in the soil. In the spring, the young, nocturnal larvae feed on plant leaves and roots until they grow about 1/2 inch long. Then, they prefer seedling stems, cutting or burrowing through them as they feed.

One of the easiest ways to prevent cutworms from damaging your seedlings is to place aluminum or cardboard collars around them as a physical barrier. Form the material so that it encircles your seedling and extends a couple of inches below the soil and a couple of inches above it.

Tilling or allowing chickens and other poultry to go through the garden before planting can help reduce the cutworm population.

Weather and Timing

Problem: Your broccoli plants only produced tiny heads. While this may seem like a nutrient issue, it’s actually often caused by cold temperatures during the seedling stage.

Solution: Broccoli is a cool-weather plant, but if the seedlings experience temperatures in the 20°Fs or lower, they may “button up” and only produce tiny heads. These temperatures signal to the plants that they’ve gone through a winter and it’s time to flower.

While cold weather has obvious consequences for broccoli heads, it can also affect other seedlings. When the temperature drops below 40°F, there’s a risk that warm-weather crops like peppers, cucumbers, and eggplants may experience chilling injury, leading to stunted growth and lack of production.

It’s tempting to plant early, but it’s best to wait until the risk of cold temperatures has passed. If you already have seedlings out and cold weather is in the forecast, protect them if possible with row cover or plastic low tunnels.

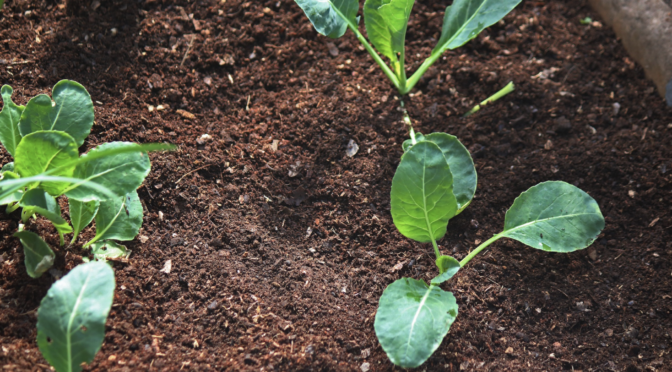
Proper Planting Depth

Problem: Your seedlings are wilted, stunted, dying, or the leaves are turning yellow, white, or pale green. While many issues can cause these symptoms, they’re often caused by a simple mistake when planting. You may have planted your seedlings too deep.

Solution: In general, you want to plant transplants so that the soil is at about the same level or just above what it was in the pot. Burying transplants too deeply can rot your plants’ stems.

The exception to this rule is tomatoes. Tomato plants produce adventitious roots wherever nodes along the stem touch moist soil. Removing the lower leaves and burying your tomato plants deeply will encourage them to put out more roots. This will give you healthier, more robust plants.
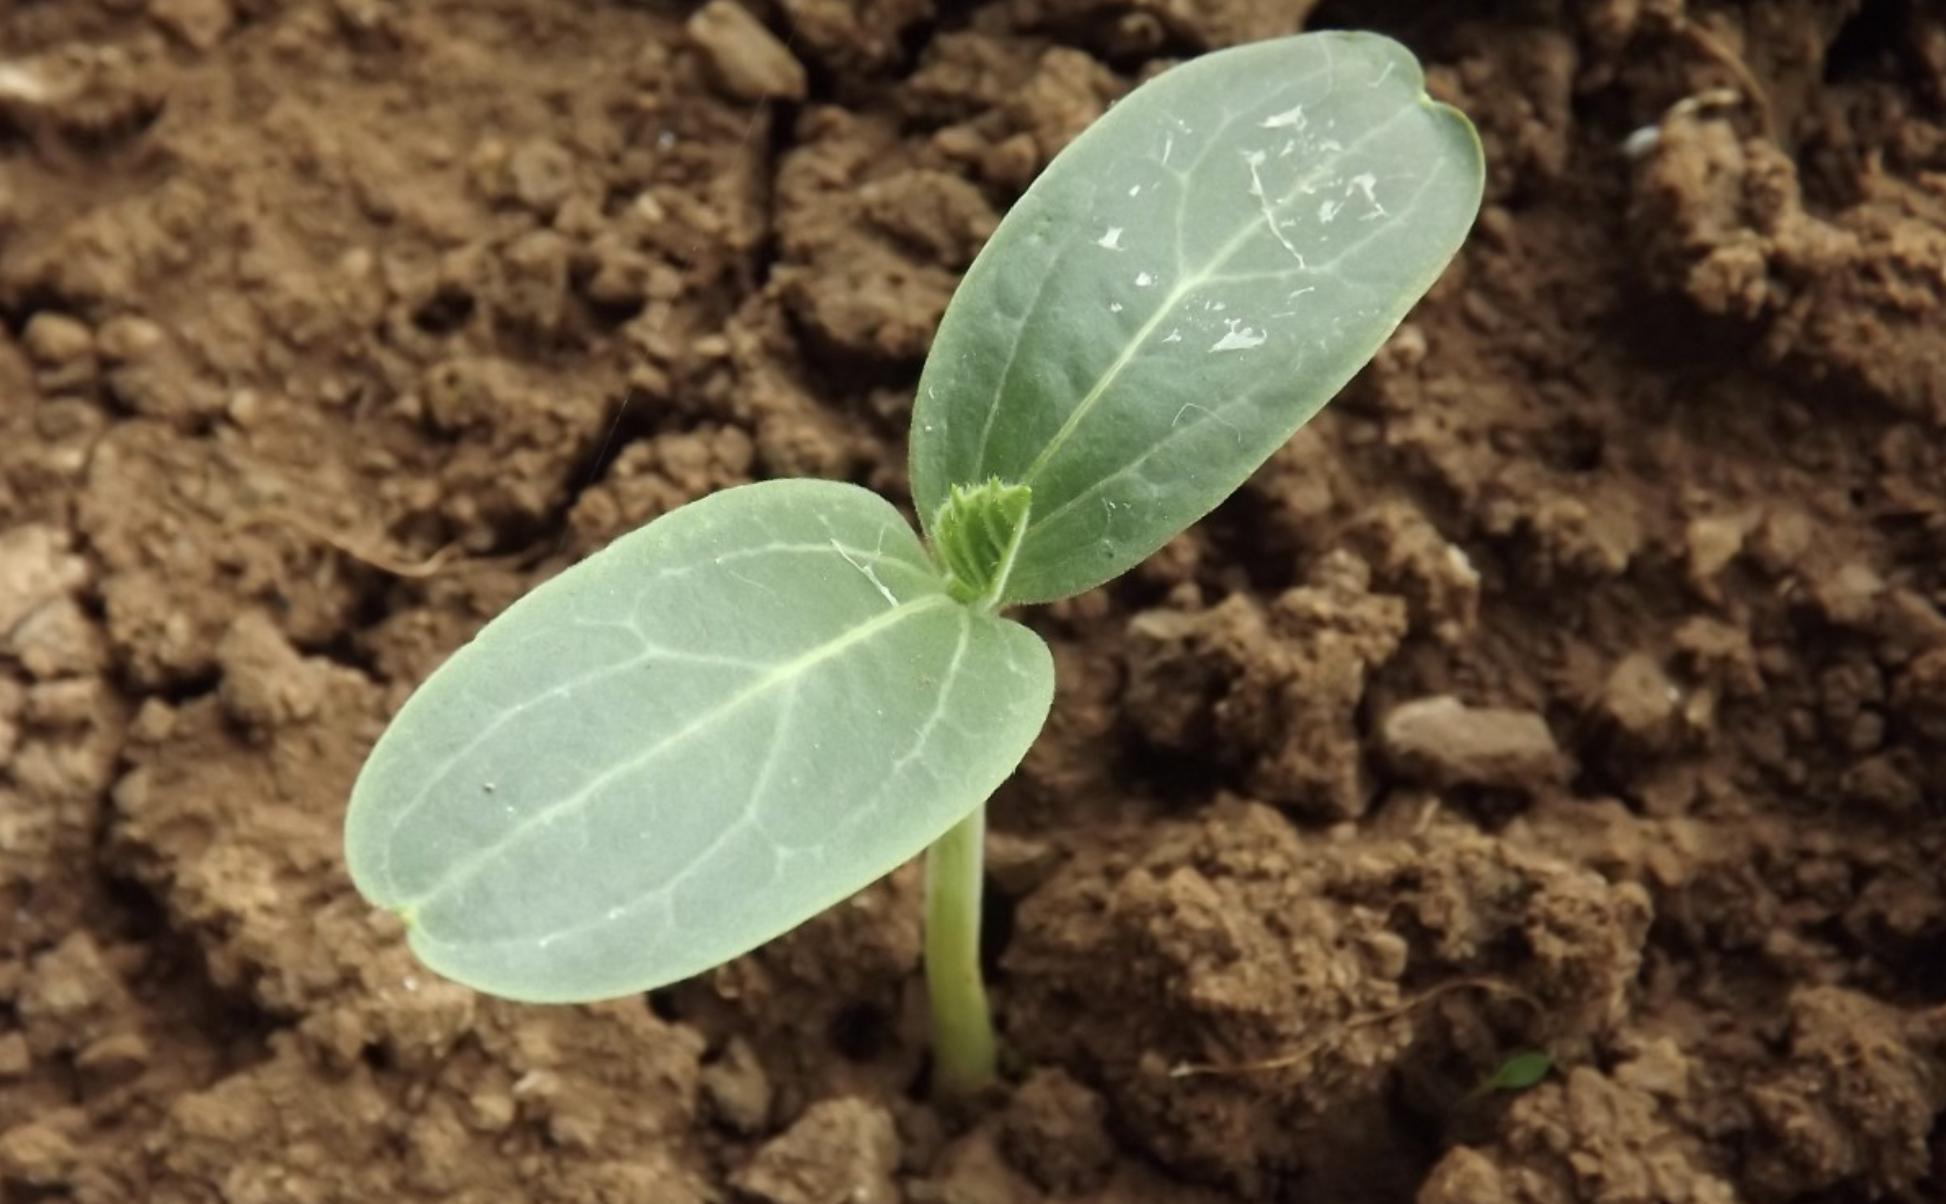
Cucurbit Conundrums

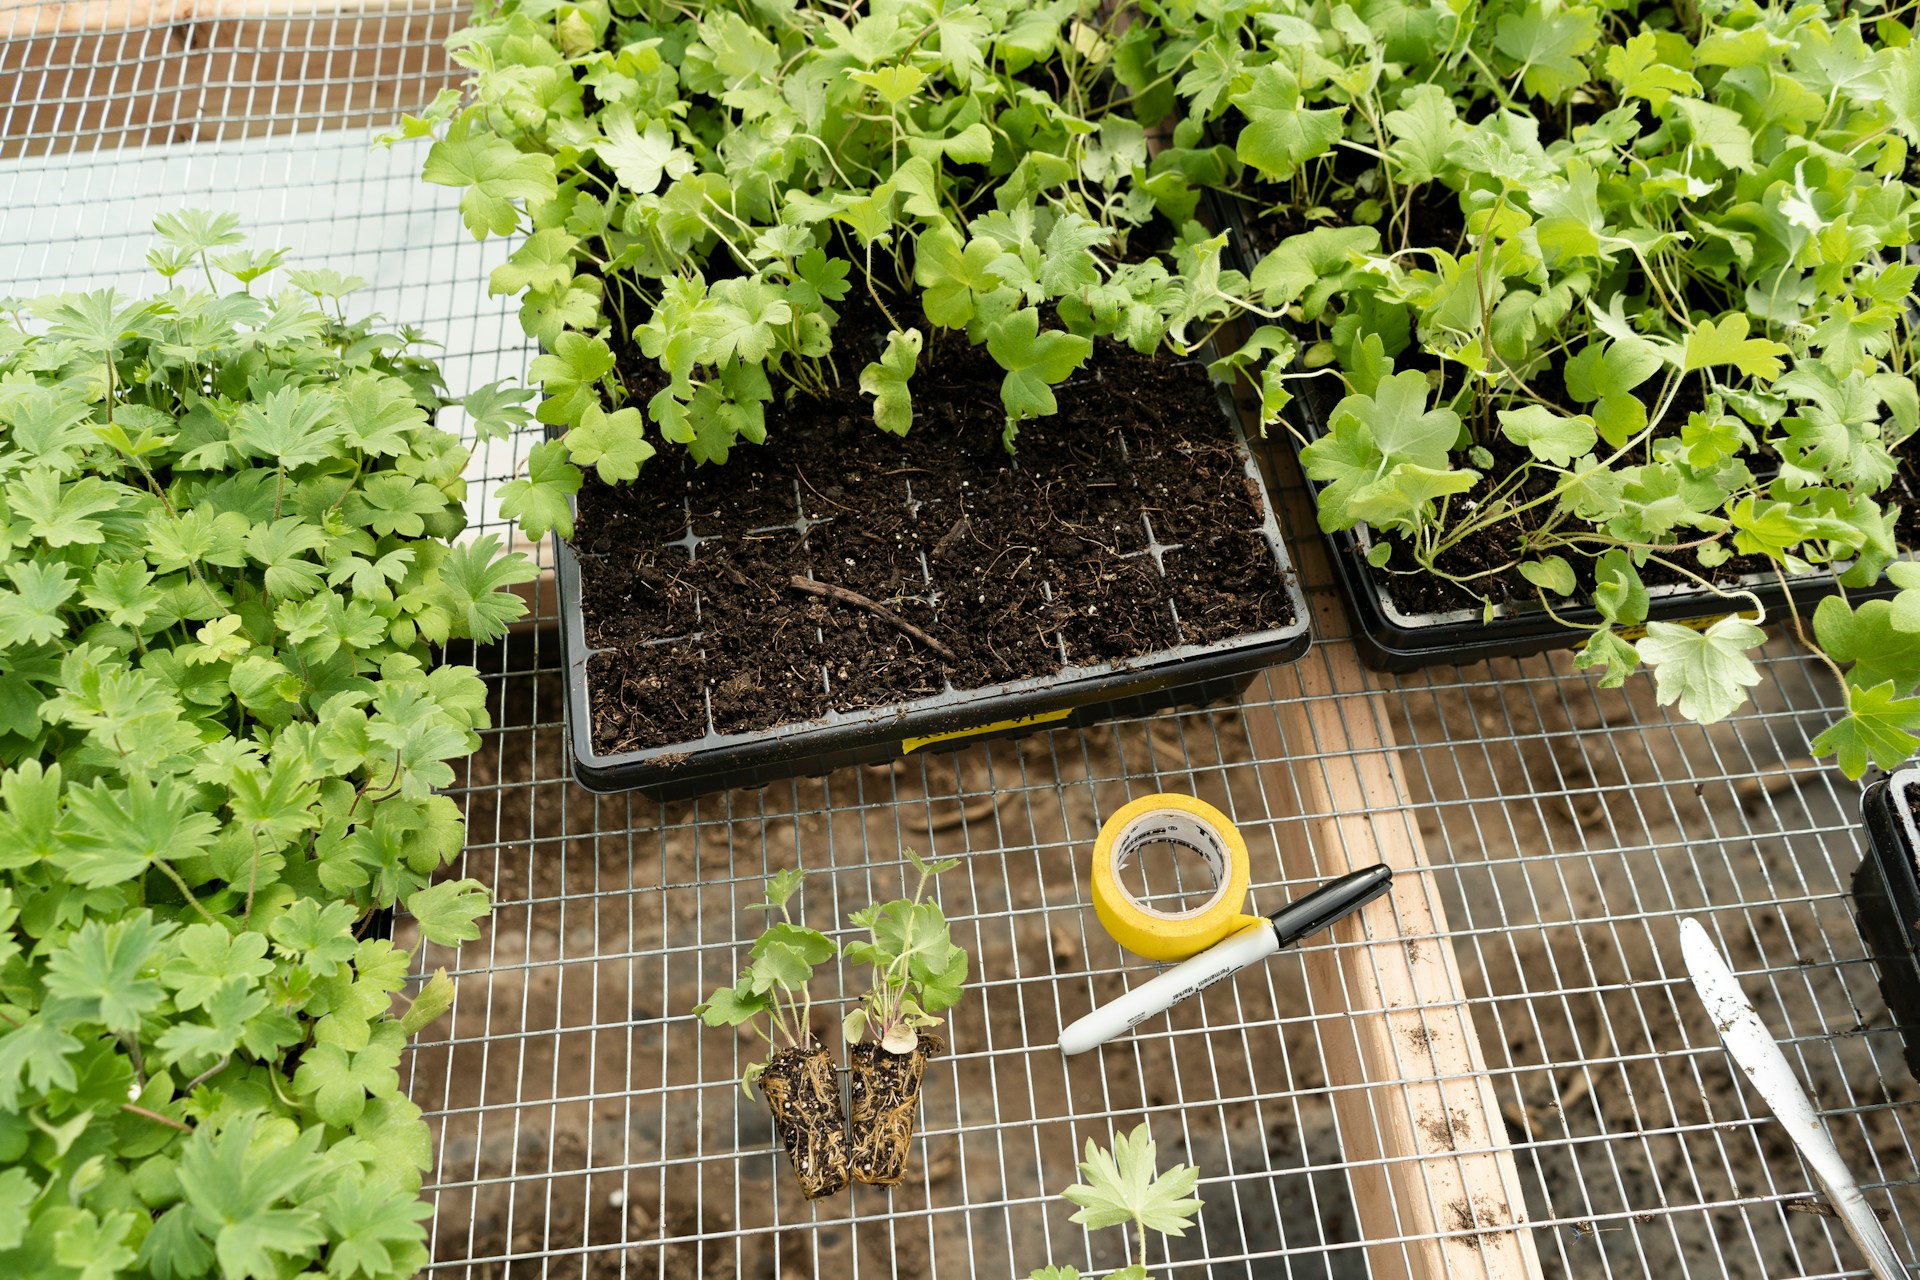
Problem: You transplanted seedlings in the cucurbit family, like cucumbers, winter squash, or watermelons, hoping to get a head start on spring. Unfortunately, they’re wilting, weak, stunted, or dying. The issue could be root disturbance.

Solution: Cucurbits are tricky to transplant successfully. They are incredibly sensitive to any root disturbance. Direct sowing eliminates this issue. If you want to start them indoors, you can always use biodegradable pots to reduce root disturbance. We also recommend planting a few extra and holding them back so you can replace any that die with that dieecond round of transplanting.

Transplanting Vs. Direct Sowing

It’s planting season! Depending on where you live, you have probably already been starting seeds indoors and even direct sowing a few over these last couple of weeks. While some seeds have strict guidelines, others can thrive as transplants or direct sown crops. How do we know which crops we should start indoors and which we should direct sow? Here’s a rundown on which crops we typically transplant or direct sow and the benefits of each method.

Some Tomato (and a few Eggplant) Seedlings After Transplant

Crops You Should Start Indoors

Crops that we start indoors need to tolerate a certain amount of disturbance. They have to transition from a controlled environment to the outdoors. Inside, you control the soil moisture, lighting, humidity, and wind. Transitioning outdoors, your plants will experience harsh sunlight, varying moisture and humidity levels, and wind.

As you transplant them into the soil, the plants will also experience root disruption. Some plants, like tomatoes, thrive with root disruption. You can repot them multiple times and then transplant them into the garden with few negative side effects. Other plants, like many in the Cucurbit family, don’t tolerate root disturbance.

Many of the crops we recommend you always start indoors are warm season crops with a long growing season, like tomatoes.

Theoretically, you could direct sow tomatoes, our Matt’s Wild Cherry tomatoes frequently self seed outdoors, but with most varieties you’ll end up with poor results.

Tomatoes are slow to get started and if you waited for your soil to warm enough for tomato seeds, you may not get a harvest until late summer or even fall.

  • Celery & Celeriac
  • Eggplants
  • Tomatoes
  • Peppers

While some of these crops occasionally self-seed, their long season and lack of cold tolerance means they’re really only productive as transplants.

Crop You Should Direct Sow

Seeds you direct sow must tolerate environmental conditions right out of the starting gate. The crops that we always direct sow are usually those we plant in high volume, like corn, and those that won’t tolerate root disruption like summer squash and okra.

  • Beets
  • Carrots
  • Corn
  • Cucumbers
  • Radishes
  • Turnips
  • Parsnips
  • Muskmelon
  • Okra
  • Rutabaga
  • Spinach
  • Summer Squash & Zucchini
  • Swiss Chard
  • Winter Squash & Pumpkins
  • Watermelon

While you could technically transplant some of these crops, their growing style makes it impractical.

It can be tempting to transplant crops like zucchini for an early harvest, but they’re so sensitive to transplant shock, direct sown plants often produce more quickly. If you must transplant any of the cucurbits, use a method like soil blocks that minimizes root damage.

Cabbage seedlings in a plastic tray
Cabbage Seedlings

Crops You Can Direct Sow or Transplant

There are many crops that are suitable for direct sowing or transplanting. Throughout a growing season, we may use a combination of these methods even for a single crop. We can keep things simple with direct sowing or use transplanting to handle weather conditions and grow additional successions. 

  • Basil
  • Beans
  • Broccoli
  • Cabbage
  • Cauliflower
  • Chinese Cabbage
  • Collards
  • Endive
  • Kale
  • Lettuce
  • Marigolds
  • Mustards
  • Onions
  • Peas
  • Southern Peas
  • Sunflowers
  • Zinnias

Always do your research on individual crops. Some may tolerate either planting method, but need special care to ensure success.

Transplanting Versus Direct Sowing

It’s decision time! When working with crops that can be direct sown or started indoors, there are several things you’ll need to think about.

Freshly transplanted pepper plants with potted peppers and a trowel in the backgroundBenefits of Transplanting

Transplanting has many benefits for crops that tolerate it. Starting seeds indoors gives you complete control of the environment. It’s a great way to establish seedlings with strong root systems before planting them in the garden.

  • Earlier harvest. Transplanting allows you to get a jump start on crops while the outdoor temperatures are still too cold for direct sowing.

  • More successions. Having transplants ready to go in spring and throughout the season as beds open up can help you get the most from a small garden.

  • Less waste. Planting out established transplants prevents you from needing to thin rows of seedlings. This can save you on the amount of seed you use.

  • Mulch from the start. Seedlings are easy to transplant into a bed already covered with mulch. This is ideal for folks using the no-till method with winter kill cover crops and anyone looking to cut back on weeding.

  • More flexibility. As transplanting allows you to control the environmental conditions, it’s a great way to add flexibility to your seeding schedule. Even if your spring is cold and wet, you can start plants indoors. You can also start cool weather crops like broccoli indoors during the height of summer for your fall garden.

Blooming cucumber with two cucumbers
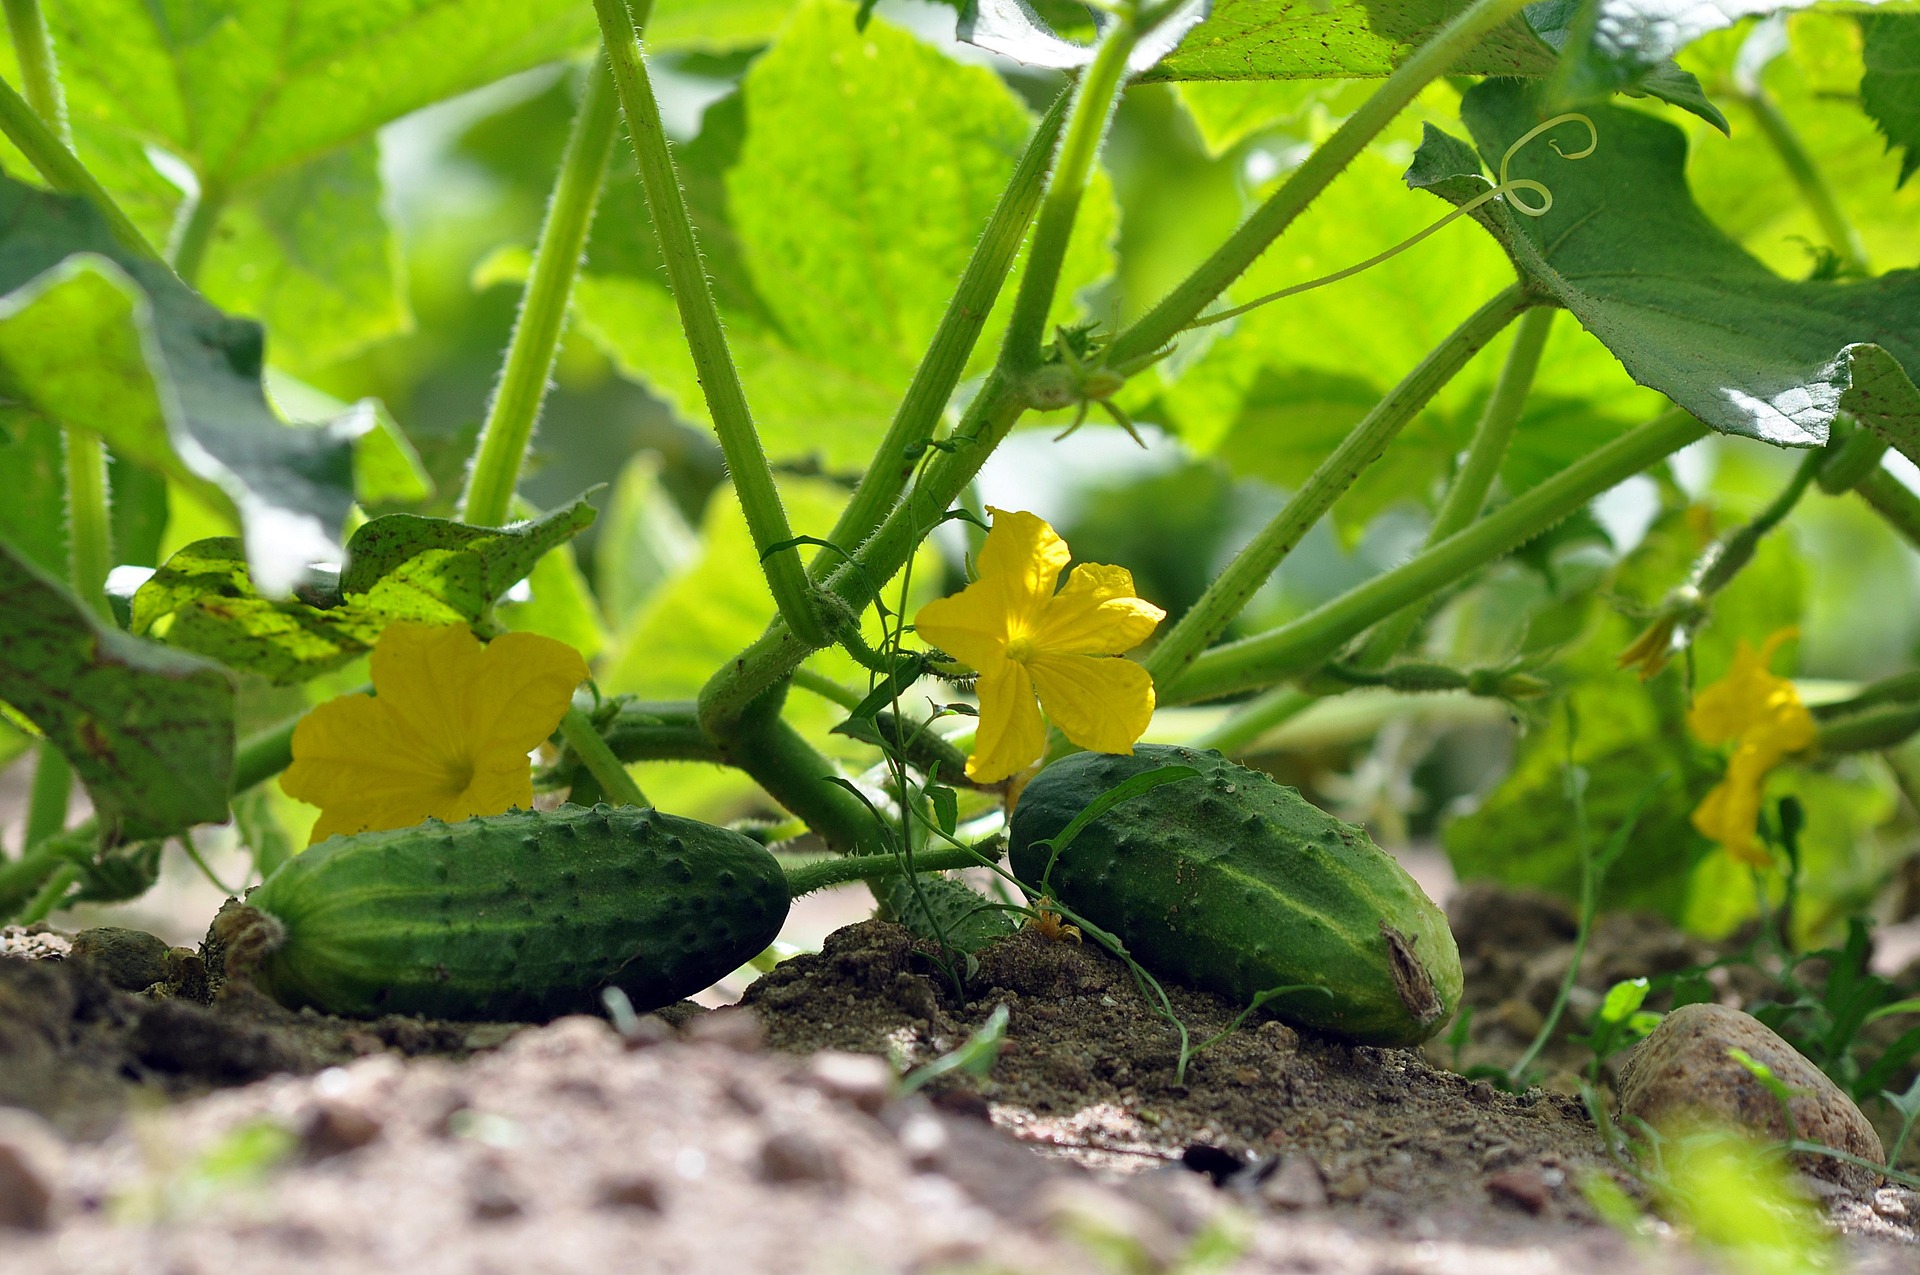
Benefits of Direct Sowing

Direct sowing doesn’t work with every crop, but for many, it can be a low maintenance solution. Getting started in the garden often makes for tough, well-established seedlings.

  • Less effort. We put less time and effort into tending direct sown seedlings.

  • No special equipment. You don’t need lights, racks and extra space, heat mats, humidity domes, or a greenhouse to direct sow seeds.

  • Better drought tolerance. Direct sown crops have the advantage of no disruption to their root systems. This means they display better drought tolerance, particularly early in the season.

  • No risk of transplant shock. If you’re not able to invest the time in hardening off and properly transplanting seedlings, direct sowing is more practical. Improperly transplanted seedlings can suffer transplant shock, which will delay harvest.

  • Easier on tender plants. Some crops like melons have fragile stems and roots. While many choose to transplant them, it can be tricky and you may lose some plants.

  • Better for high-volume crops. Direct sowing is the more practical option when you’re sowing tens or hundreds of seeds, like many gardeners do with corn, carrots, beets, and salad mixes.

Everything You Need to Know About Starting Seeds Indoors

 As crazy as it sounds, the gardening season begins in winter. Starting seeds indoors during the winter and early spring is crucial to a successful summer garden, but it can be a challenge, especially for new gardeners. Here’s everything you need to know to have success starting seeds indoors. Keep reading for seed starting benefits, guidelines, supplies, and common mistakes. 

Benefits of Starting Seeds Indoors

Starting your own seeds indoors isn’t always easy, but it comes with some incredible benefits!

  • Starting transplants from seeds offers a wider selection. You aren’t limited by what plants your local garden center offers.
  • May help achieve earlier harvests. Starting your own seeds allows you to control when transplants will be ready to go in the ground.
  • Provides healthier transplants. When done appropriately, managing the humidity, temperature, and other conditions helps you grow healthier, superior transplants for your garden. 
  • Helps protect delicate seedlings. Many crops like summer squash, lettuce, and cucumbers can be started indoors or direct sown. However, starting them indoors can protect them from pests like insects and rodents while they’re still small.
  • Allows you to plant successions. Many places offer seedlings in the spring, but few still have them in late summer. When you know how to start seeds indoors, you can grow cabbages, broccoli, and other crops for your fall garden.
  • Saves money. Seeds are much cheaper than transplants. Starting your own seeds may help make your garden fund go further. 

Supplies for Starting Seeds 

To have success starting seeds indoors, you’ll need a few basic supplies. There are also some optional supplies that may help ensure success depending on your conditions.

Containers or Trays

There are many options for seed starting containers, but they should have a couple of key features. Proper seed starting containers should be fairly shallow and contain drainage holes. 

Consider whether you will pot up your plants when selecting container sizes. Some crops like tomatoes thrive when potted up into larger containers as they grow. Others, like cucumbers, don’t enjoy having their roots disturbed. Plant these in container sizes that will be large enough until you transplant them outside. 

A soil blocker, which compresses blocks of growing medium, is another brilliant method. These compressed blocks of soil prevent plants from becoming root bound. When combined with a tray, it helps you reduce the amount of plastic your seed starting effort requires. Biodegradable pots or newspaper pots are another plastic-free alternative.

Growing Medium

To start seeds, you want a quality seed starting or germination mix. These light mixes reduce compaction and hold moisture well. Common organic options include ProMix, FoxFarm Happy Frog Potting Mix, and Down to Earth Starter Mix. If you’re looking for organic, look for the OMRI (Organic Materials Review Institute) certification on the bag. 

You can also make your own seed starting mix. Many growers now do this to avoid products like perlite and peat, which may not be sustainable. Some also find they can get away with pure, screened, quality compost. Experiment with this, as not all compost shares the same properties. 

Avoid reusing potting mix. The mix will degrade over time and could contain soil-borne pathogens introducing diseases to your new crops. 

Lights for Starting Seeds

When starting seeds indoors, you’ll need supplemental light. Window light isn’t adequate. You’ll end up with spindly, weak seedlings.

There are many grow light options available, but you can also use cheap “shop” lights. These work just as well. LED options are the most efficient but if you have fluorescent on hand, those will work too.

You will also want chains or strings to hang your lights. You will need to adjust the height of your lights as the seedlings grow. 

Watering Can and Mister

A good watering can will make maintaining your indoor seedlings much easier. You can use two methods, top watering or bottom watering.

A watering can with a gentle “rain” of water is good for top watering seedlings. A mister can also be handy, especially when working with fine seeds that haven’t germinated yet.

Alternatively, you can bottom water by pouring water into the waterproof tray your containers or soil blocks are sitting in. 

Fertilizer

Do you need to fertilize seedlings? If you’re growing transplants indoors for just a few weeks before transplanting them, they may get everything they need from your growing medium. However, seedlings kept indoors for longer periods often benefit from additional nutrients.

Usually growers fertilize seedlings by adding a bit to the water. There are commercial chemical seedling fertilizers available. You can also use nutrient rich amendments like compost tea, liquid kelp, or fish emulsion. 

Follow package instructions when adding fertilizer or amendments to the water. 

Do NOT add fertilizer before the seeds germinate. The salts in fertilizer can prevent newly germinated seeds from growing roots and taking up water. 

Humidity Domes

Humidity domes aren’t required, but many growers find them useful, especially during germination. They hold in moisture, keeping the humidity high to encourage good germination. They can be helpful if your growing area has hot, dry air like near a wood stove. 

You can purchase humidity domes or try making your own from clear plastic or containers. They must be clear to let in light. 

Remove after germination.

Heat Mats

Heat mats are another optional seed starting accessory. These mats sit under your trays and containers keeping the soil at a steady, warm temperature. They’re great for folks who start seeds in cool areas like basements and struggle with heat-loving crops like peppers and eggplants. Transplants in a tray

How to Start Seeds Indoors

Once you have all your supplies, you’re ready to start your seeds! 

  • Carefully read your variety’s planting information on the packet or growing guide. These will provide crucial information for seed starting. Your crop may need light to germinate, require cold stratification, have a long germination period, or need specific soil temperatures. Get familiar with a variety’s specific needs to prevent issues before they start.
  • Find appropriate planting dates for your area. You can use a planting app like our garden calendar or find your USDA hardiness zone and last expected frost date to determine the dates to put your seeds in soil.
  • Prepare and clean a seed starting and growing area. Sanitize your equipment like containers and set up places to put seeds, lights, and other supplies. Keeping equipment clean prevents the spread of disease.
  • Moisten your seed starting medium if necessary. To avoid dry spots, it’s best to take the material out of the package and stir it up in a bin or wheelbarrow. You want it to be moist but not waterlogged. You should NOT be able to squeeze water out of it.
  • Firmly but gently press your growing medium into your containers. Good soil contact with seeds and roots is important for germination and growth.
  • Sow your seeds according to planting instructions.
  • Gently water in your seeds (a mister is a great tool for this) and keep them consistently moist as they germinate.
  • As seedlings begin to grow, provide 12-18 hours of supplemental light daily. A timer can make this much easier. Keep the lights about 2 to 4 inches above the tops of the seedlings.
  • Maintain good watering practices. Once the seeds have germinated, allow the soil to begin to dry out in between watering. Keeping the soil too damp can lead to disease issues. Keep in mind that as the plants grow larger, they usually need more water.
  • Provide appropriate soil temperatures by using heat mats or moving seedlings to a warmer spot in the house, like beside wood stoves or heaters. Monitor the soil and don’t let it get too hot or dry out in these areas.
  • Lightly fertilize plants if necessary. Only fertilize seedlings that have their true leaves and dilute the fertilizer to the manufacturers recommendations.
  • Pot up large plants that have their true leaves necessary. If your seedlings outgrow their containers, many like tomatoes, peppers, and eggplants can be potted up. Choose pots that are only a bit bigger. They should be no larger than 1 to 2 inches wider in diameter than the existing pot.
  • Harden off seedlings before transplanting them outdoors. Set the seedlings outdoors in a shady, sheltered spot for a few hours each day before bringing them indoors at night. Slowly reduce watering.

    Over a couple of weeks, gradually increase the sunlight and time spent outdoors. Then transplant them on a cool, cloudy day. Failing to harden off your seedlings can cause wind burn and sun burn. While many will probably recover, it can set them back tremendously and you may lose some entirely.Seedlings in trays

Common Seed Starting Issues and Mistakes

Learning to recognize and catch issues early is essential for good production. 

Seeds are slow to germinate.

If your seeds are taking much longer to germinate than expected, they probably aren’t receiving ideal conditions. Use a soil thermometer to check the soil temperature and ensure its appropriate to the variety. Be vigilant about keeping the soil moist. You may need to use a humidity dome to help hold in moisture.

Make sure you have met germination requirements for your specific variety, like light or cold stratification. 

Seedlings look tall and spindly.

Tall, spindly or leggy seedlings are a sure sign that they’re not getting enough light. Make sure the lights are close enough to the tops of the plants, that you have adequate light coverage, and that they’re getting enough light each day.

Young seedlings suddenly die.

Usually called dampening off, this sudden death occurs when certain fungi colonize the seedling’s roots. The best way to deal with dampening off is to prevent it. 

  • Keep tools and equipment clean.
  • Use containers with good drainage and quality seed starting mix. 
  • Avoid over-watering.
  • Provide supplemental light.
  • Avoid crowding seedlings to encourage airflow.
  • Remove humidity domes after germination.

Purple, yellow, or discolored leaves.

Discolored seedlings can indicate many issues. Improper lighting, cold temperatures, disease, nutrient deficiencies, and over fertilization can all contribute. 

In larger, otherwise healthy seedlings, it’s often a sign of nutrient deficiencies. Yellow may indicate a lack of nitrogen, while purple can indicate a lack of potassium or phosphorus. If you have already fertilized, check other factors like lighting and temperature. 

Rootbound seedlings.

When seedlings spend too long in a small container, they often become rootbound. The roots grow and look for any available space, circling around the inside of the container. This forms a solid mass of roots, but isn’t the end of the world.

When you are potting up or transplanting rootbound seedlings, gently pull apart and separate the root mass. This encourages them to grow correctly in the new soil.

Starting seeds indoors is a rewarding way to start your garden during the winter! Use these basic guidelines for success with starting most basic crops, including vegetables, flowers, and herbs. Getting more familiar with each individual crop or variety will also help your crops to thrive.