Flowers bring so much life and joy to our gardens. Many flower varieties have interesting and somewhat surprising histories. From revered medicinals to religious symbols, flowers have played a role in different cultures throughout the centuries. Here are a few of the unique ways people used flowers historically.
- Delphiniums are named after dolphins.
Larkspurs or Delphiniums are a colorful favorite for cottage-style gardens. The name Delphinium originated with the ancient Greeks. It’s derived from the Greek word “Delphis,” which means dolphin. The Greeks thought that the flower bud resembled the shape of a dolphin’s nose. Do you see it?
- German Chamomile has been revered by many cultures.
One of the few medicinal herbs still in everyday use, German Chamomile has been used and revered for centuries. We love it for its soothing, anti-inflammatory effects. The Egyptians dedicated it to their sun god, Ra. In Slovakia, you were supposed to bow to the plant when you came across it, and the Saxons believed it was one of the nine sacred herbs. - Morning Glories were once used in divination rituals.
First cultivated by the Aztecs, Morning Glories were used for divination rituals. They made a preparation from the seeds, which contain d-lysergic acid amide, or LSA, which has similar effects to LSD. The seeds were ground and then filtered with water which was drunk to produce visions. They are still part of some shamans’ practices today.
They also used it medicinally, and healers would take the brew to determine the cause of an illness. The seeds were ground into a paste with tobacco leaves and rubbed on affected body parts to treat pain. - Hollyhocks signified outhouses.
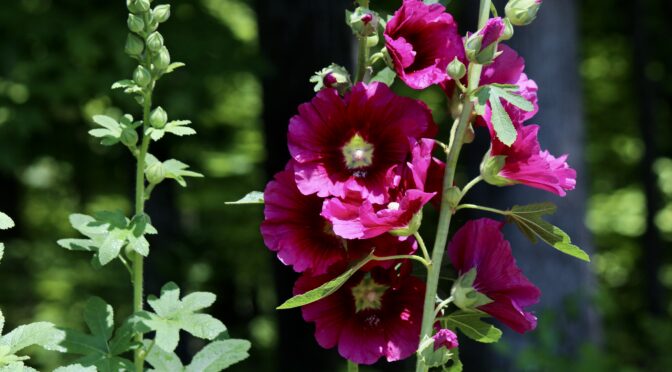
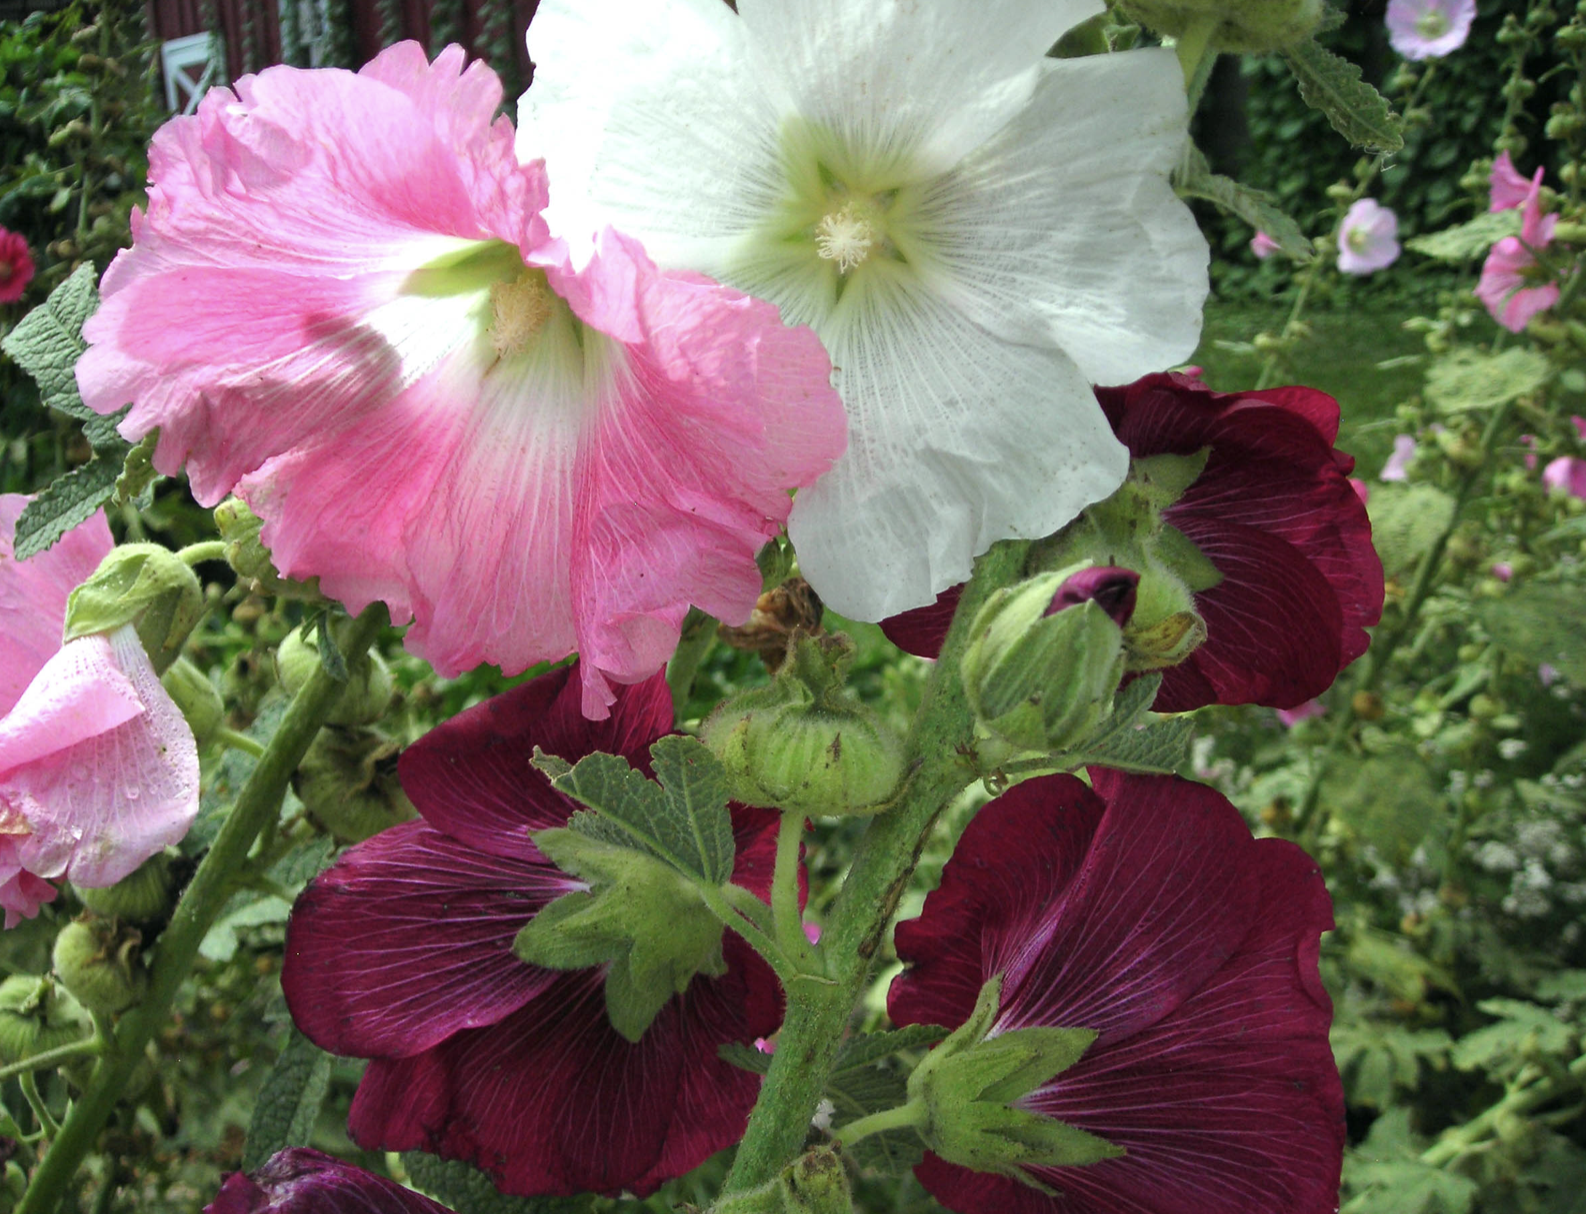
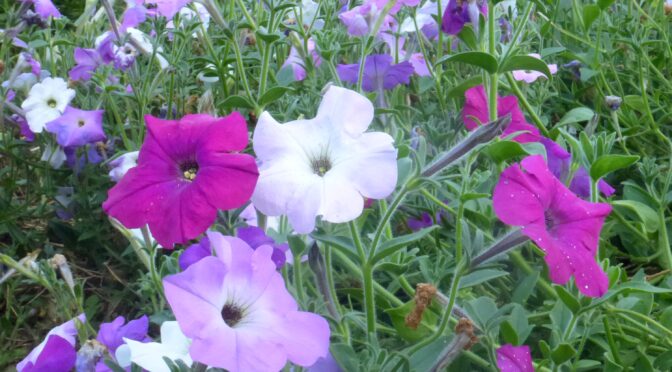
Now characteristic of quaint, cottage gardens these tall, long-blooming flowers once symbolized something different, outhouses. People planted hollyhocks to screen the view of outhouses while also signifying to guests where they were. The phrase “visit the hollyhocks” was a polite way of letting others know you needed to use the outhouse. - Petunias used to be lanky with small flowers that were either white and purple.
Most of our modern Petunia varieties come from two species, Petunia axillaris and Petunia violacea that are native to South America. Breeders worldwide worked through the late 1800s and 1900s to breed larger, double, and more colorful flowers that bloomed for longer periods. In 1953 PanAmerican Seed introduced the first truly red petunia, a multiflora called ‘Comanche.’ The first yellow petunia was bred by Claude Hope and introduced in 1977 by Goldsmith Seeds. These and many other introductions have created all the petunias we know today.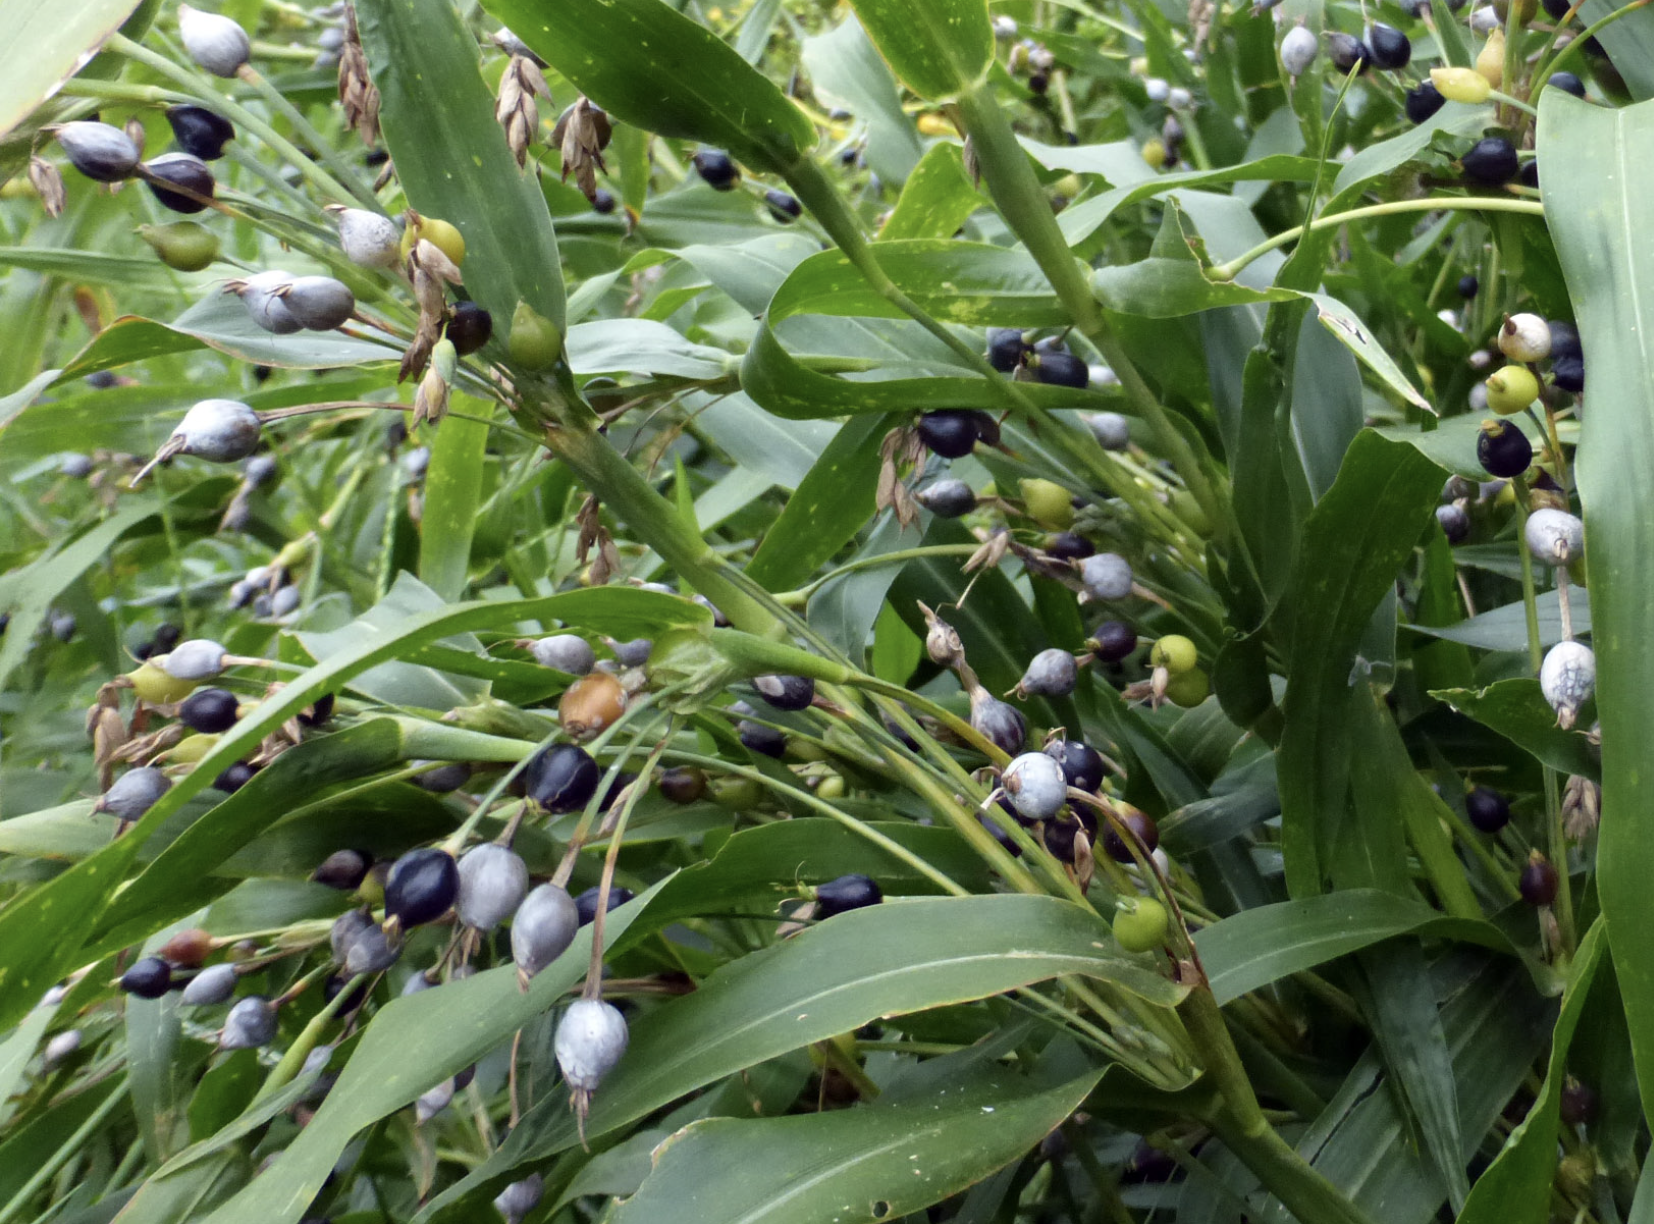
- Job’s Tears were used to make beer in 3000 BC.
Today we mainly grow Job’s Tears as an ornamental. They’re gorgeous in the flower garden, and their seeds make lovely, natural beads. Archeologists found their residue along with barley and other plants on pottery found at a Neolithic site in north-central China, indicating they were used to brew beer. - Marigolds were used to treat hiccups.
The Aztecs cultivated marigolds for medicinal purposes and bred them for larger blooms. The De La Crus-Badiano Aztec Herbal of 1552 recorded that the Aztecs used marigolds for hiccups, being struck by lightning, or “for one who wishes to cross a river or water safely.”
- Bachelor’s Buttons were found in King Tutankhamen’s tomb.
Archeologists found intact wreaths of Bachelor’s Buttons in the boy king King Tutankhamen’s tomb, including a wreath of Bachelor’s Buttons, olive leaves, and water lily petals around his head. - Sunflowers became popular in Russia because their oil wasn’t banned for lent.
While the Native Americans had been cultivating sunflowers for food, medicine, dye, and oil as far back as 3000 BCE, they weren’t brought to Russia until the turn of the 19th century.
A diktat issued by the Russian Orthodox Church in the 18th century banned the consumption of foods made from various oils and fats during Lent. The list of banned foods omitted sunflower oil resulting in a boom of sunflower cultivation and the eventual breeding of the popular variety, ‘Mammoth Russian.’ - Zinnias used to be considered hard on the eyes.
The Aztecs referred to zinnias as an eyesore. The Spanish agreed, calling them “mal de ojos” or evil eyes. At the time, zinnias were small with scraggly foliage and muddy orange or yellow flowers. Despite attempts by companies to sell seeds in the U.S. and Europe, they didn’t become a popular garden flower until the 1880s, when French horticulturists began experimenting with breeding zinnias.
Flowers have played important roles throughout history. These are just 10 of the unique ways they’ve been used. Have you heard any of these unusual flower facts?